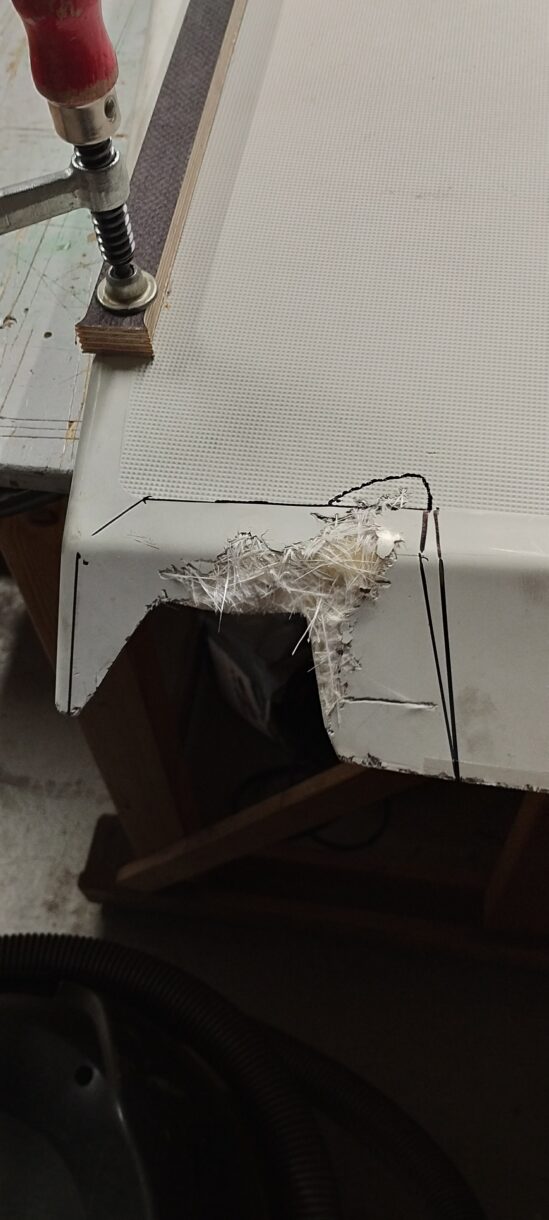
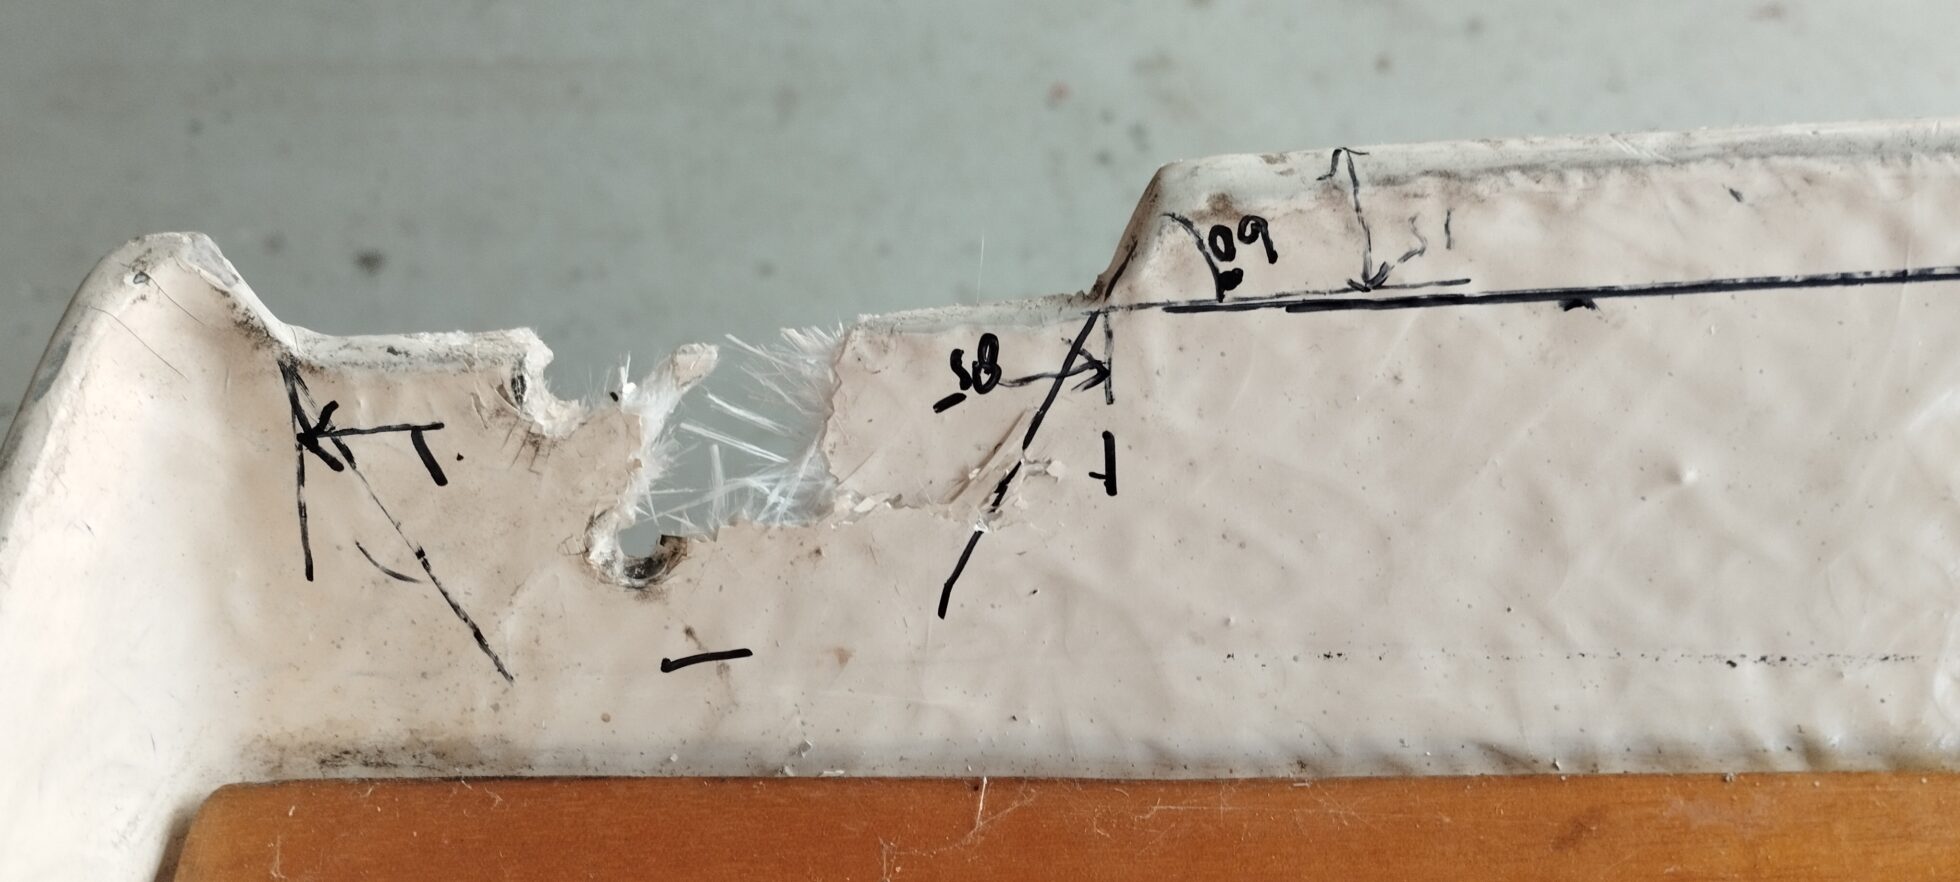
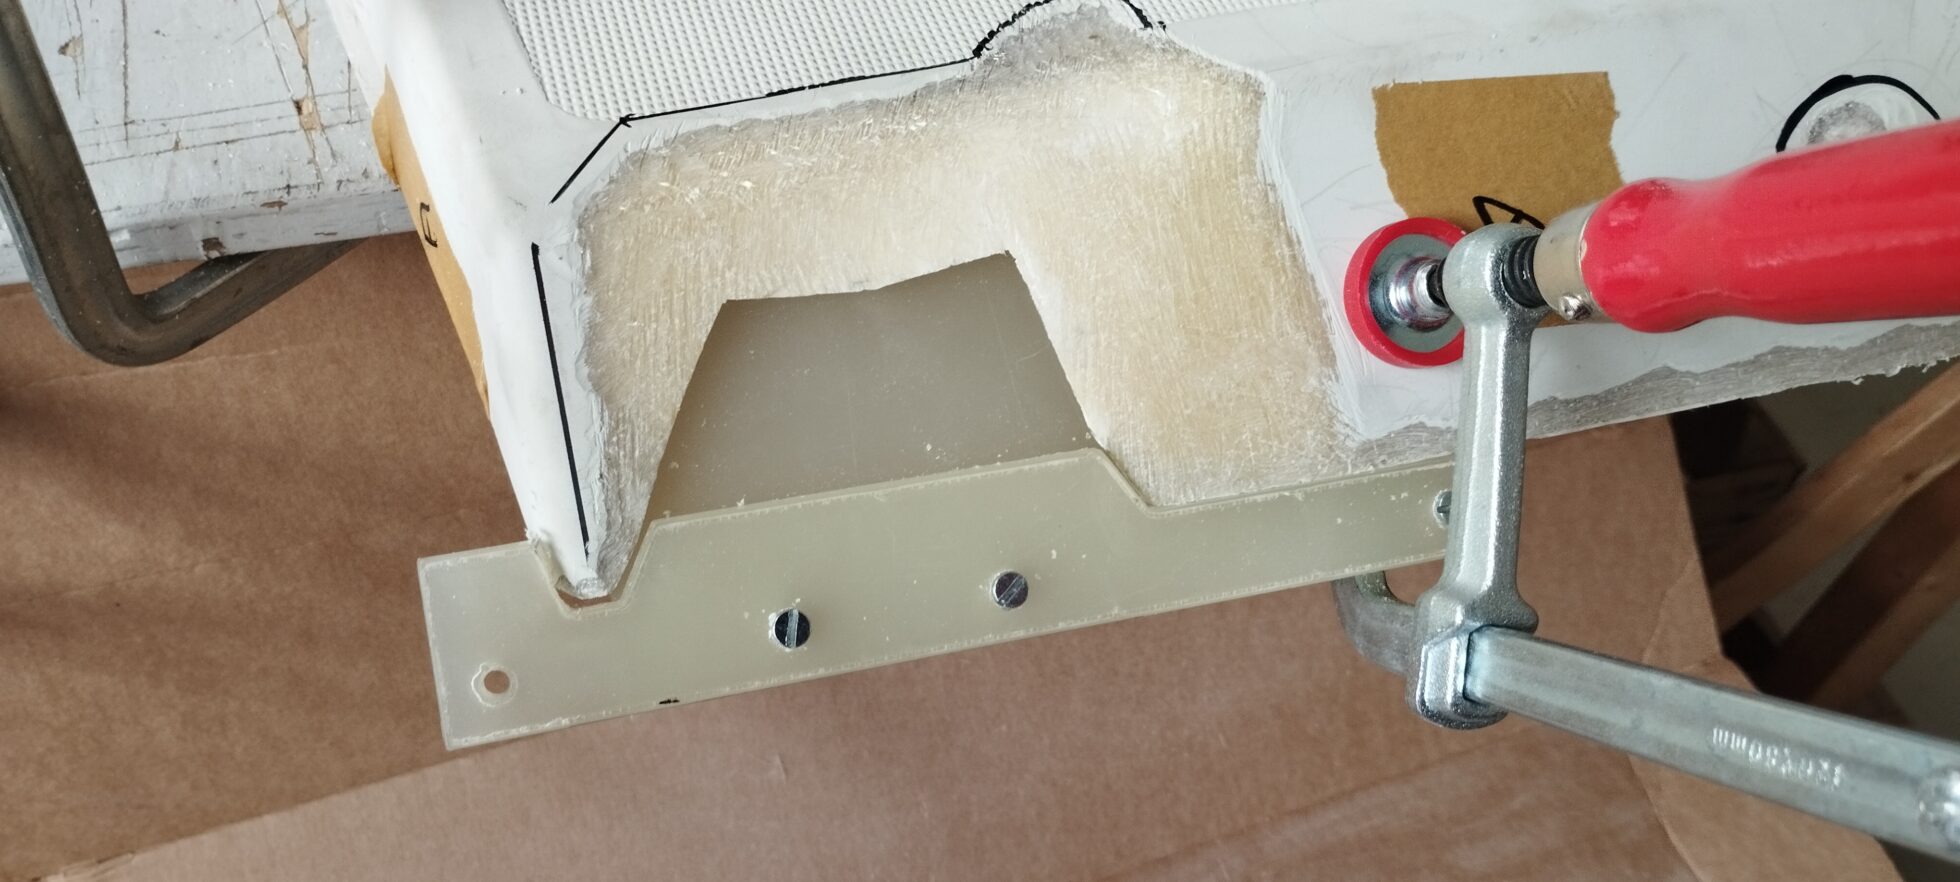
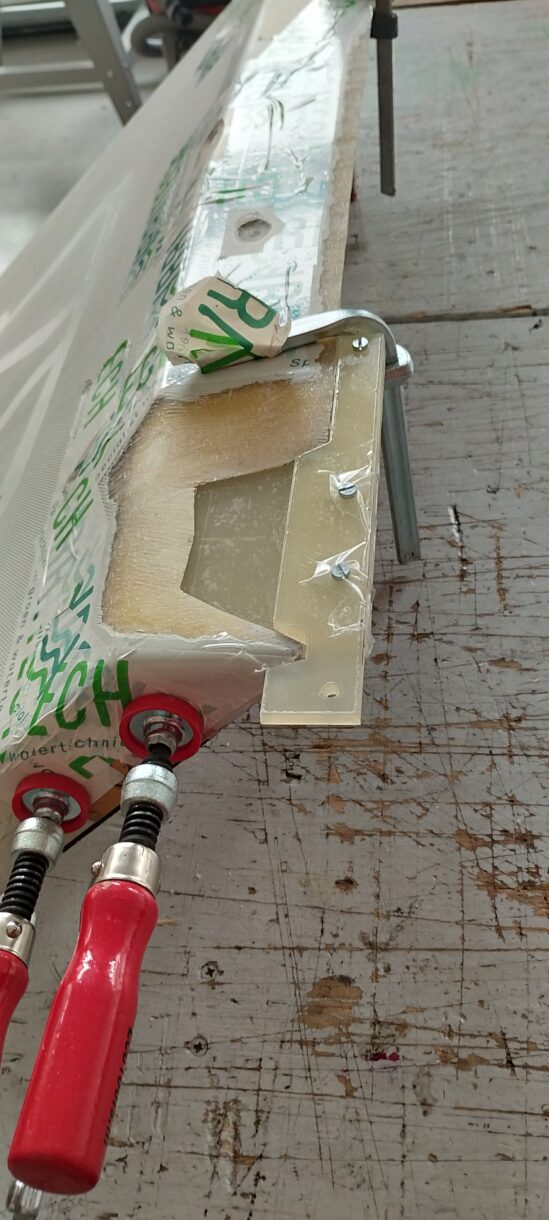
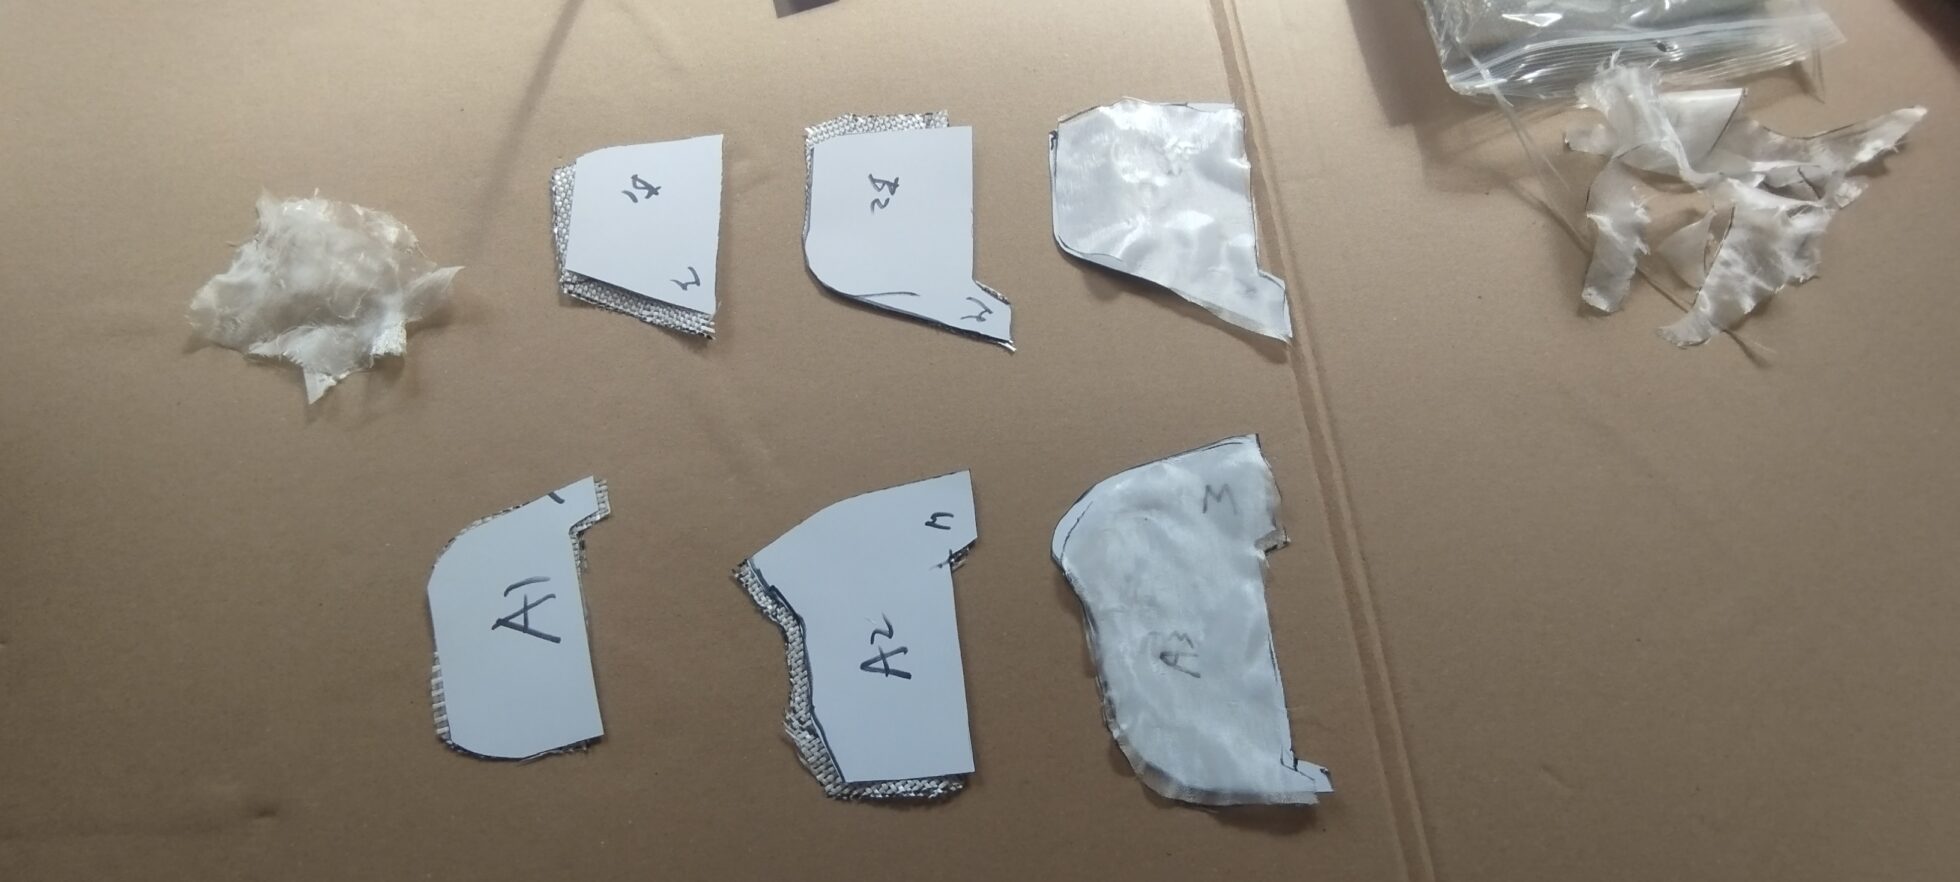
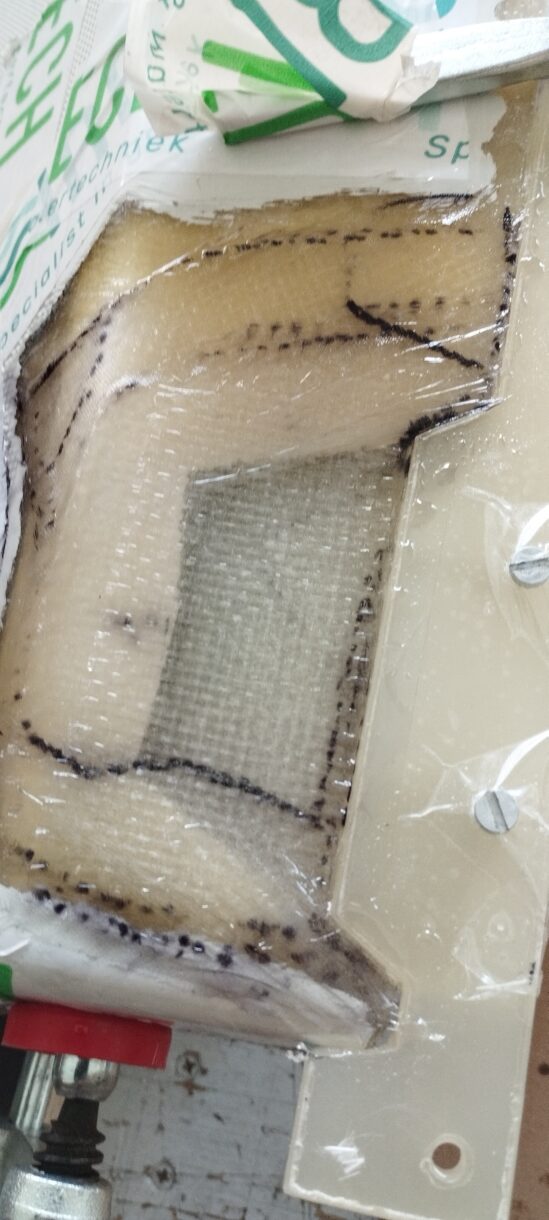
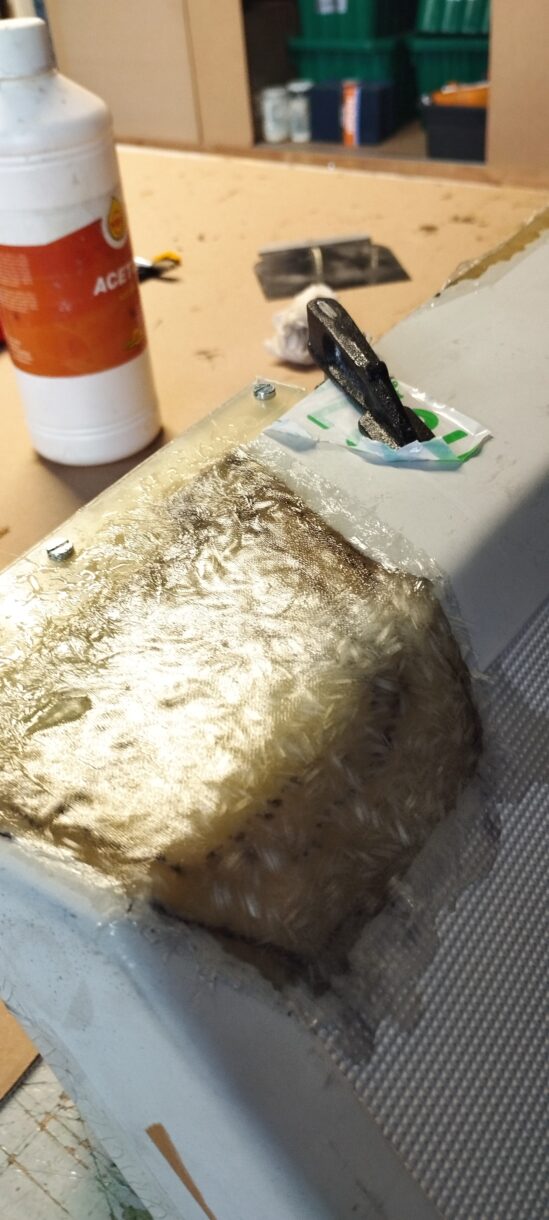
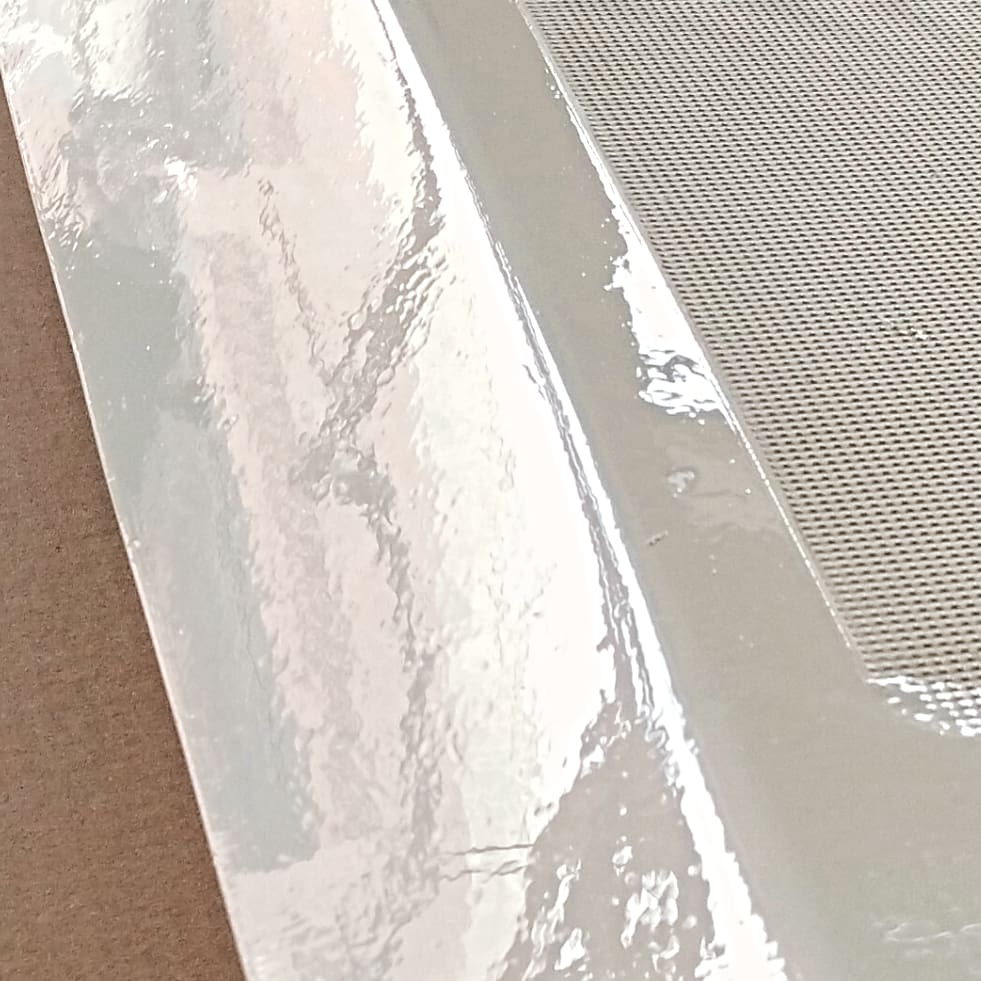
Een opengewaaid luik is van zijn scharnieren losgetrokken. Reparatie dus. Het is oud polyester, daarom epoxy voor gekozen.
Eerst maar eens goed de maten opnemen en een mal makenEen polypropeen plaatje is ideaal voor de mal, er hecht geen epoxy aan en het heeft de juiste dikteLekker onder de hand werken, op aangename werkhoogteStukjes glasvezel op maat geknipt. Kost wat tijd maar dat verdien je dubbel terugMeerdere lagen 280 gr weefsel en een 20 grams afdekmatjeVerder opgevuld, nog meer mat en daarna chopped strands. Weer een 20 gram matje erop. Na harden plamuren en schuren.
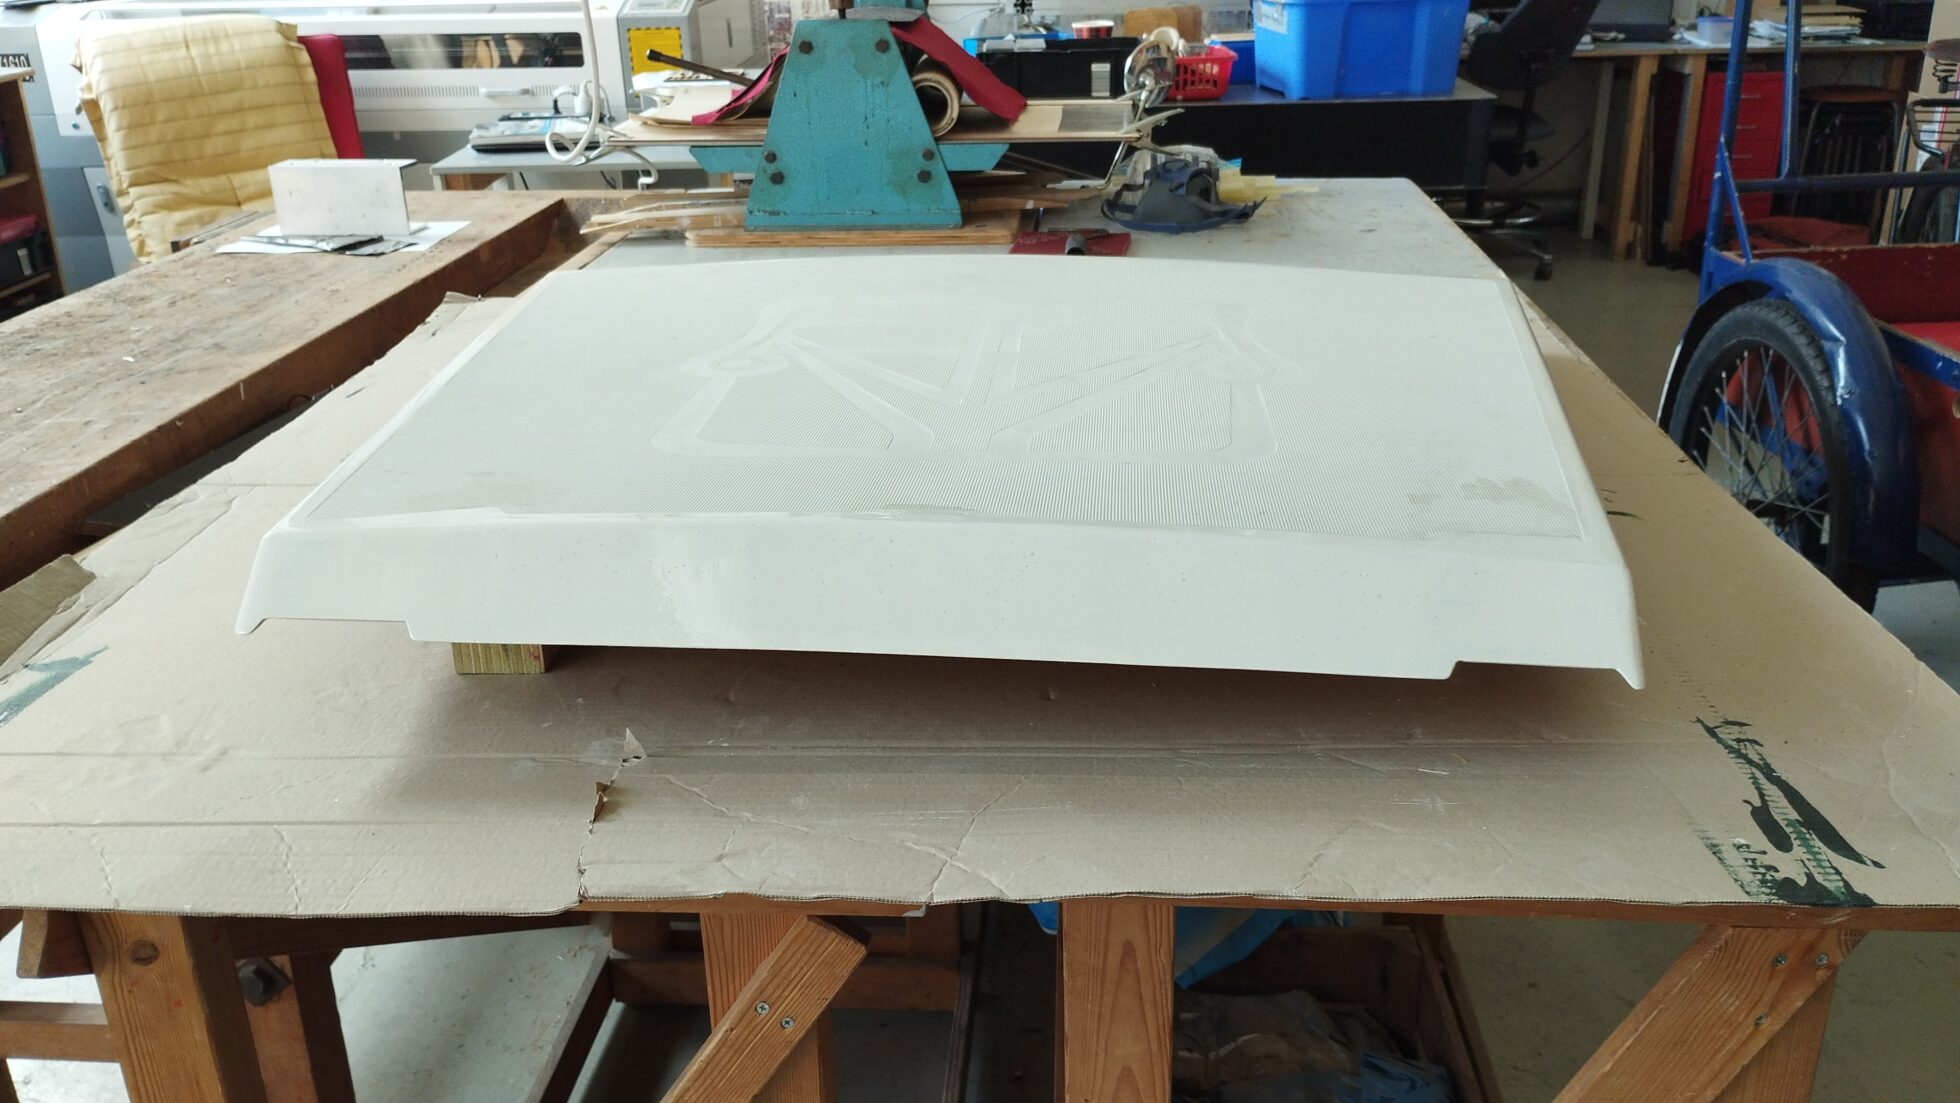
Hierna plamuren, schuren en verven met DD lak.
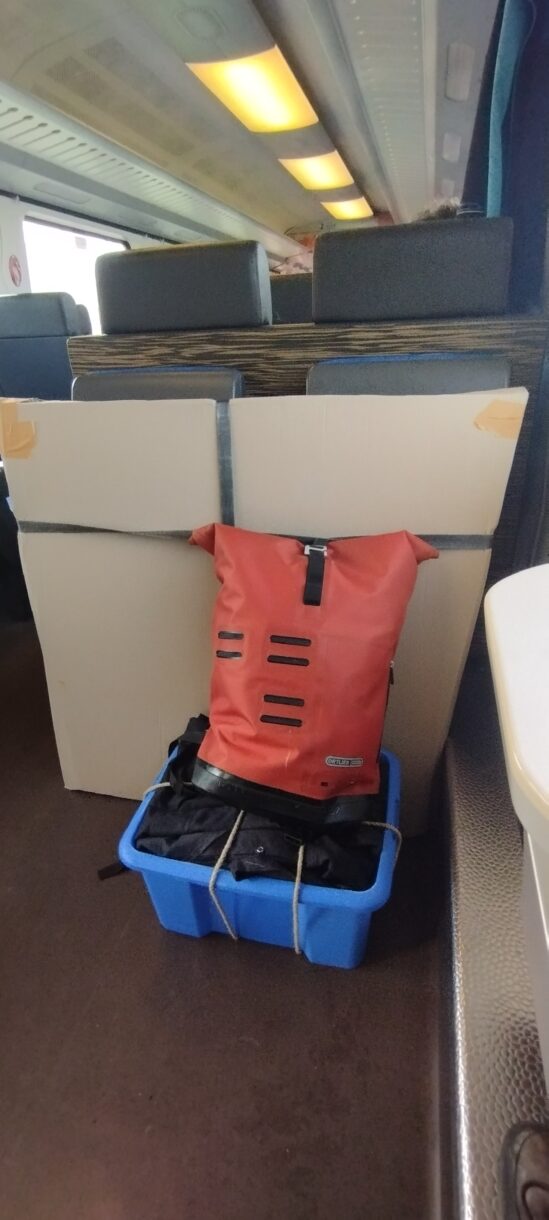
Geplamuurd, gegrond en eerste laag DD erop. Onderweg naar de boot, het luik netjes ingepakt. Was goed mee te nemen zo.
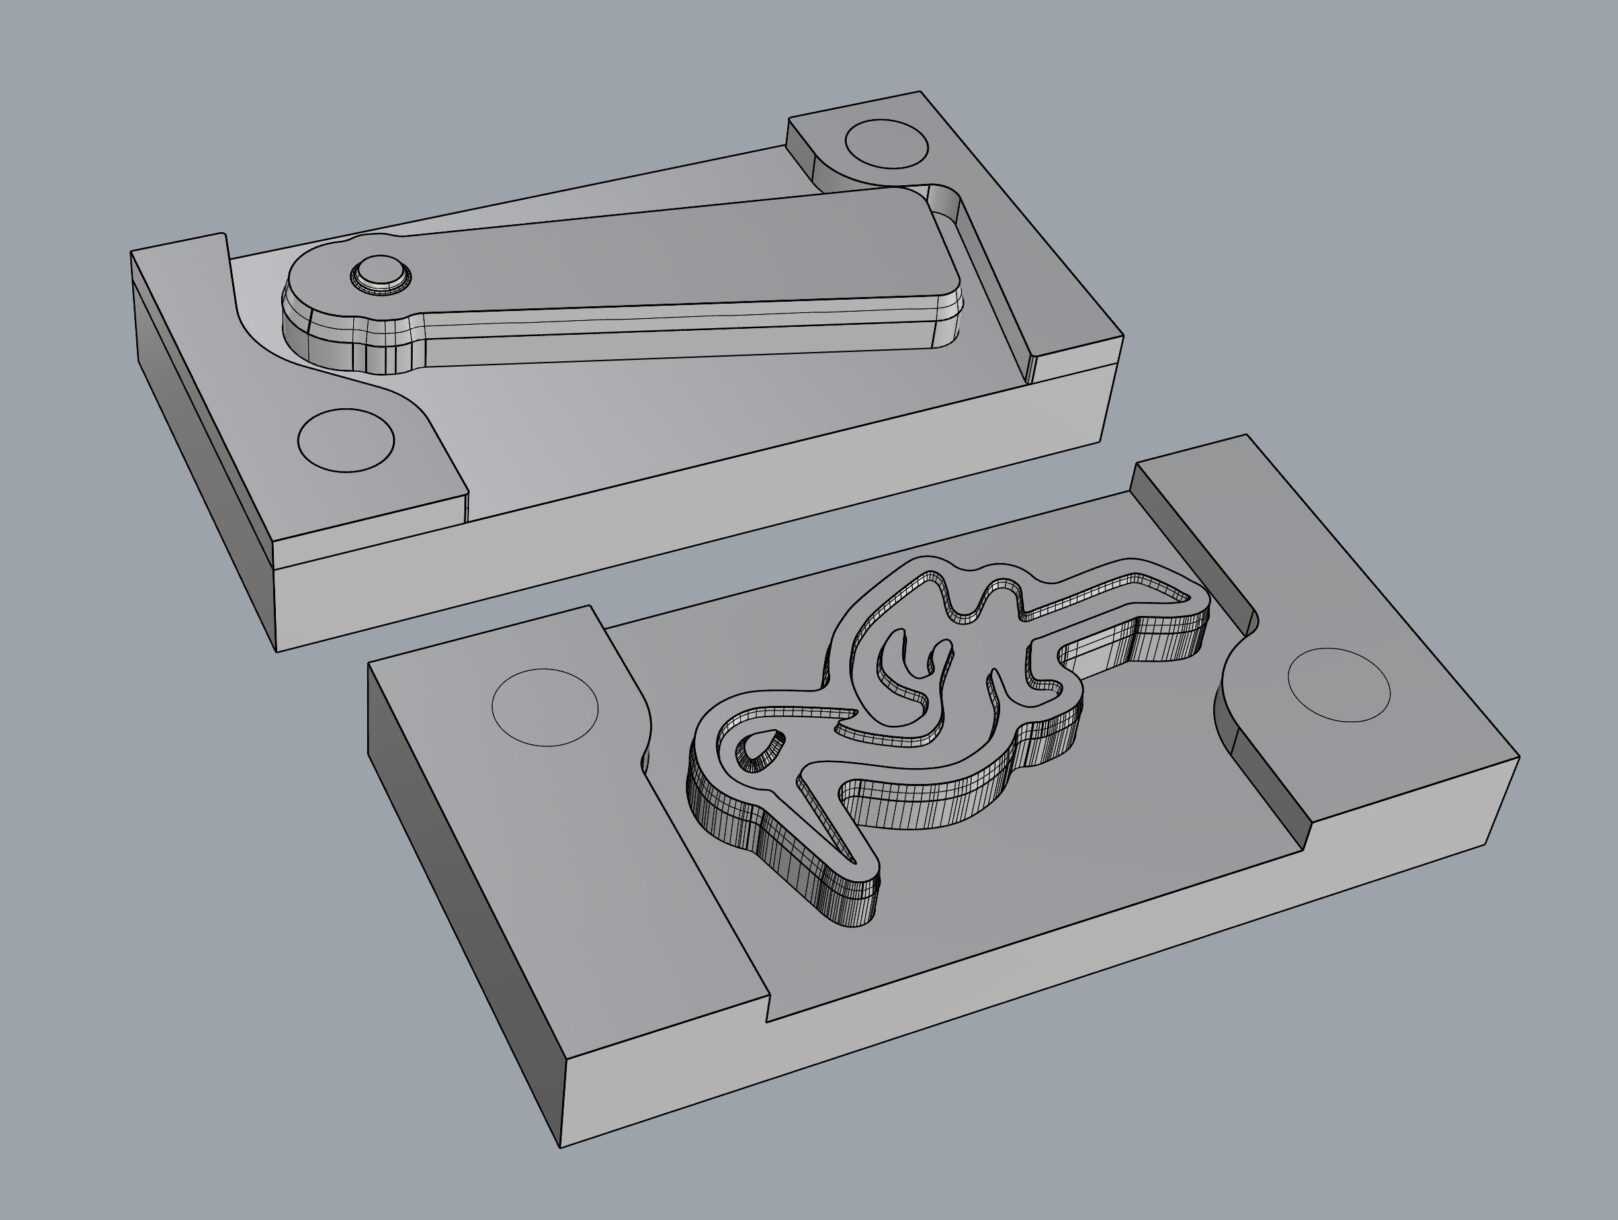
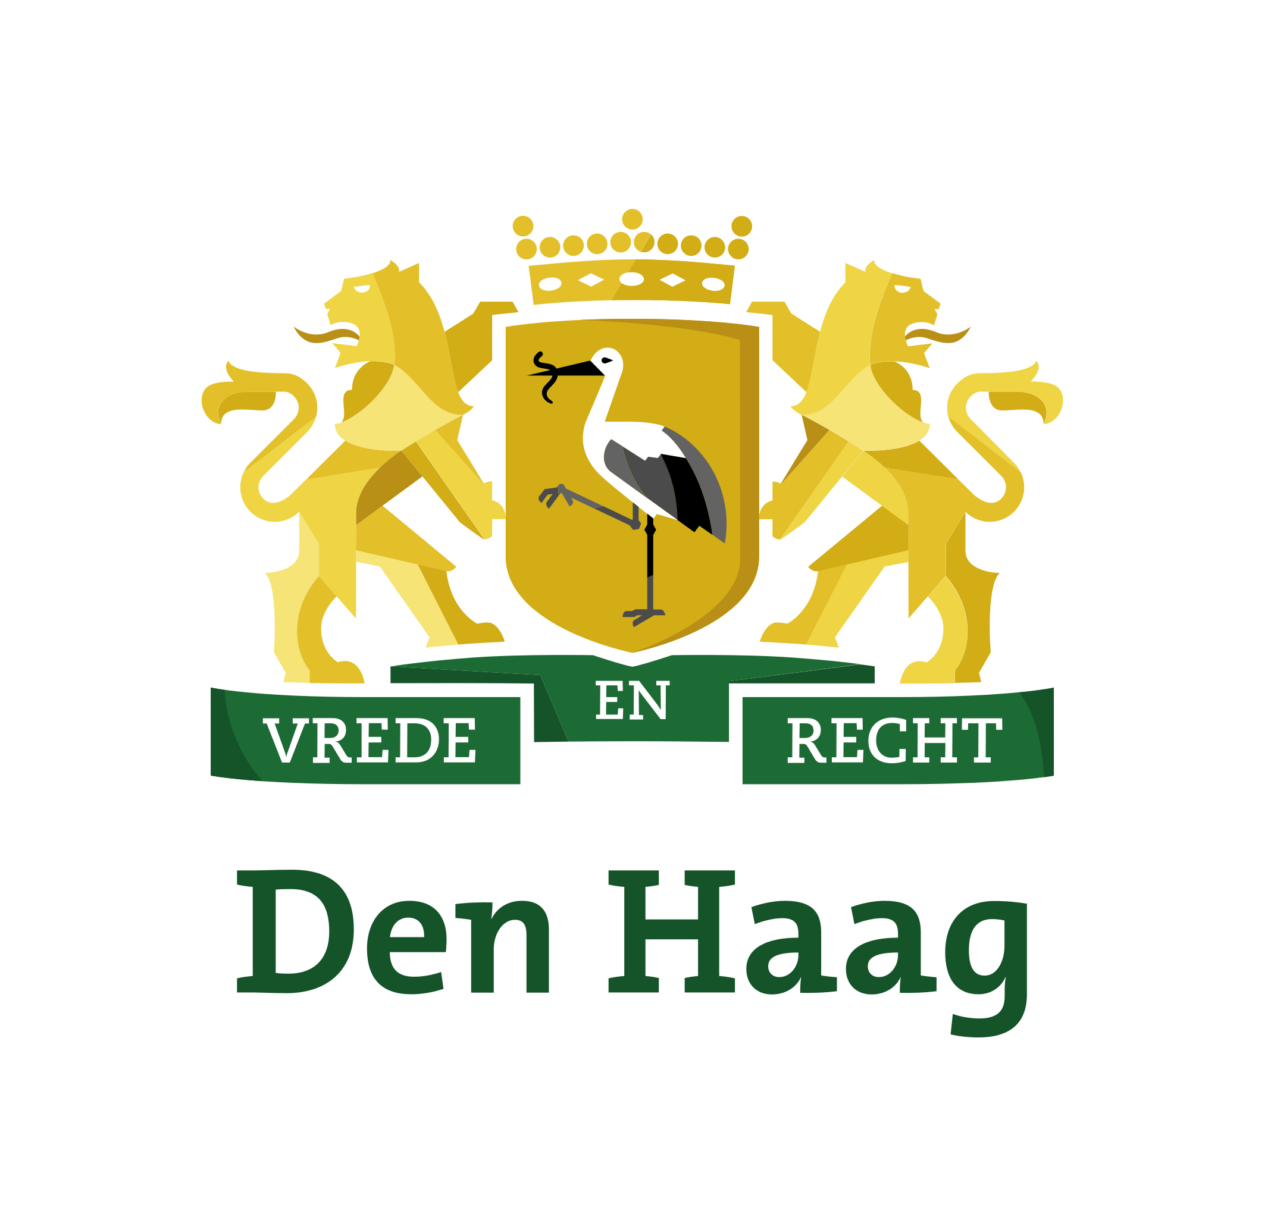
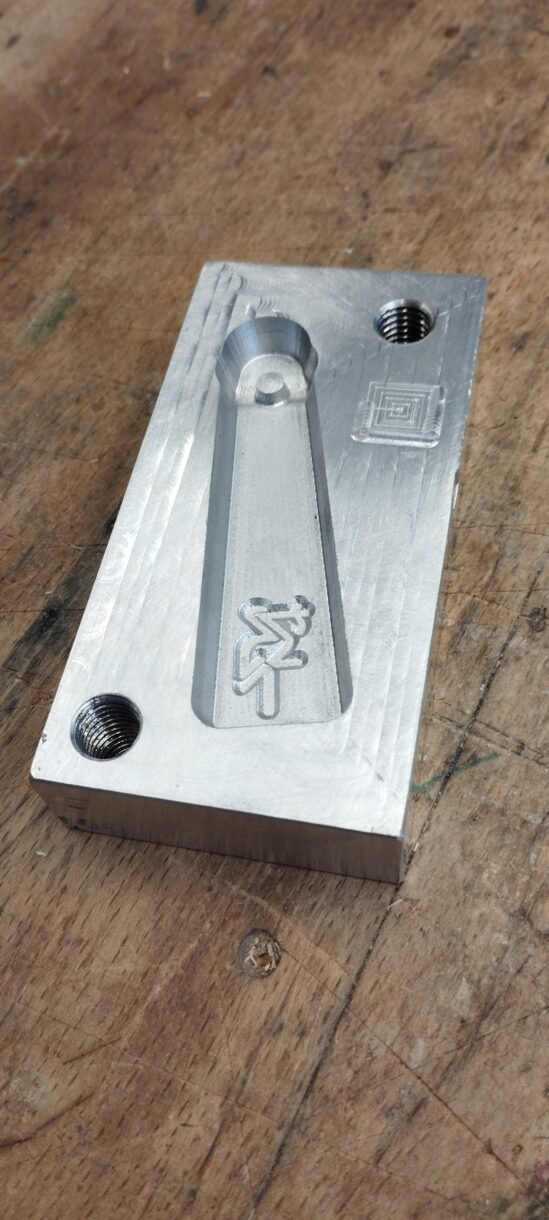
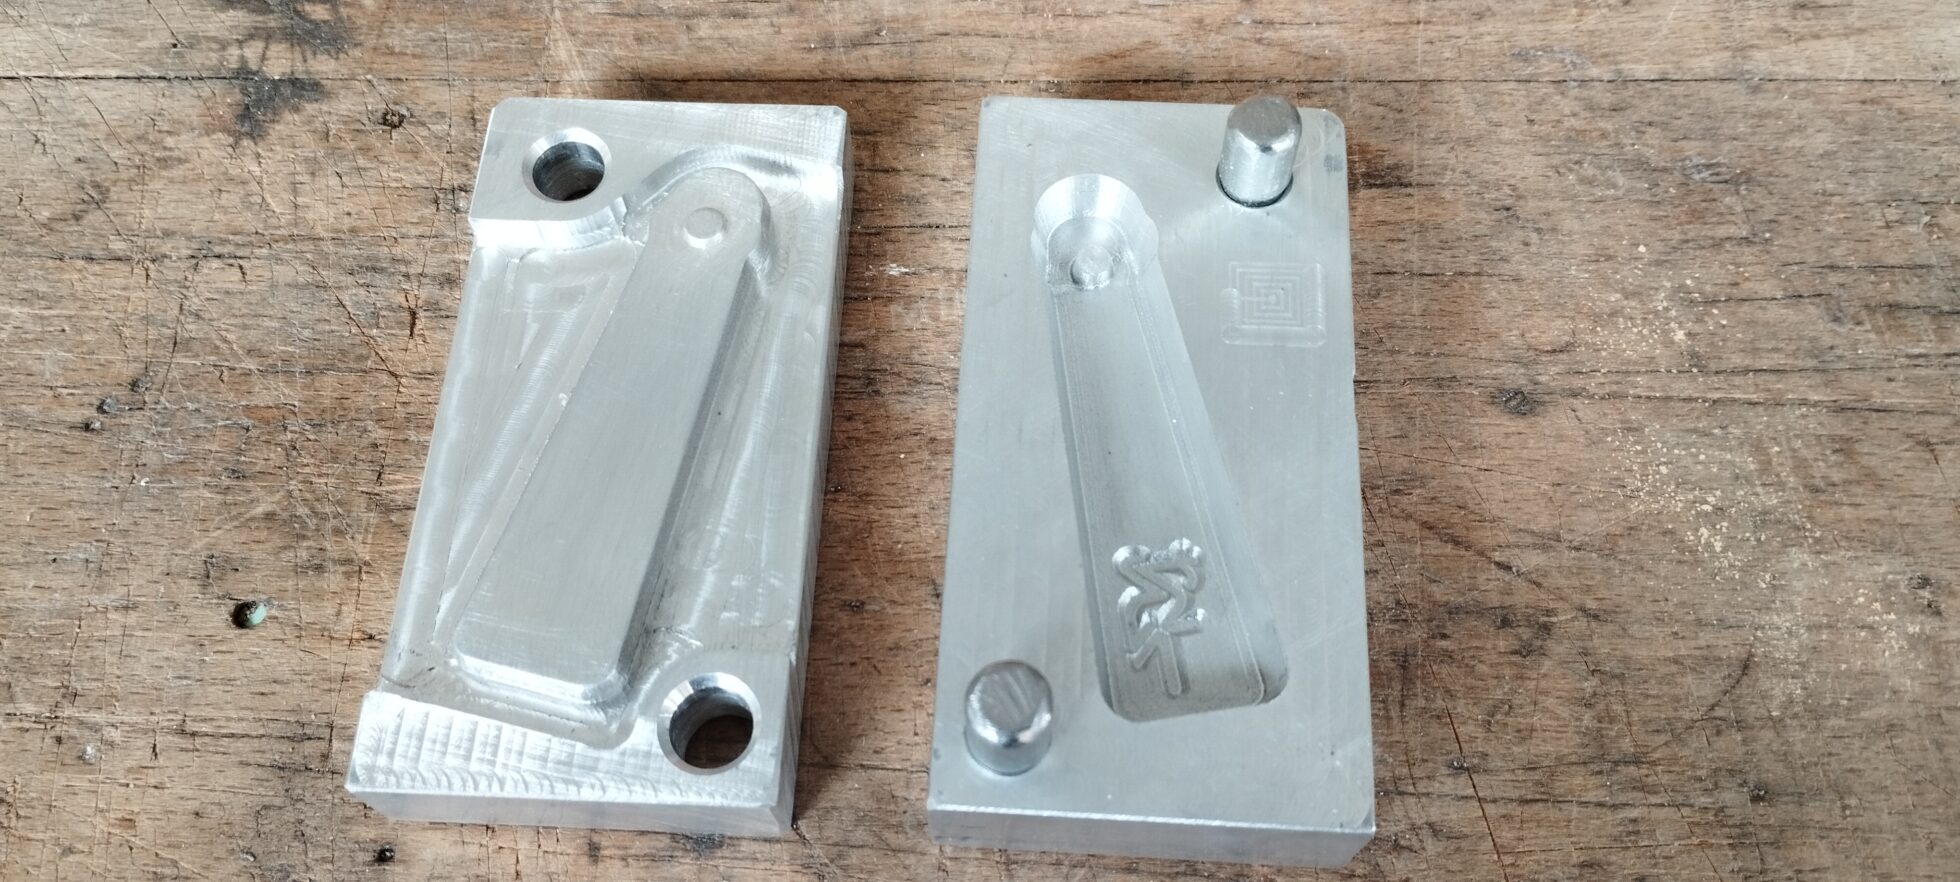
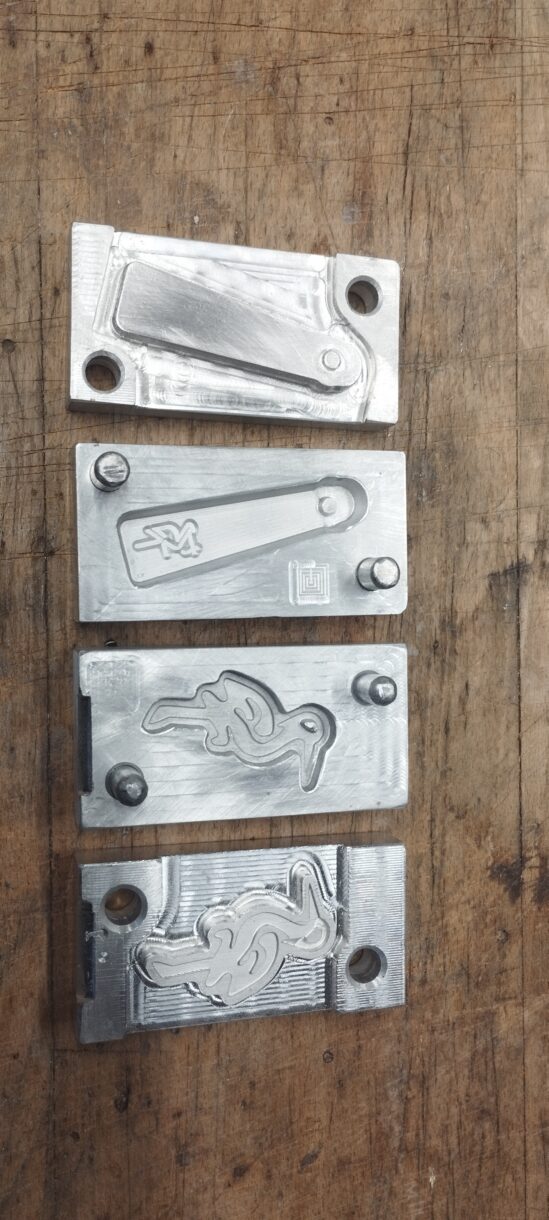
Voor de gemeente Den Haag een malletje aan het maken, een herneming van een eerdere mal, maar nu met wat verbeteringen erin zoals betere afvoer van de overmaat materiaal en met minder kracht te sluiten. Het wordt gebruikt om kinderen met gerecycled plastic een sleutelhanger te laten maken. Waarom deze vorm? Kijk maar even naar het wapen van Den Haag. Een ooievaar met een slangetje in z’n snavel.
Het logo in een sleutelhanger
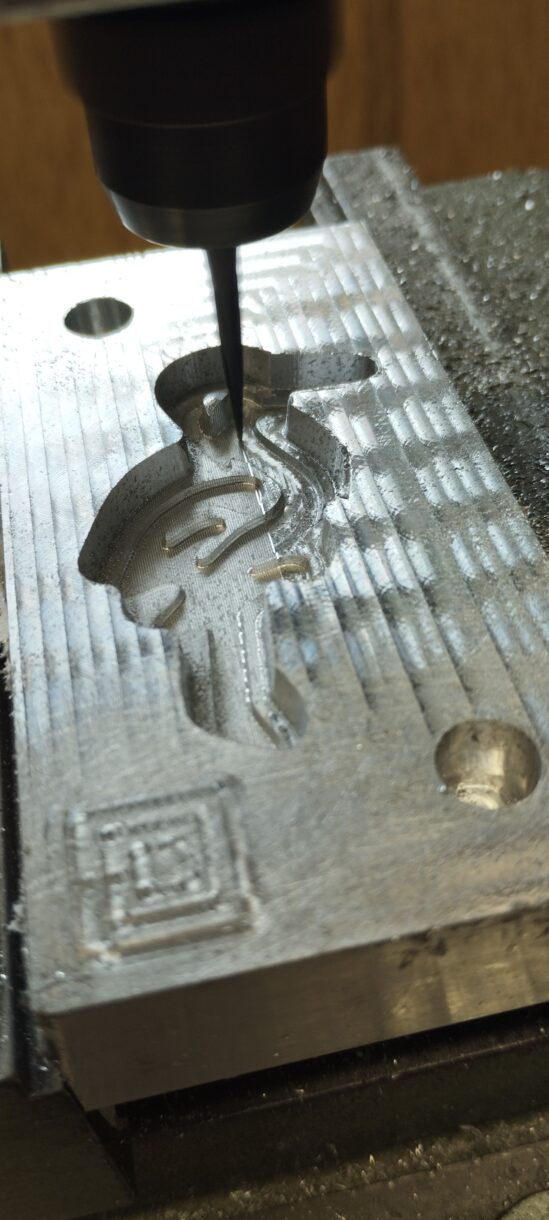
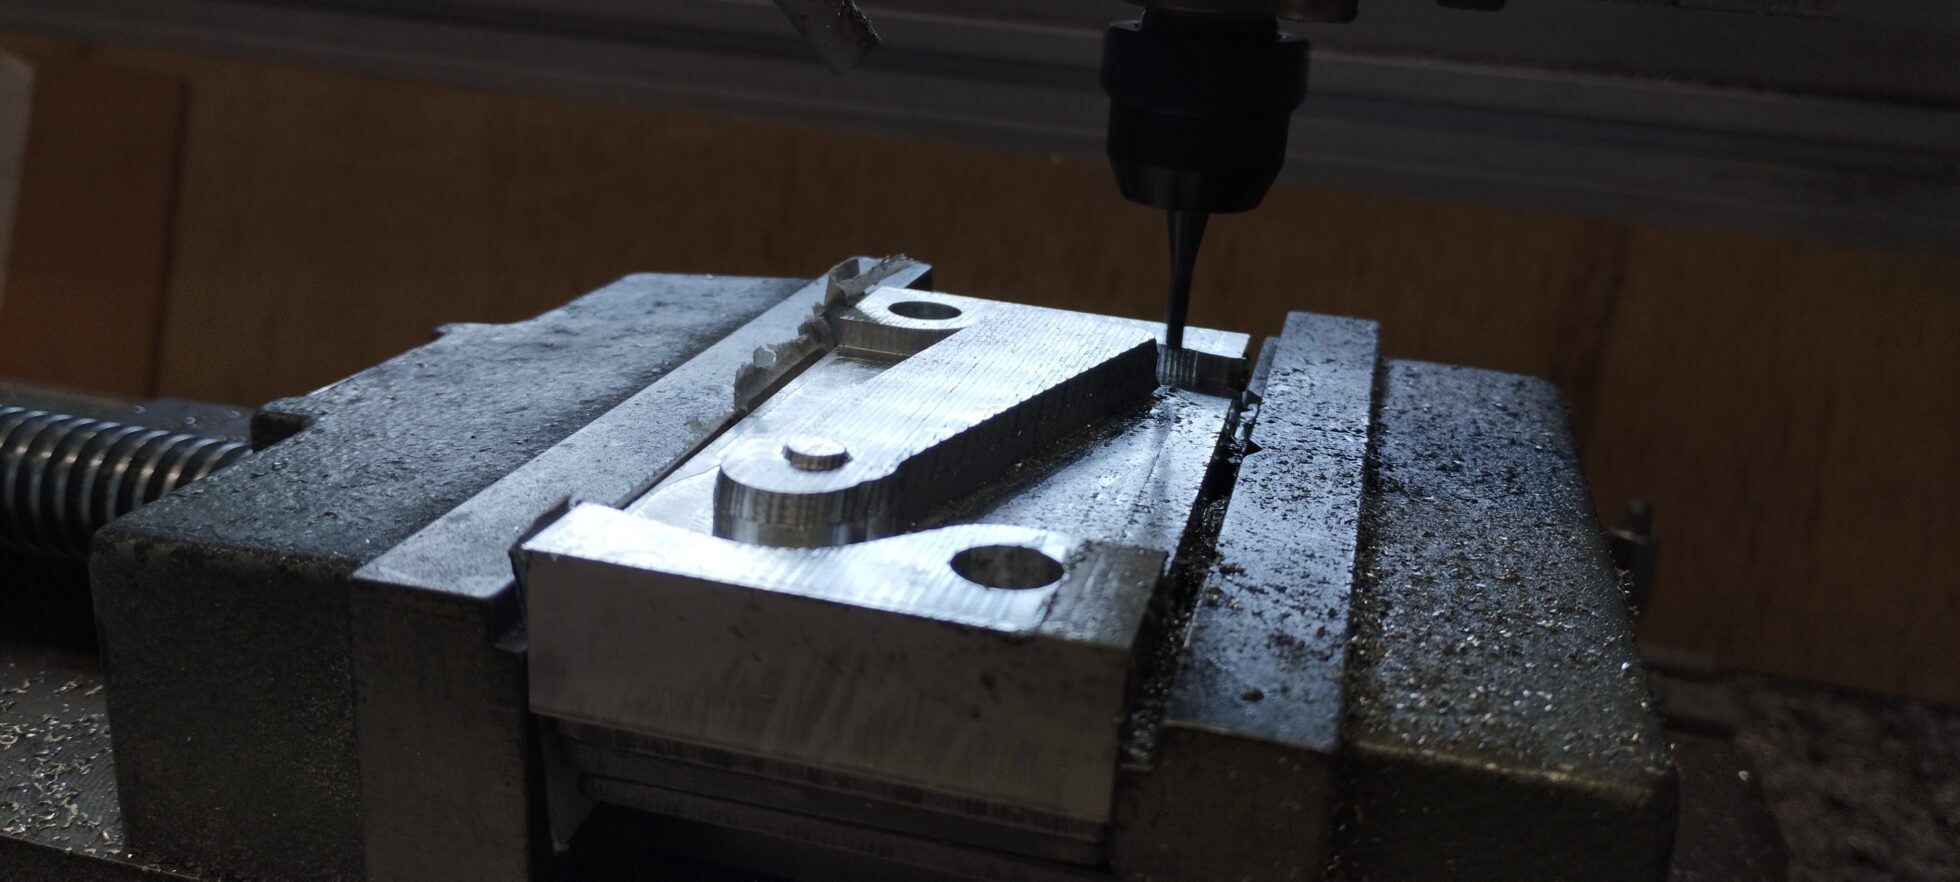
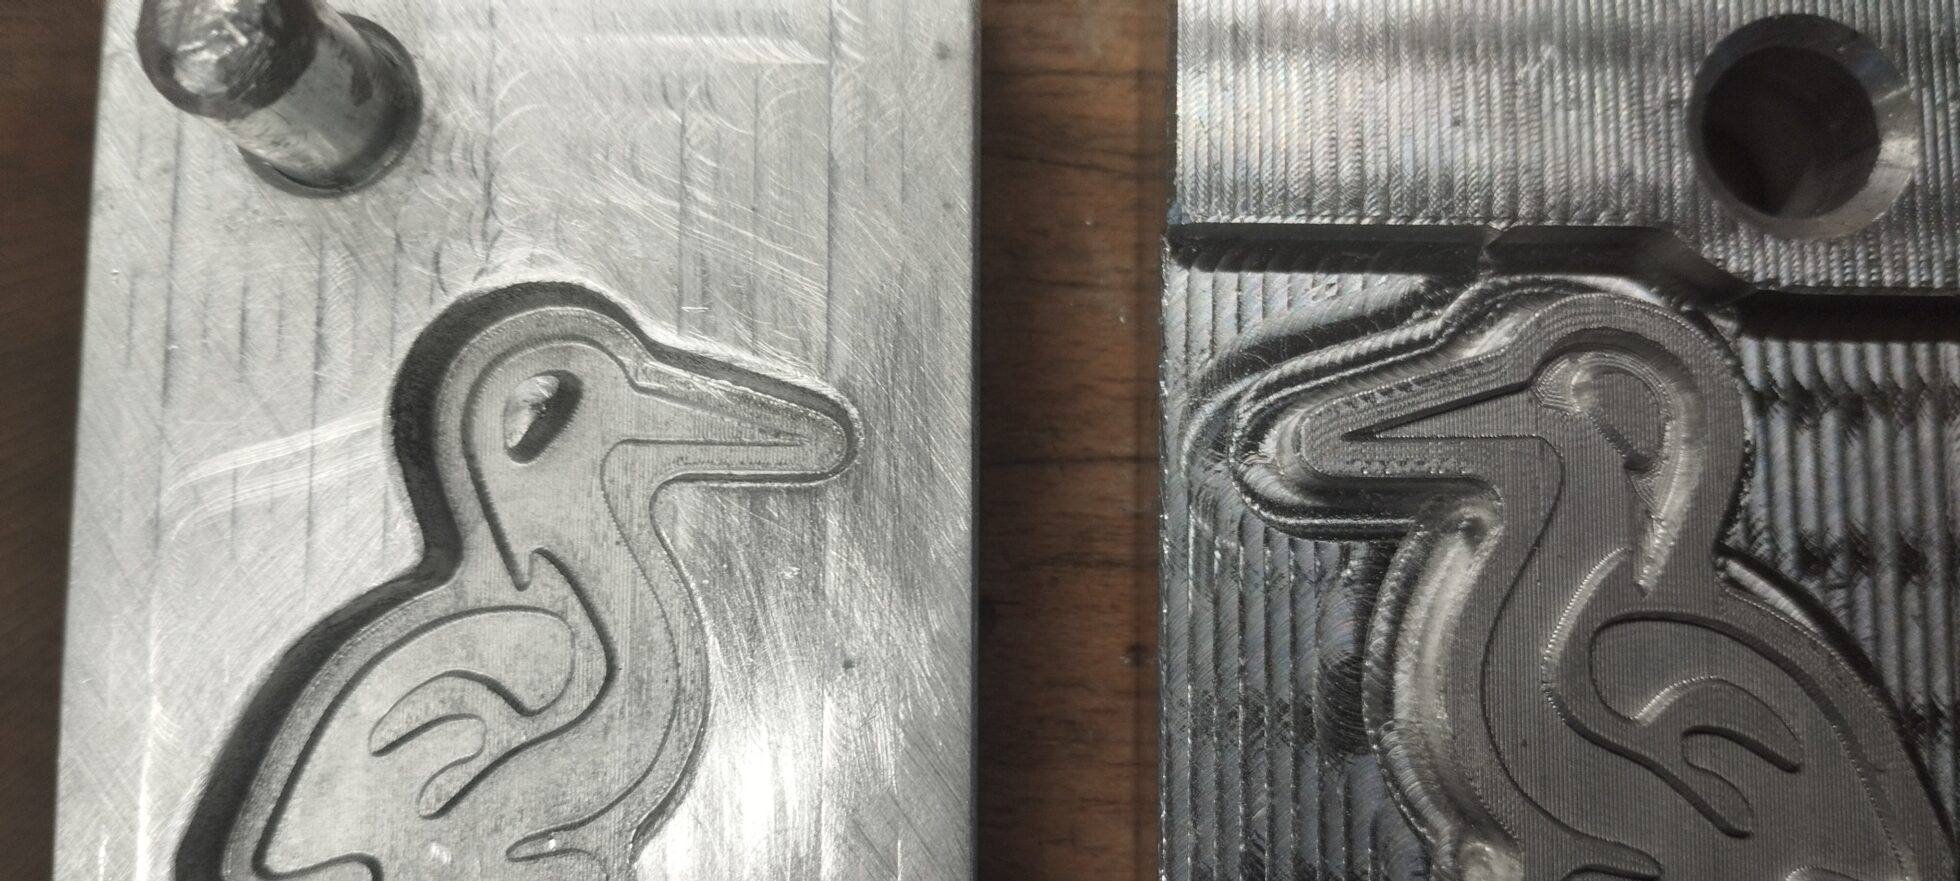
De ooievaar in de laatste fase van het frezen. De fijne details komen er nu in
Voor de fijne details gebruik ik een V vormige frees met een bolkop, een ideale tool voor dit werk: sterk, kan lekker diep steken zonder te breken. De grote gaten hoeven er niet helemaal doorheen te worden gefreesd. Diepe gaten maken gaat vlugger met de kolomboor, zolang de positie maar is aangegeven met een ondiep gat. En het is veiliger voor de frezen die in diepe gaten hun spanen slecht kwijt kunnen.
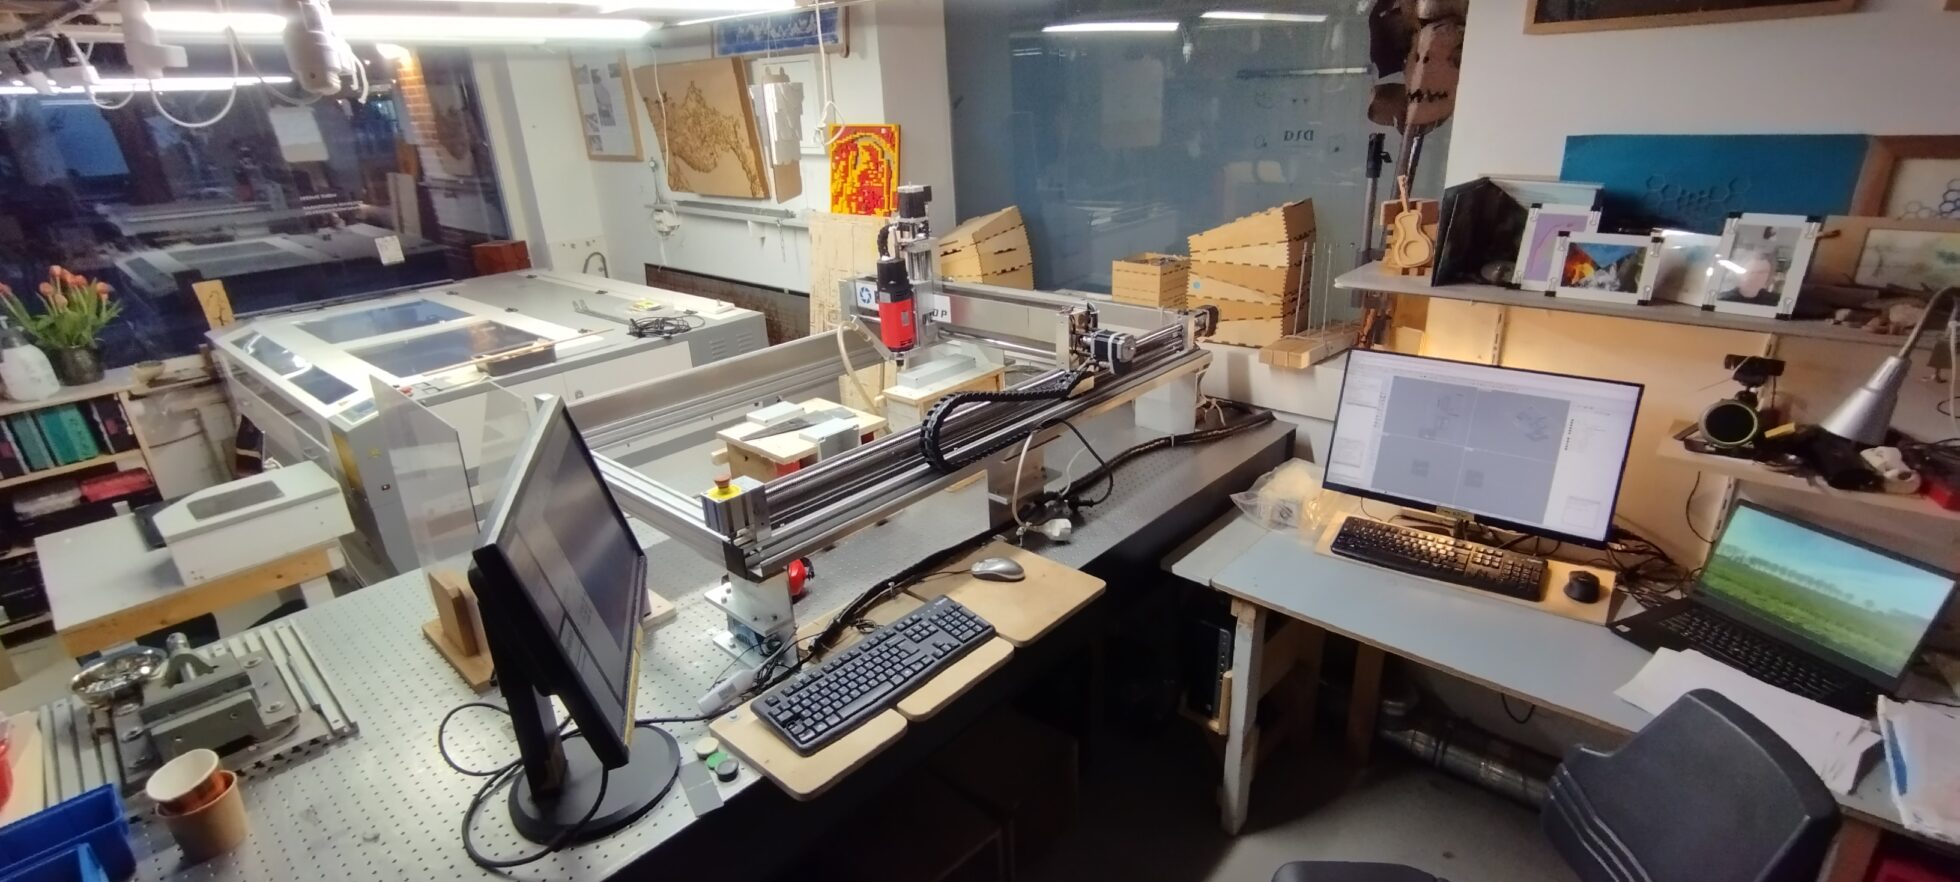
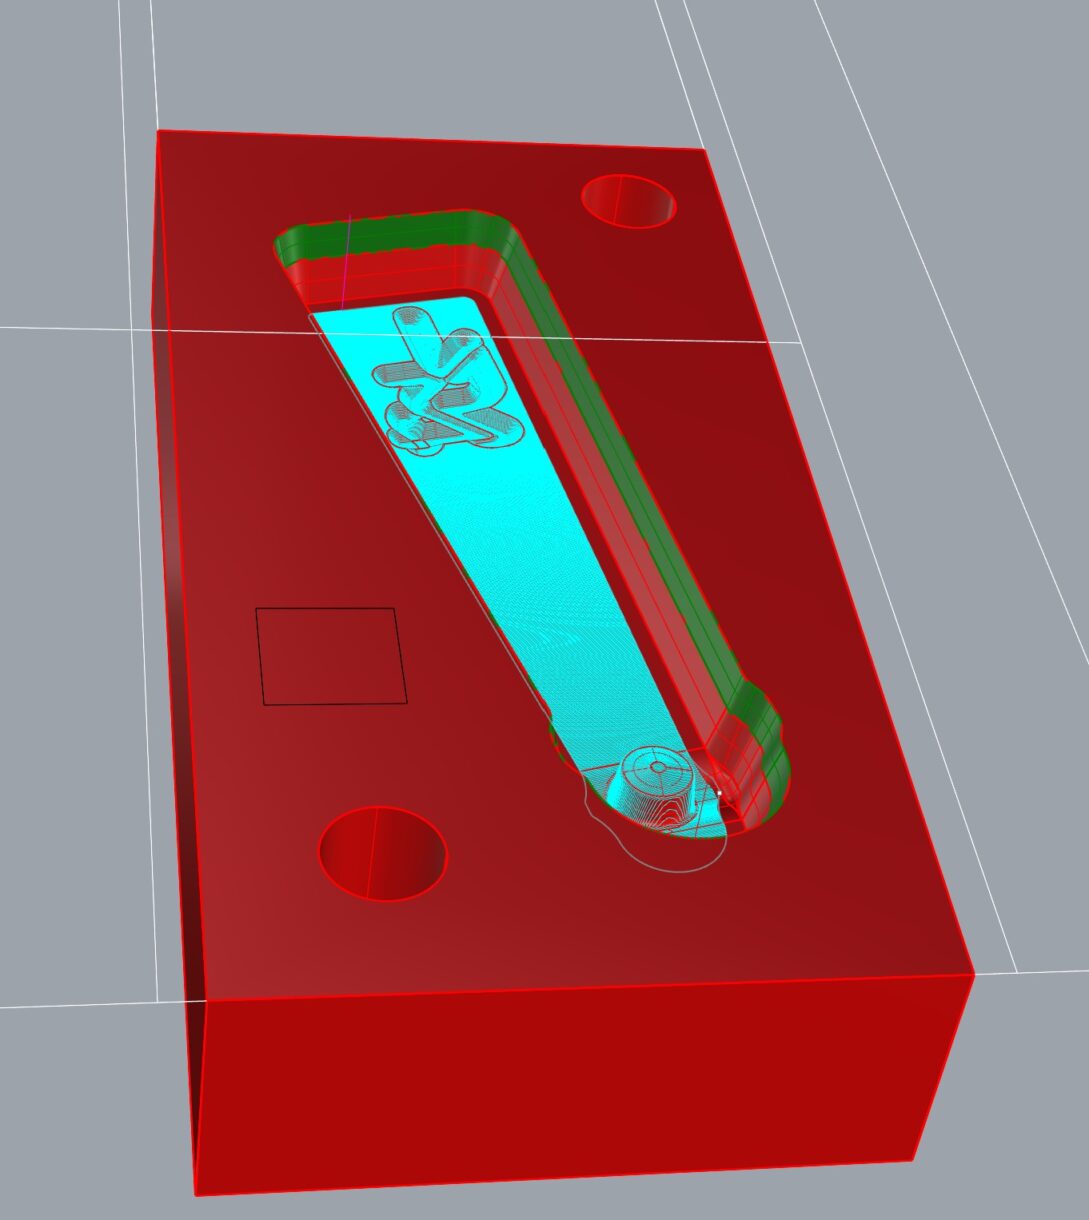
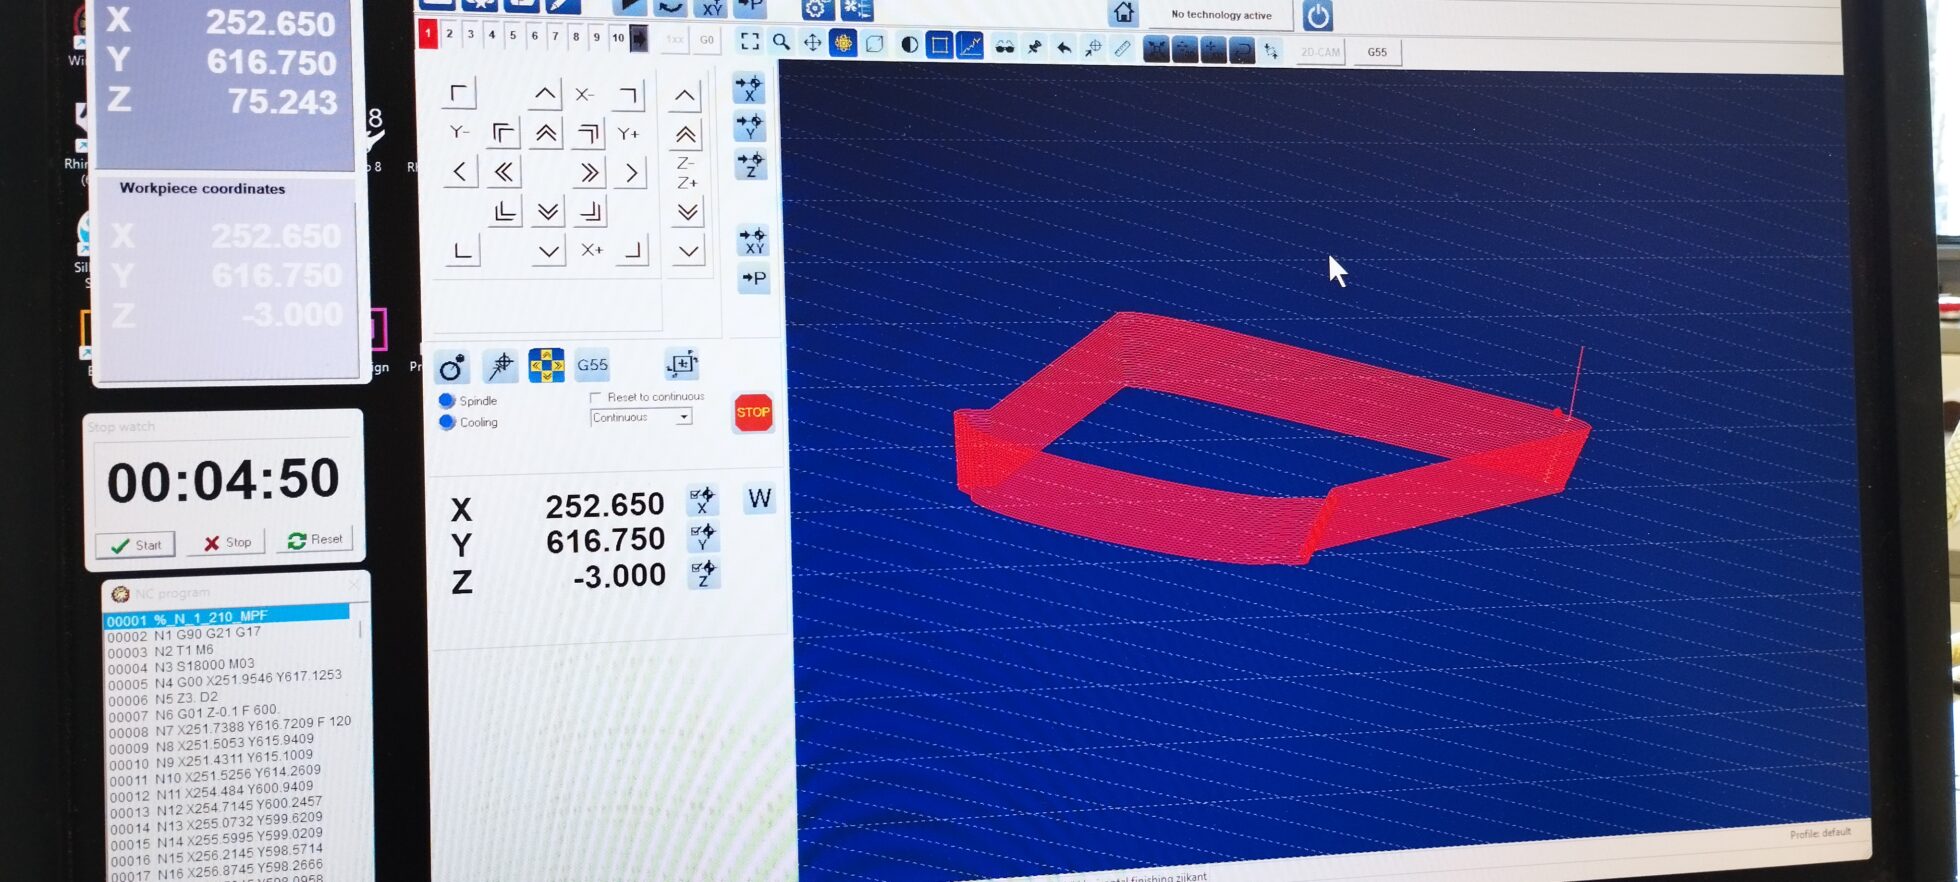
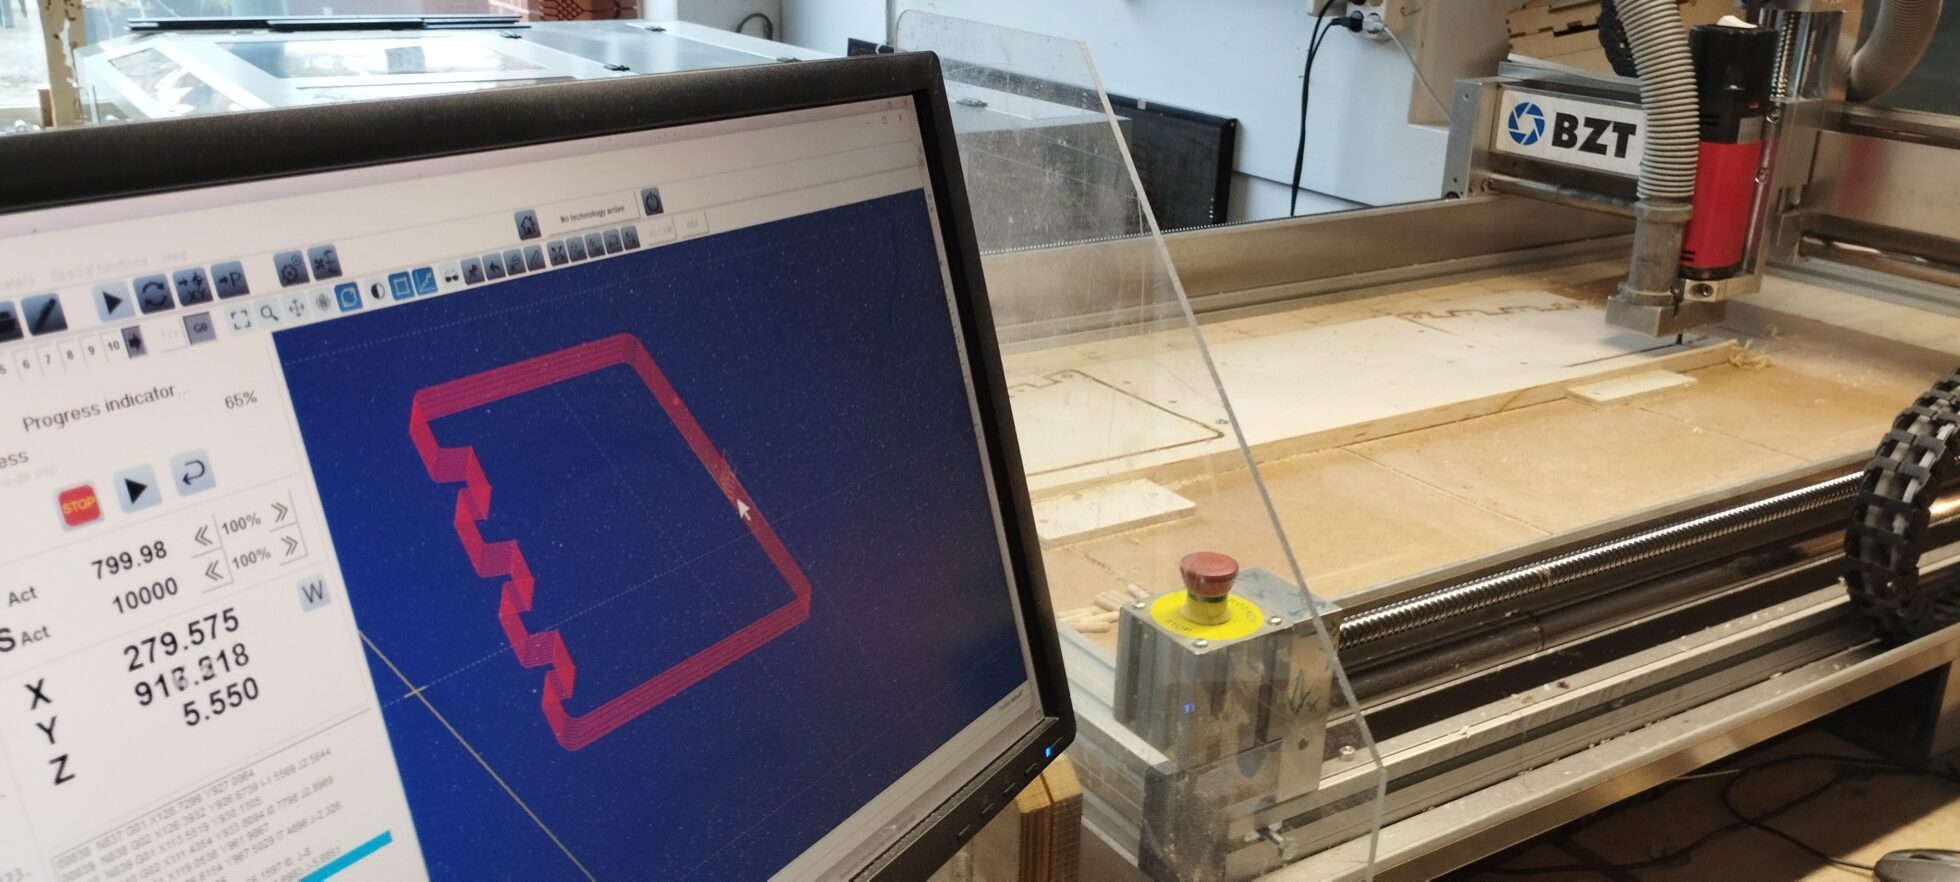
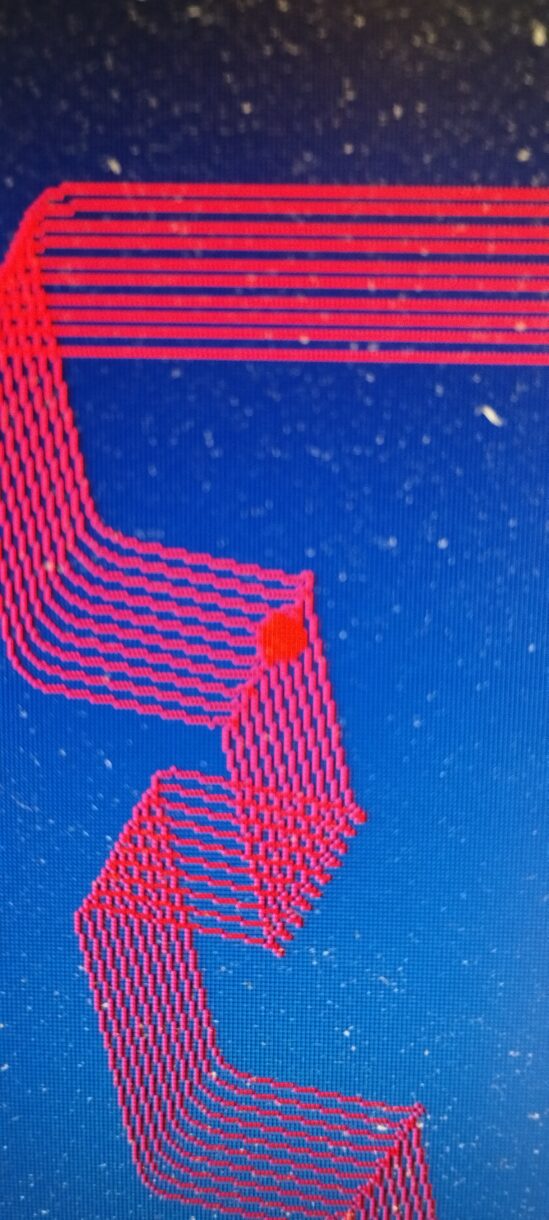
Zo ziet het er uit in de tekensoftware. Het blauwe vlak (lijnen eigenlijk) zijn de freesbanen, die aangeven waar de frees langs beweegt. In dit geval een eindafwerking, om een mooi afgewerkt oppervlak te krijgen. Dit gaat naar de freessoftware als NC code, een lang tekstbestand met coordinaten en snelheden (soort G-Code)
De freessoftware. Hier moet je liever geen fouten maken . Hier bestaat geen control-Z. Check, doublecheck en nog een check. En dan frezen en op blijven letten.
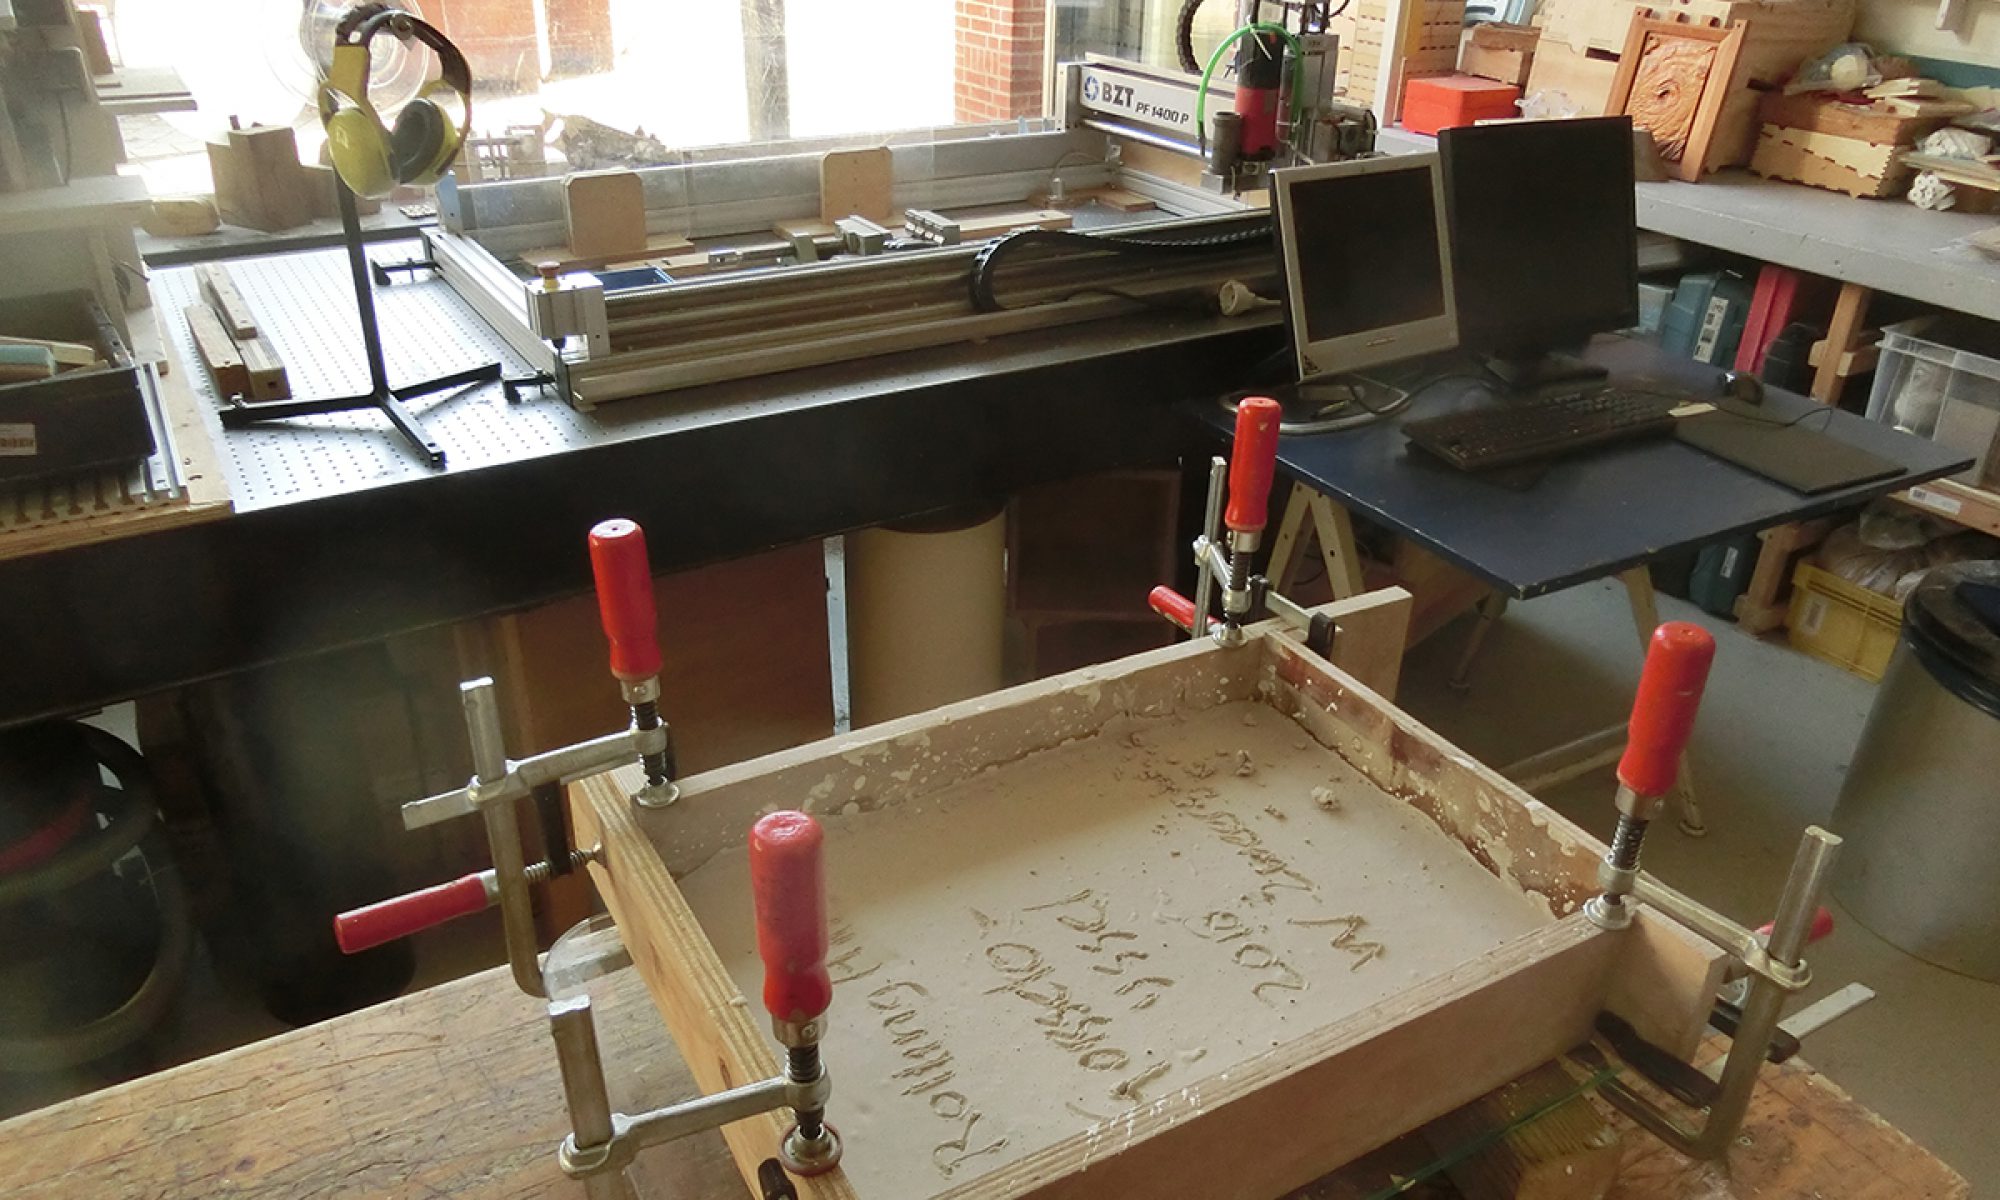
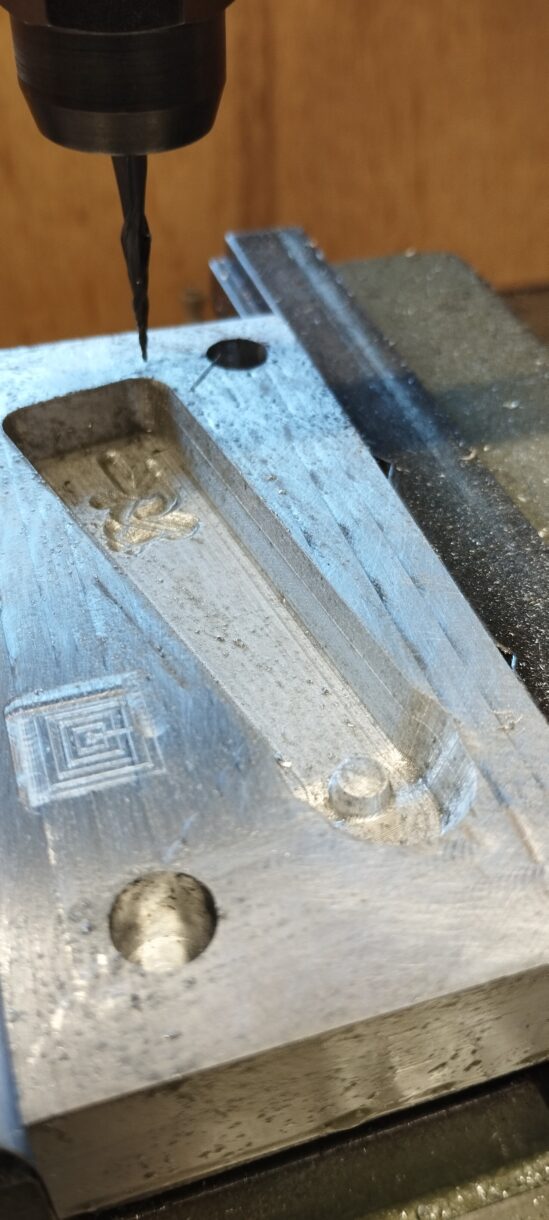
De tegenplaat in de frees
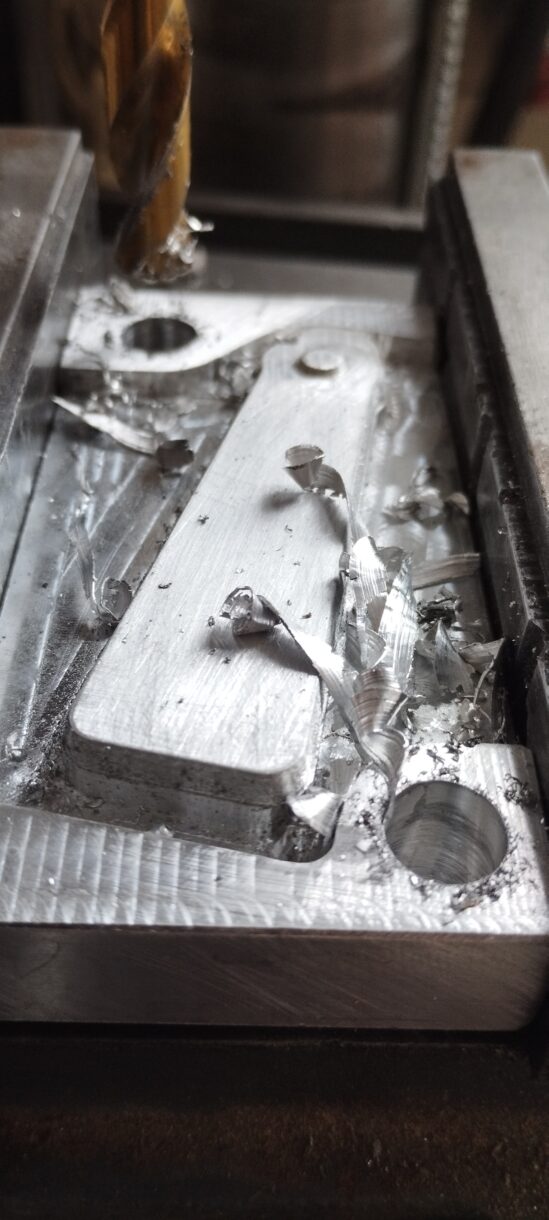
Gaten boren met de kolomboor. Het ziet er wel gelijk een stuk ruiger uit zo.
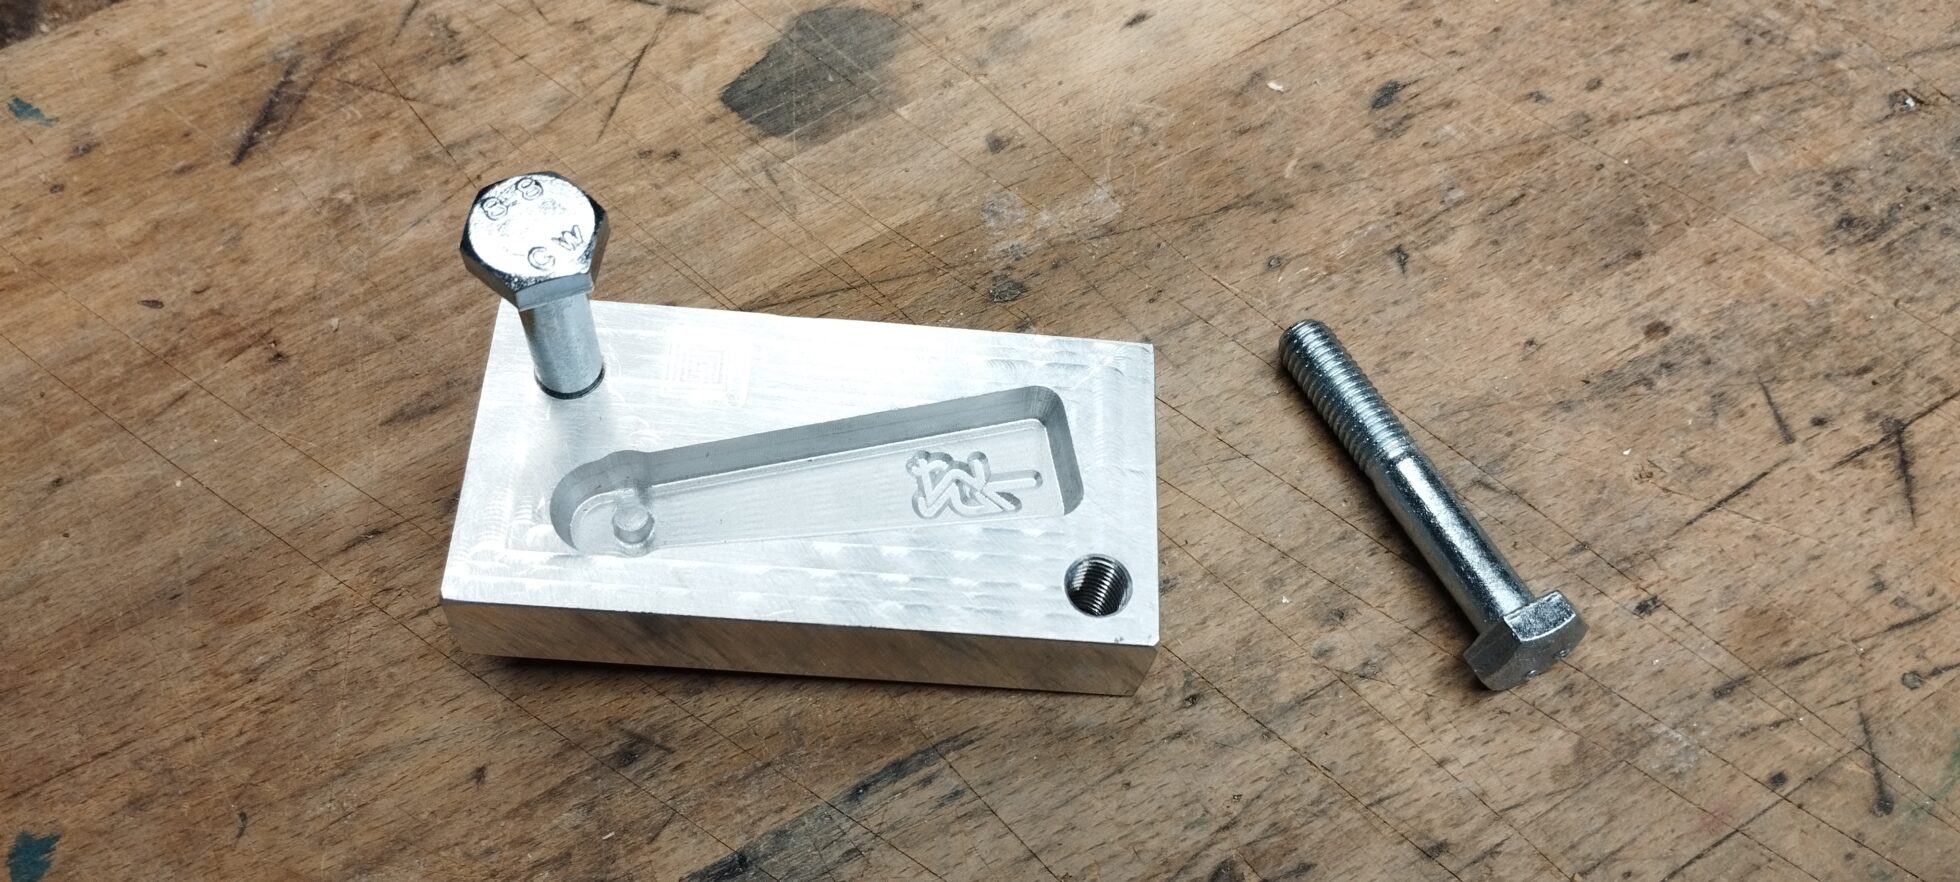
Bouten worden afgewerkt tot paspennen waarmee de mal gemakkelijk en exact kan worden uitgelijnd op de tegenvorm
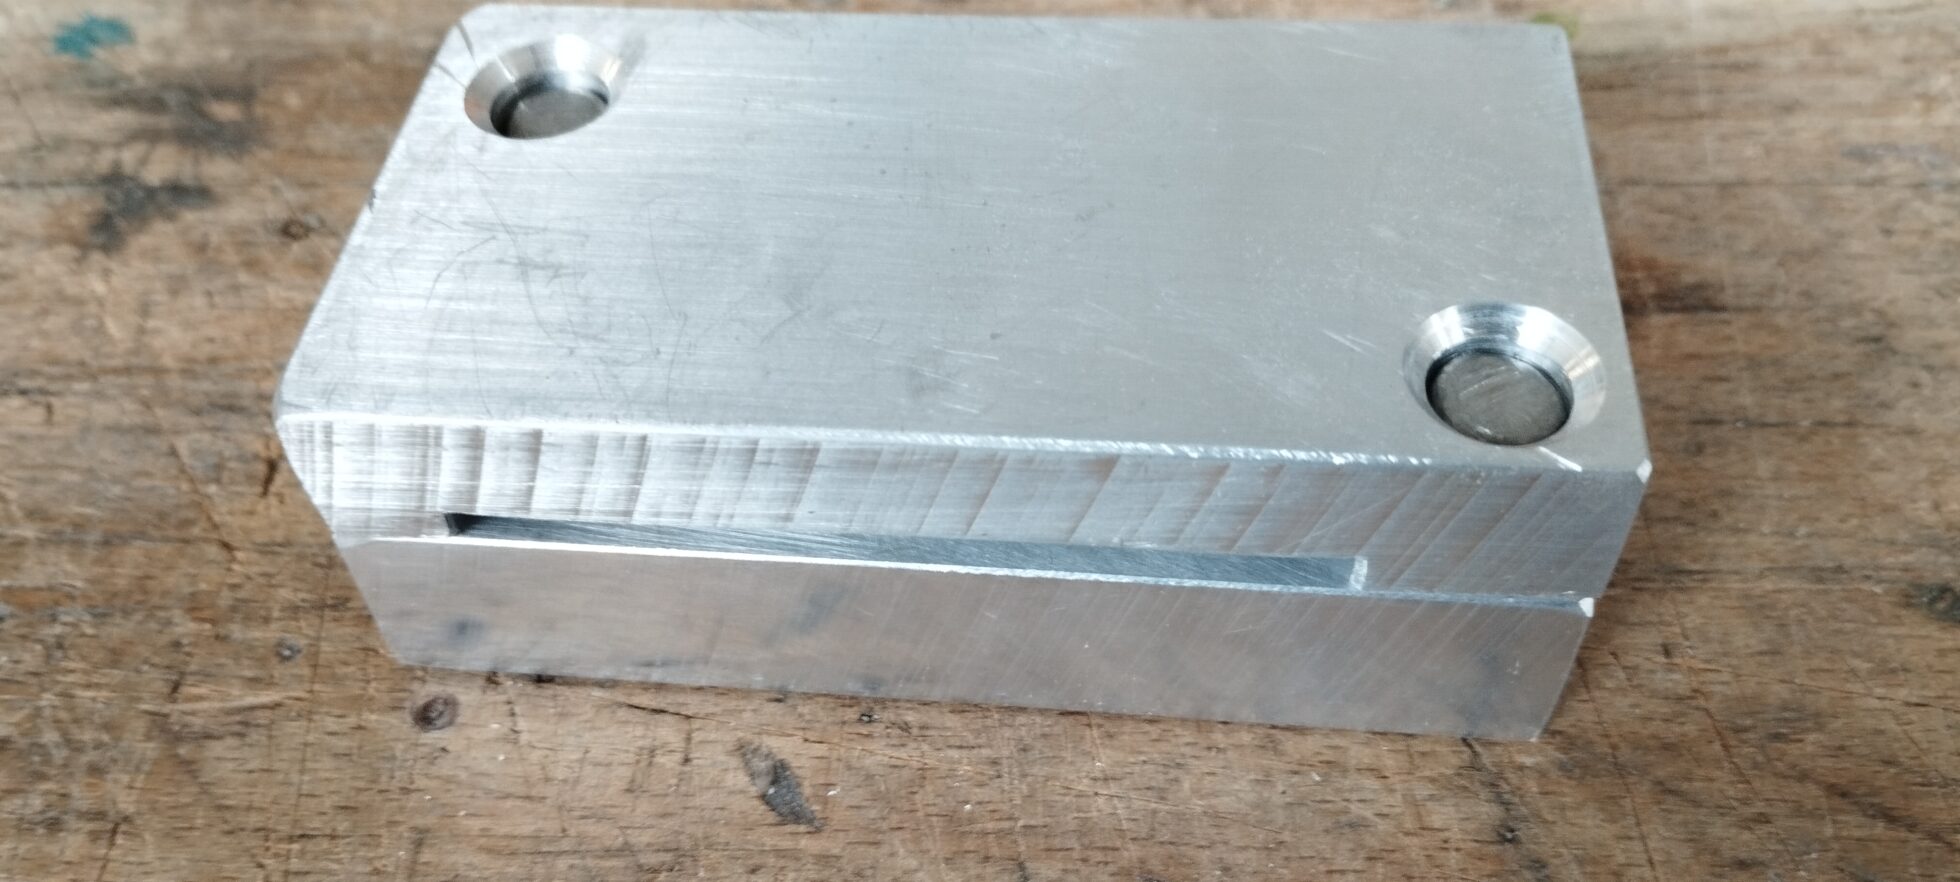
Paspennen erinEn klaar. De opening tussen de delen is de “spuiruimte” waar overmaat plastic heen kan.
De onderkant van de mal wordt gevuld met een rolletje warme en nog zachte geextrudeerde gerecyclede kunststof, deksel er op, in de bankschroef en aandraaien maar. Omdat dat met de hand wordt gedaan is er variatie, de ene keer gaat er meer in dan de andere. Een beetje overmaat is overigens wel aan te bevelen, om de mal goed gevuld te krijgen zonder holtes erin.
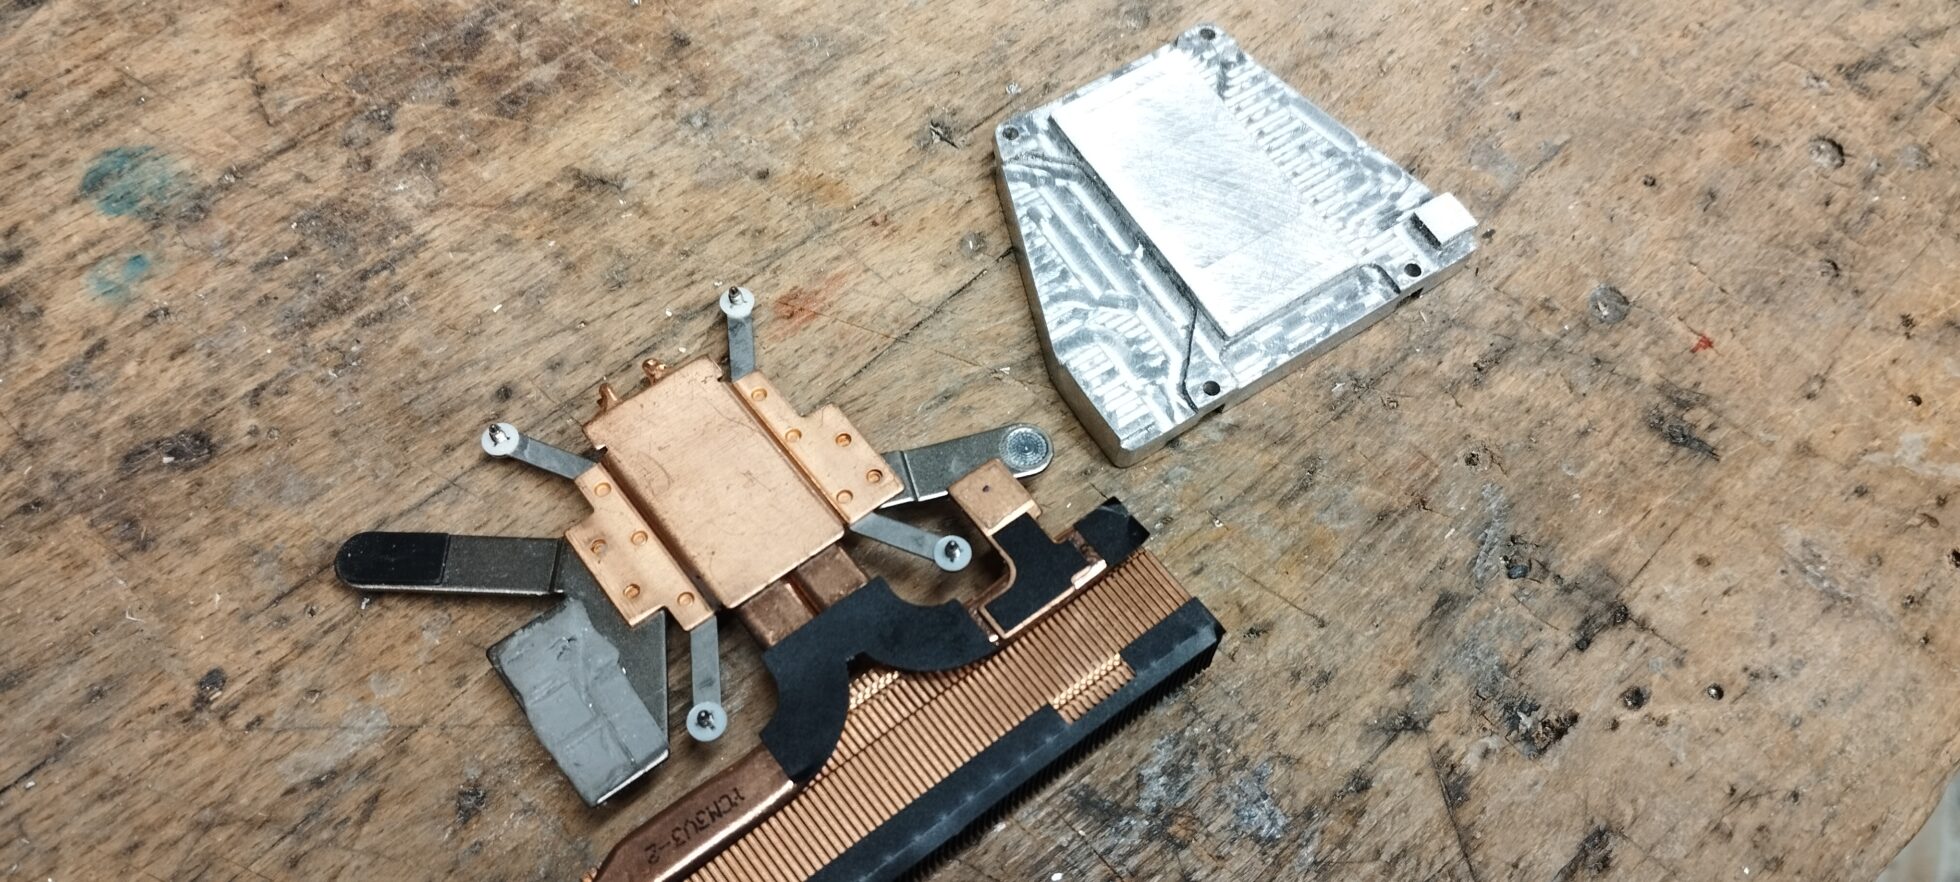
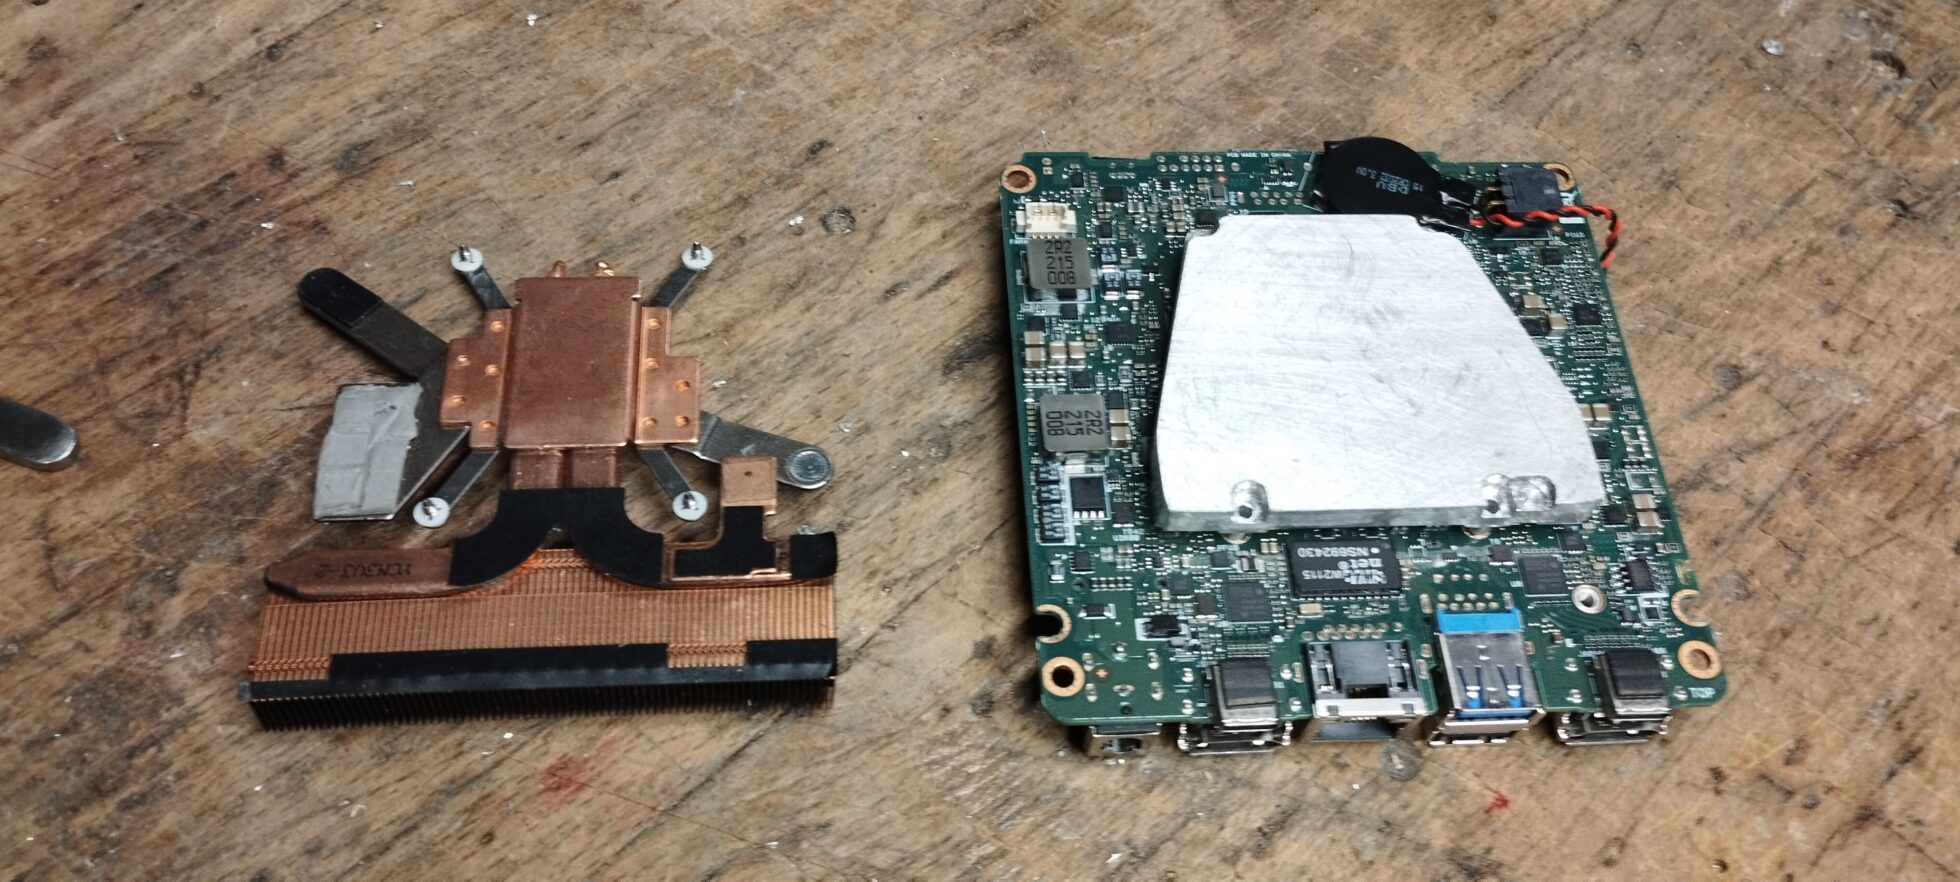
Een pcb waar een heatpipe op zit moet een andere koeling krijgen. Het wordt een aluminium plaat welke nauw aansluit op de componenten welke gekoeld moeten worden.
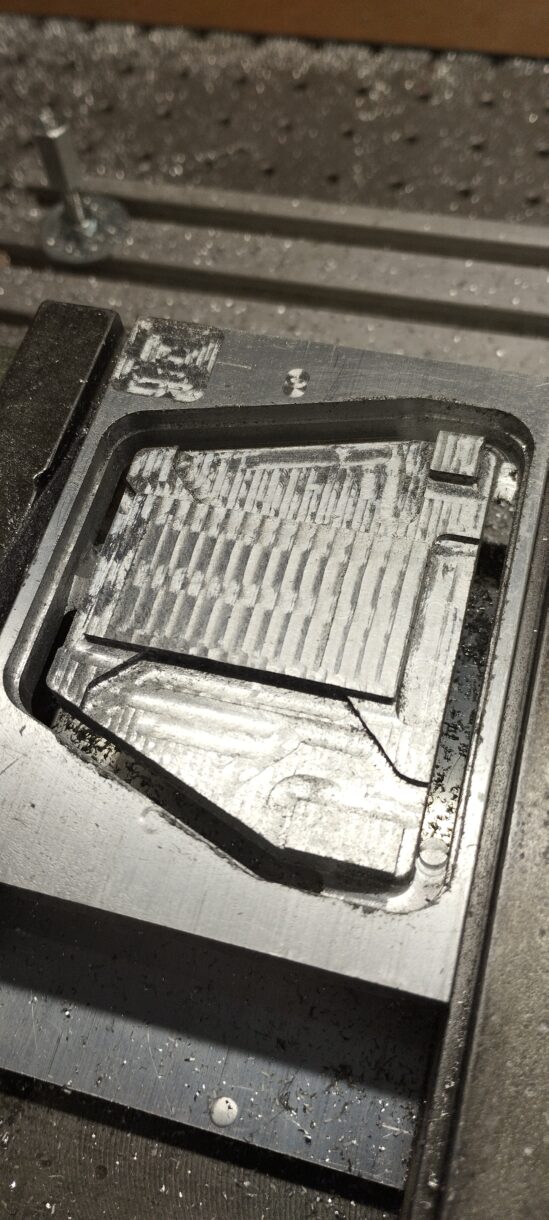
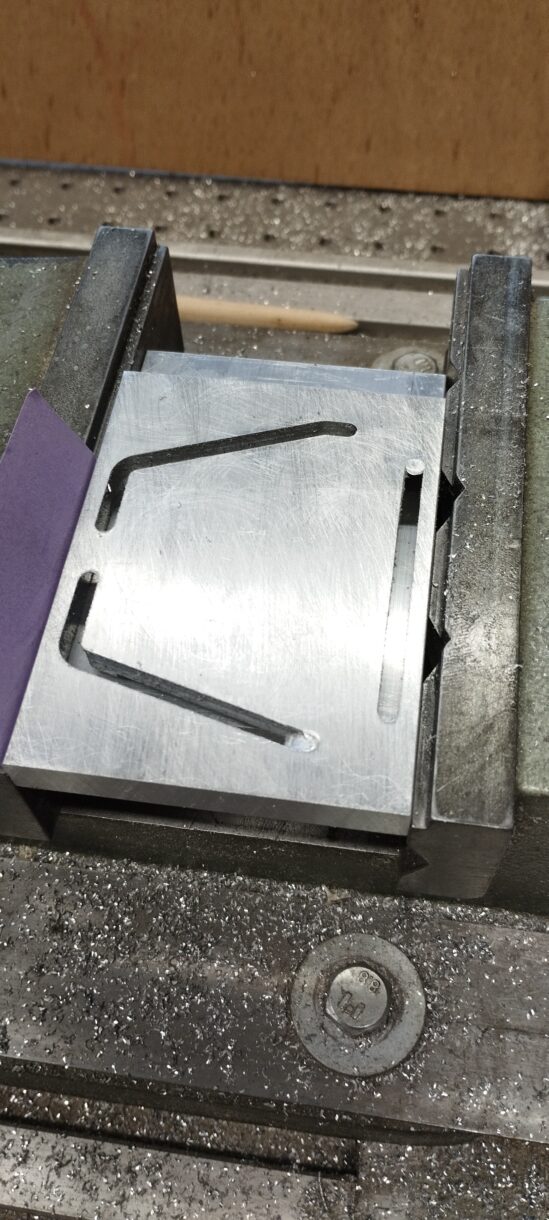
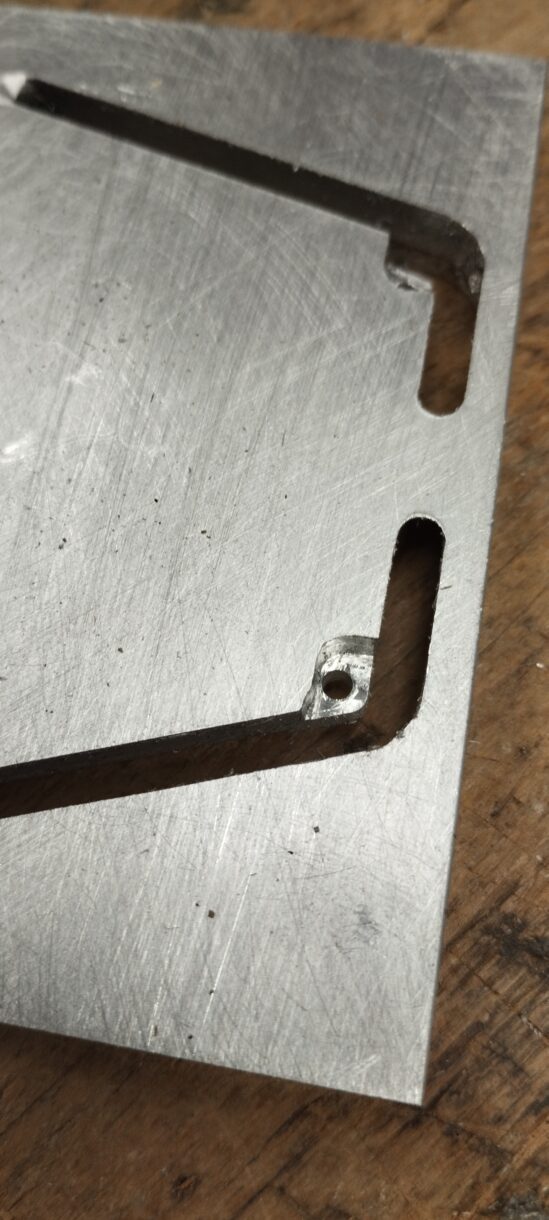
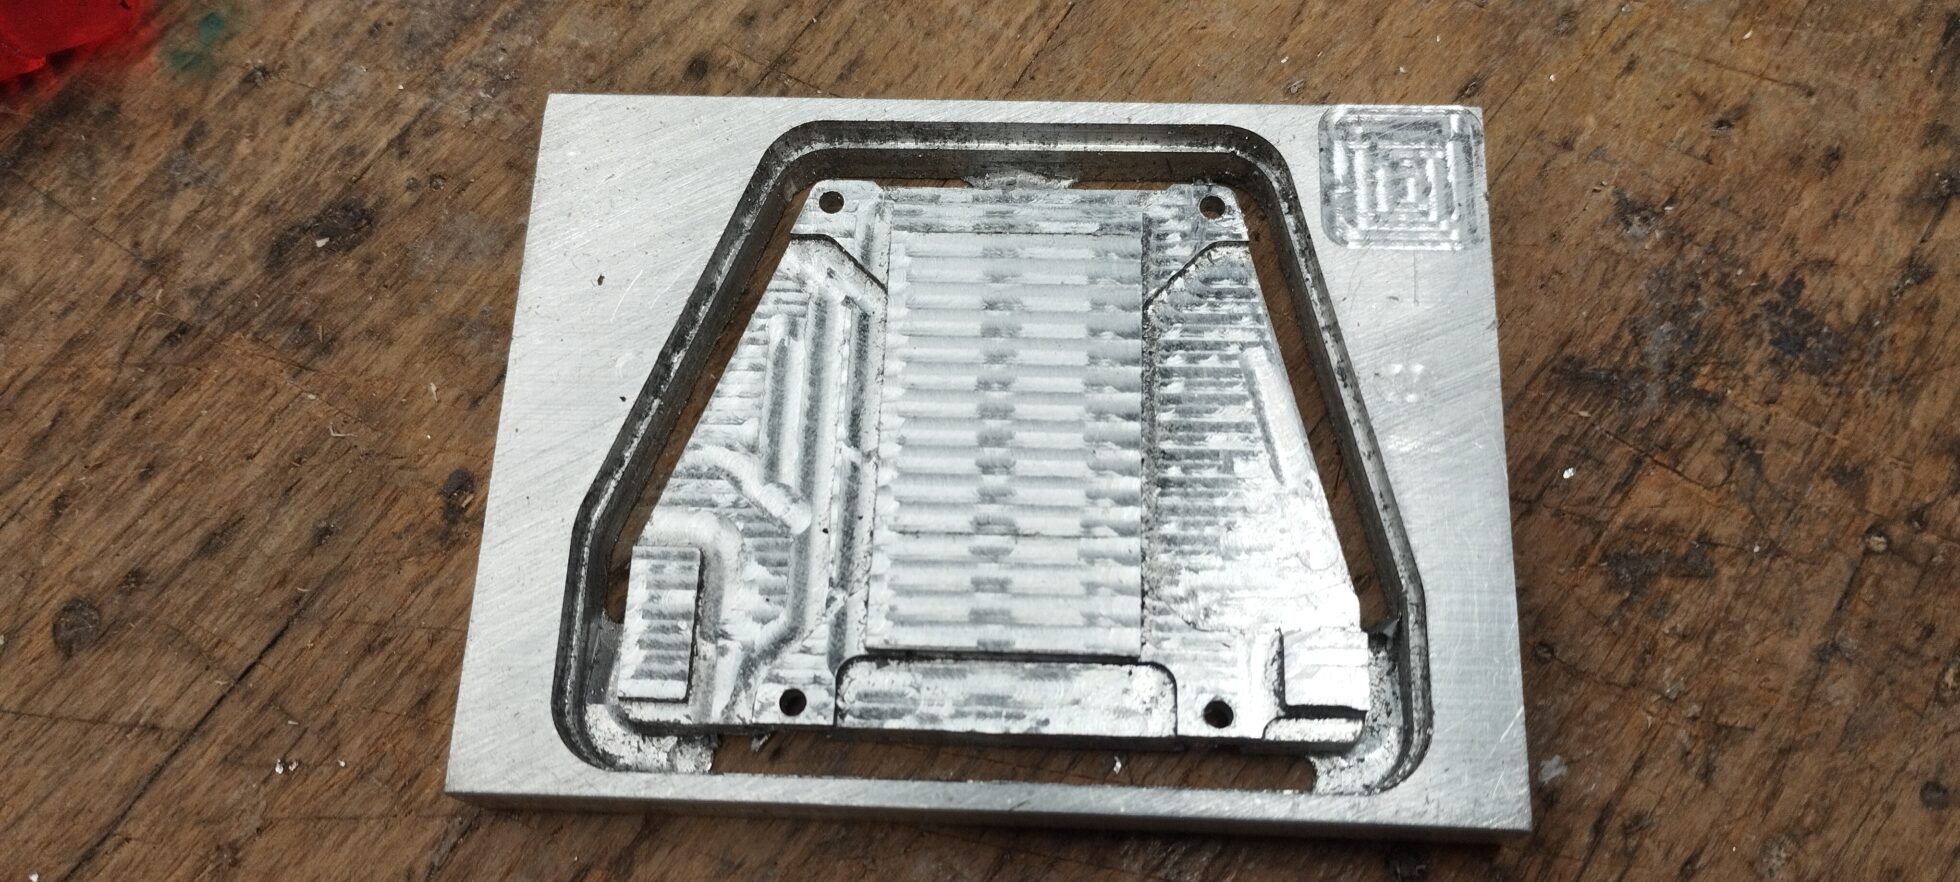
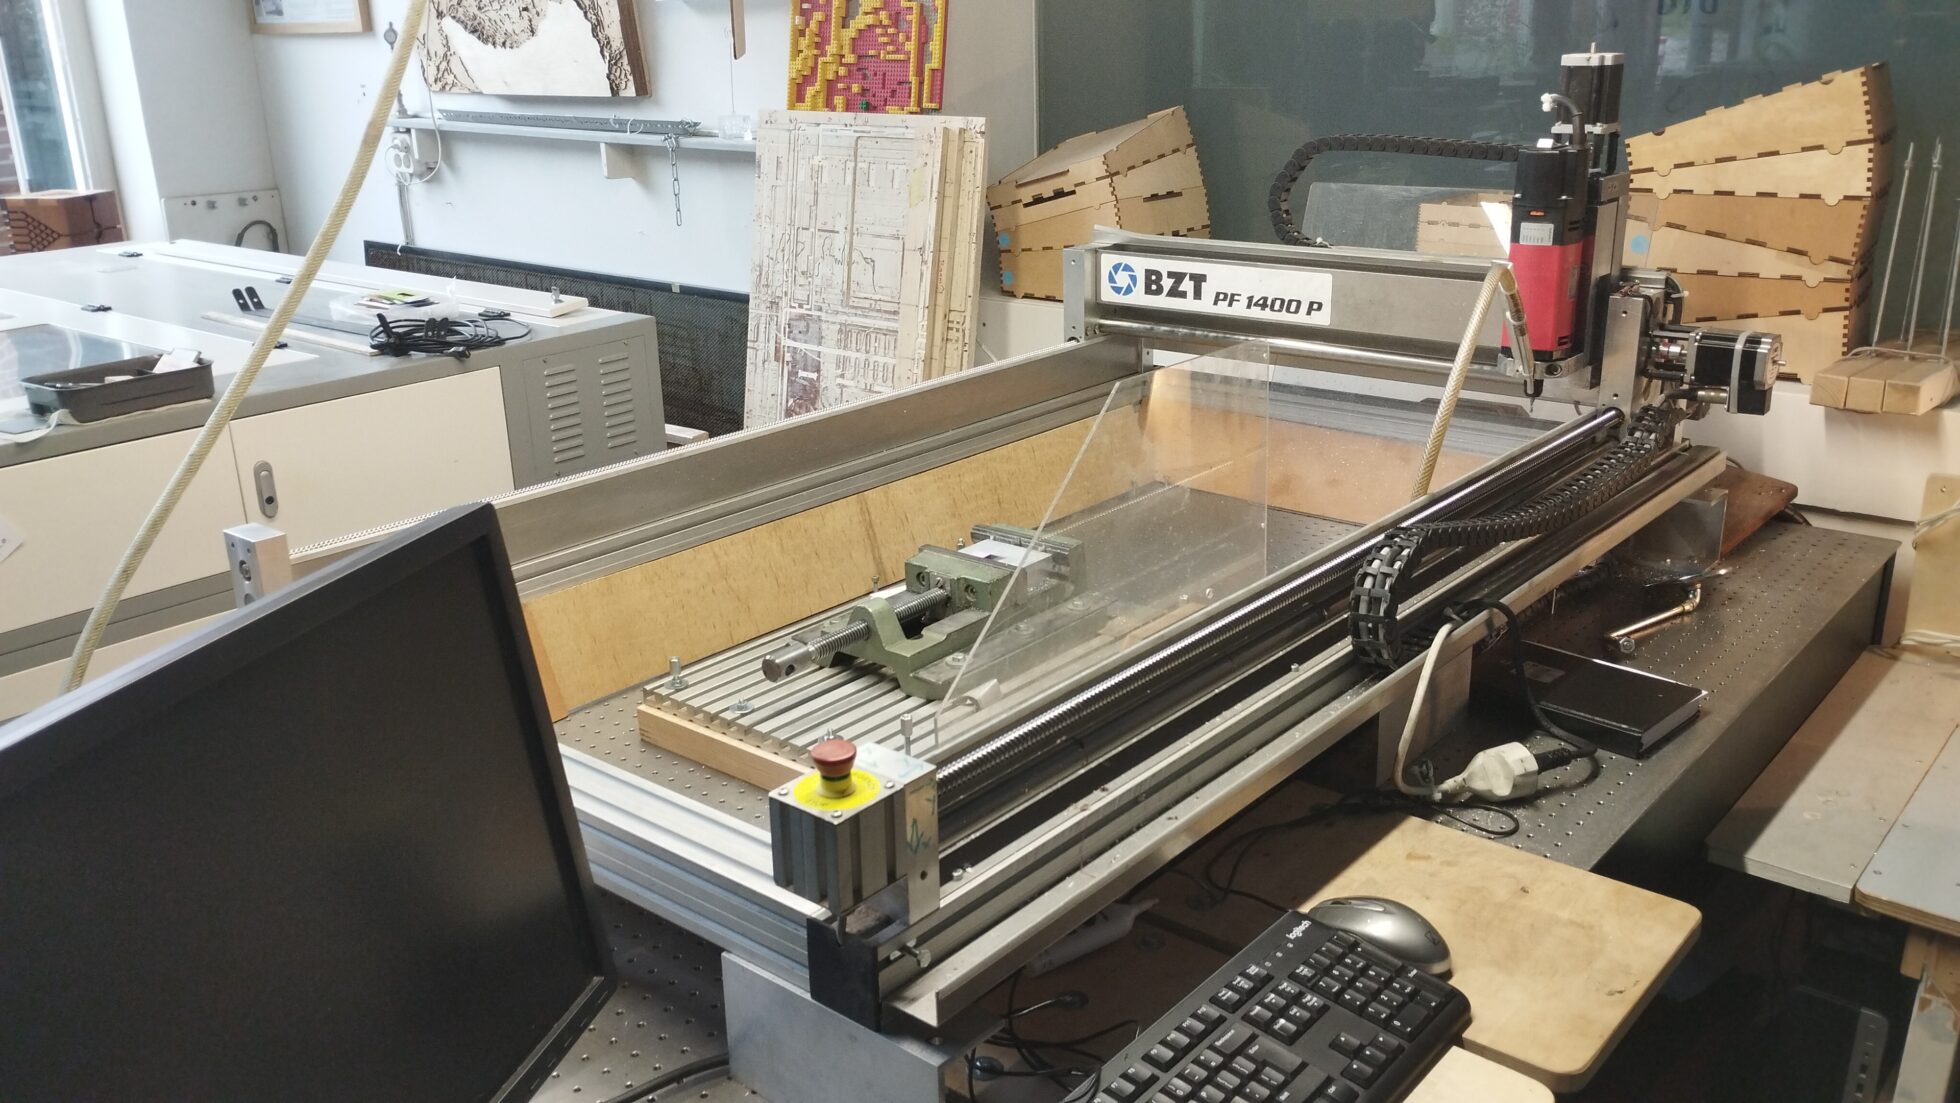
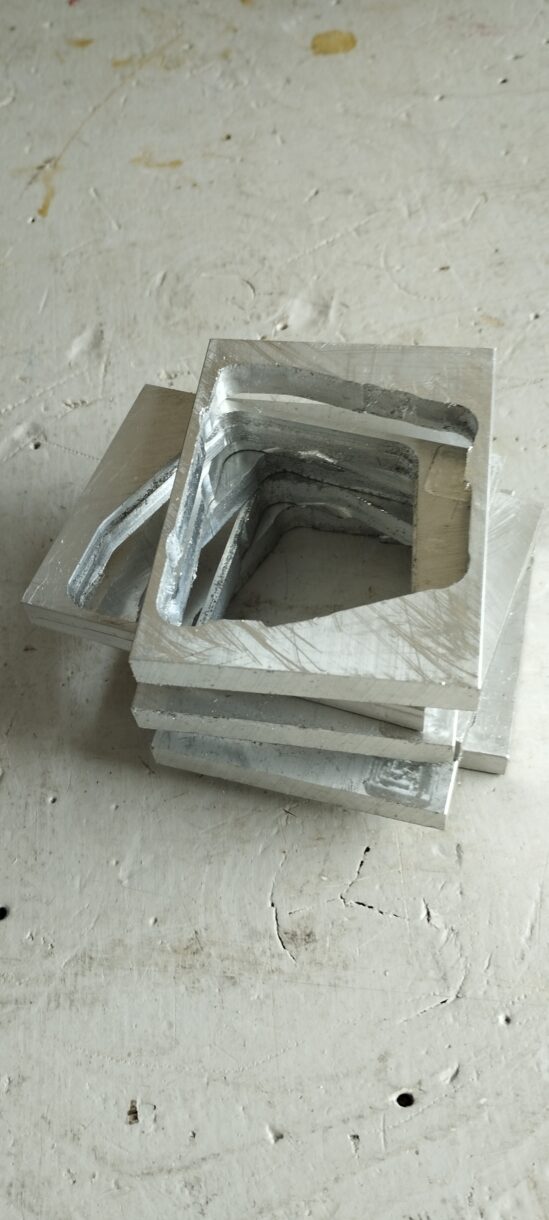
Een 10 mm dik plaatje aluminium wordt gefreesd. Het is iets te groot gekozen zodat een stevige rand blijft zitten als de contour gefreesd is. De koelplaat zit dan met dunne tabs vast welke later weggezaagd en bijgevijld worden. Gekozen is zoveel mogelijk met een enkele frees te werken (4mm), om instel- en wisseltijd te voorkomen. Alleen de schroefgaten moeten met een 2 mm frees worden gemaakt. Als alle bewerkingen aan de bovenkant zijn gedaan kan de plaat worden omgedraaid om aan de onderzijde verder te werken.
Ondersteboven, tabs houden het werkstuk vastUitsparingen voor verzinken van de schroevenGereed, kan losgezaagd en afgewerkt worden
Het is een koelplaat welke de heat pipes vervangt.
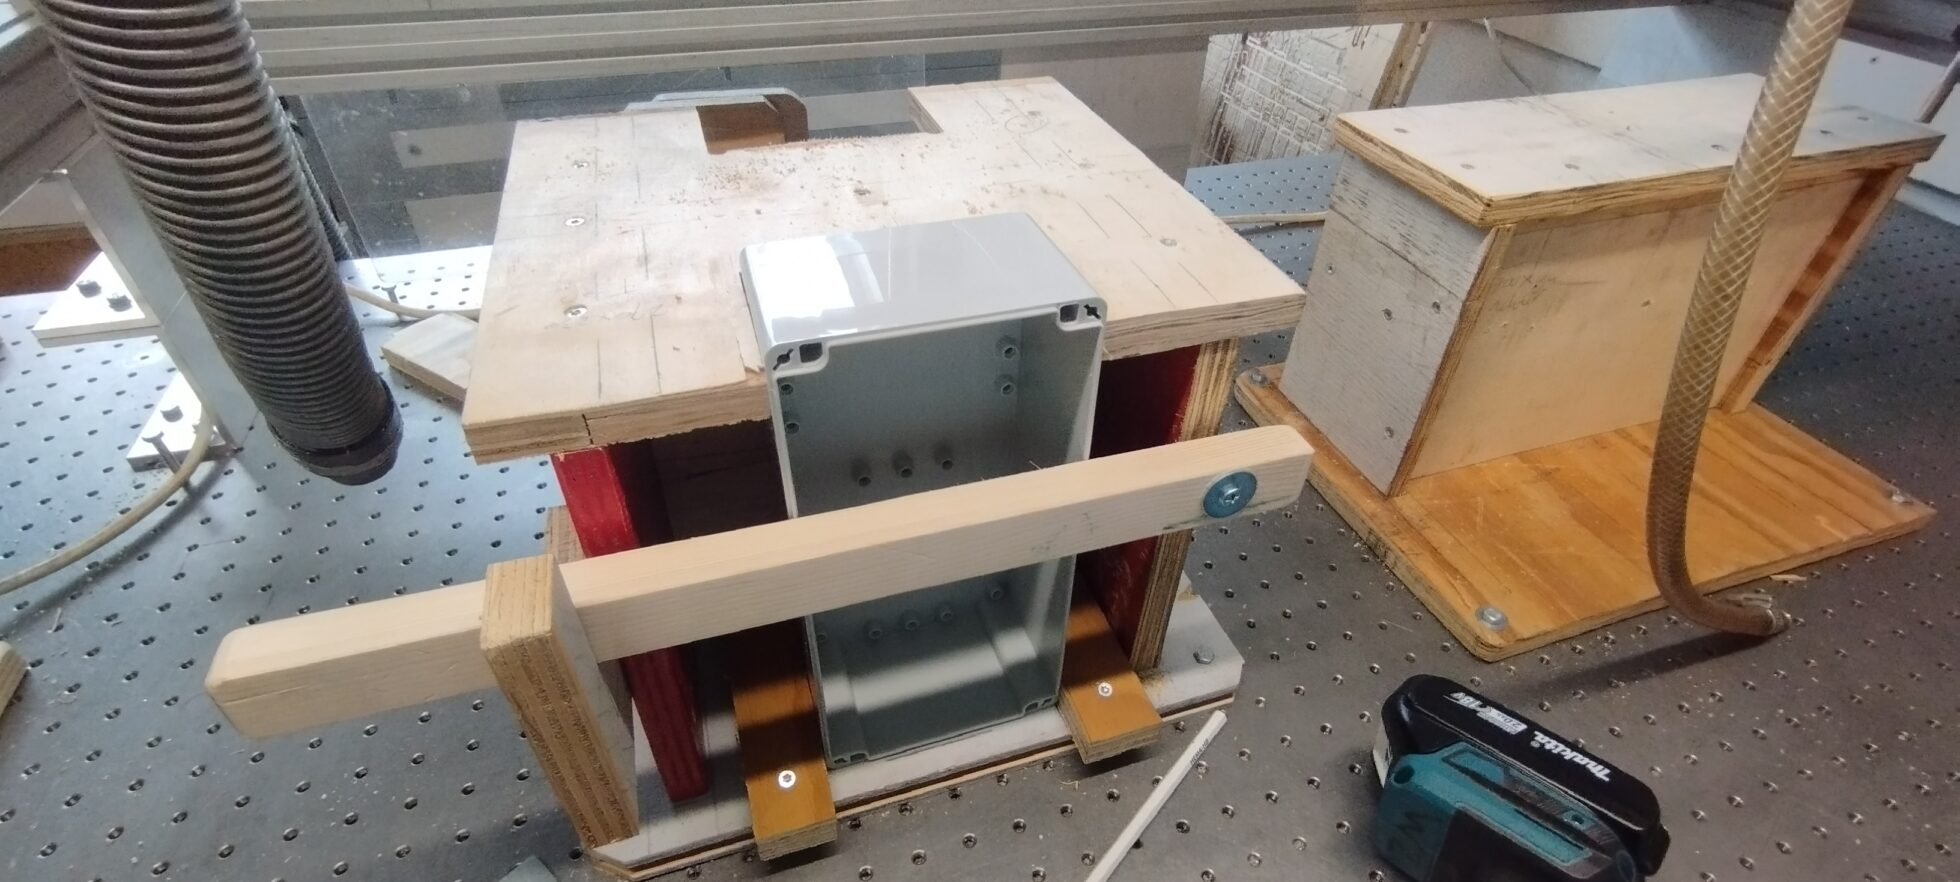
Koelplaat met heat pipes en alu blok wat dit gaat vervangenOude koeler met heat pipes en de nieuwe situatieFreesopstelling
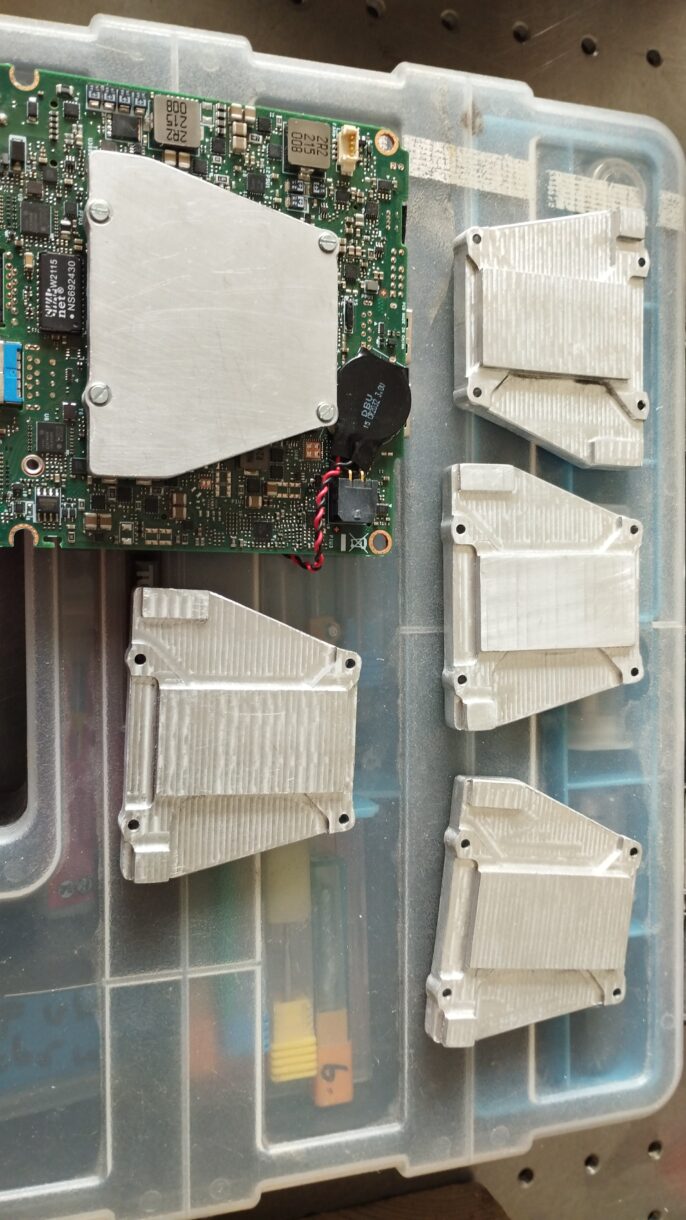
Een ding kan beter: de schroeven vallen nu in een verdiept deel. Simpel verzinken en een langere schroef gebruiken volstaat echter ook. Dan hoeft er niet aan de achterzijde te worden gefreesd. Dat voorkomt fouten en is minder werk = kosten
Al met al heel aardig gelukt voor de eerste test. Nog een paar minieme maat aanpassingen (we blijven perfectionist) doorgevoerd en een serie gefreesd.
Het model is iets aangepast aan langere bevestigingsschroevenEn de resten smelt ik wel een keer om
Dit was ook een mooie opwarmer voor de volgende freesklus: 2 drukmallen voor kunststof.
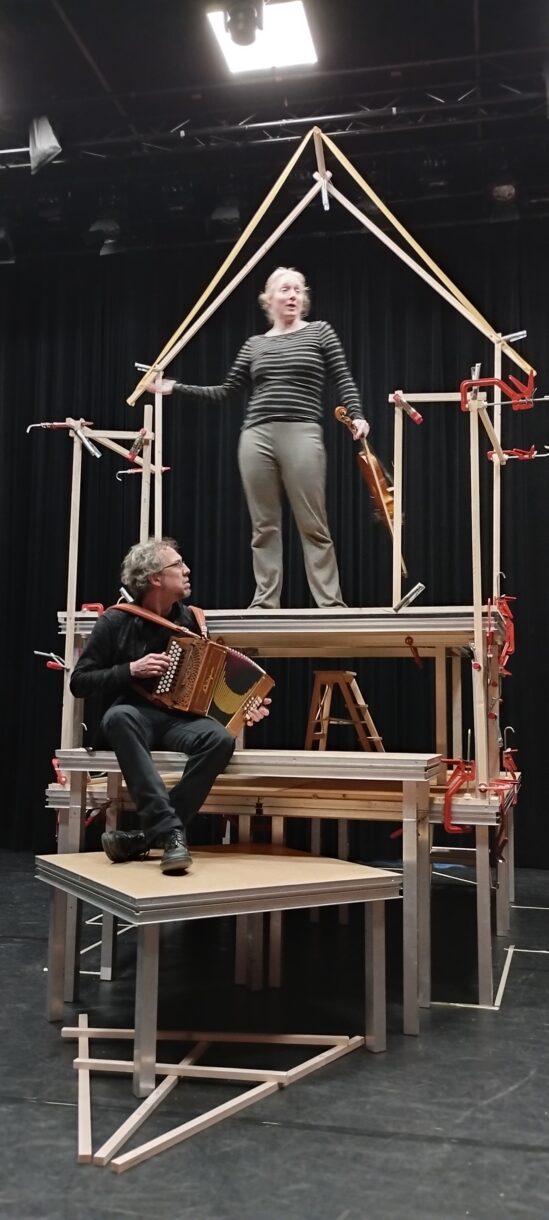
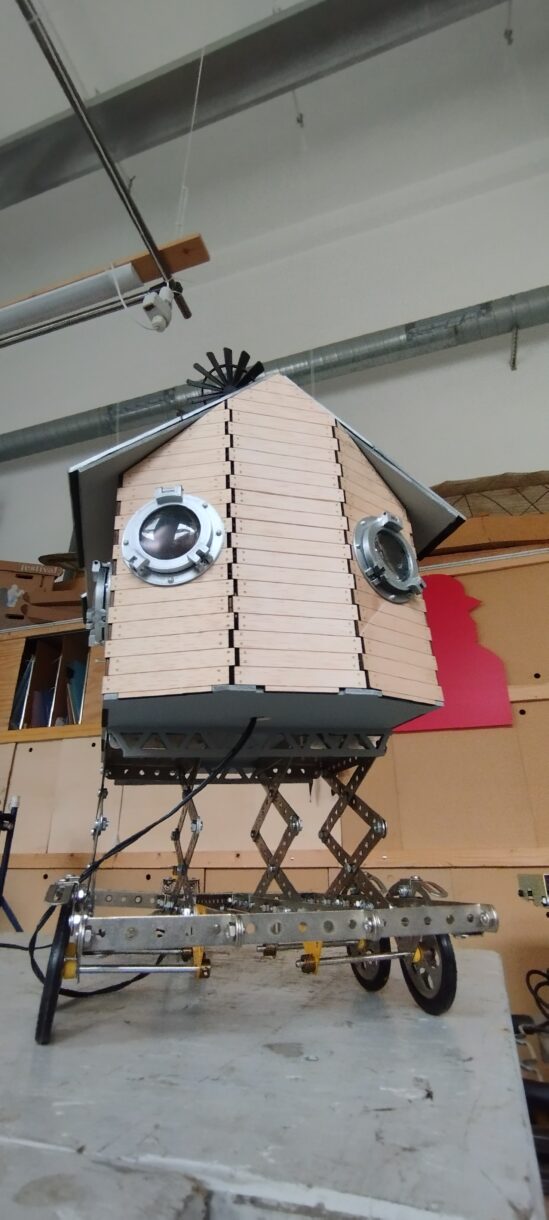
De volgende klus loopt inmiddels, terug naar het podium, het theaterbloed kruipt waar het niet gaan kan. Test repetitie gehouden om maten te bepalen voor een nieuw decor voor voorstelling met Edwin Dertien, met dank aan Sonnevanck voor het gebruik van hun zaal. Nadat we wisten hoe groot we moesten gaan konden we onderdelen gaan zoeken. Meer zeg ik nog niet🙂
Edwin zal Edwin niet zijn als er niet iets mechanisch in komt.
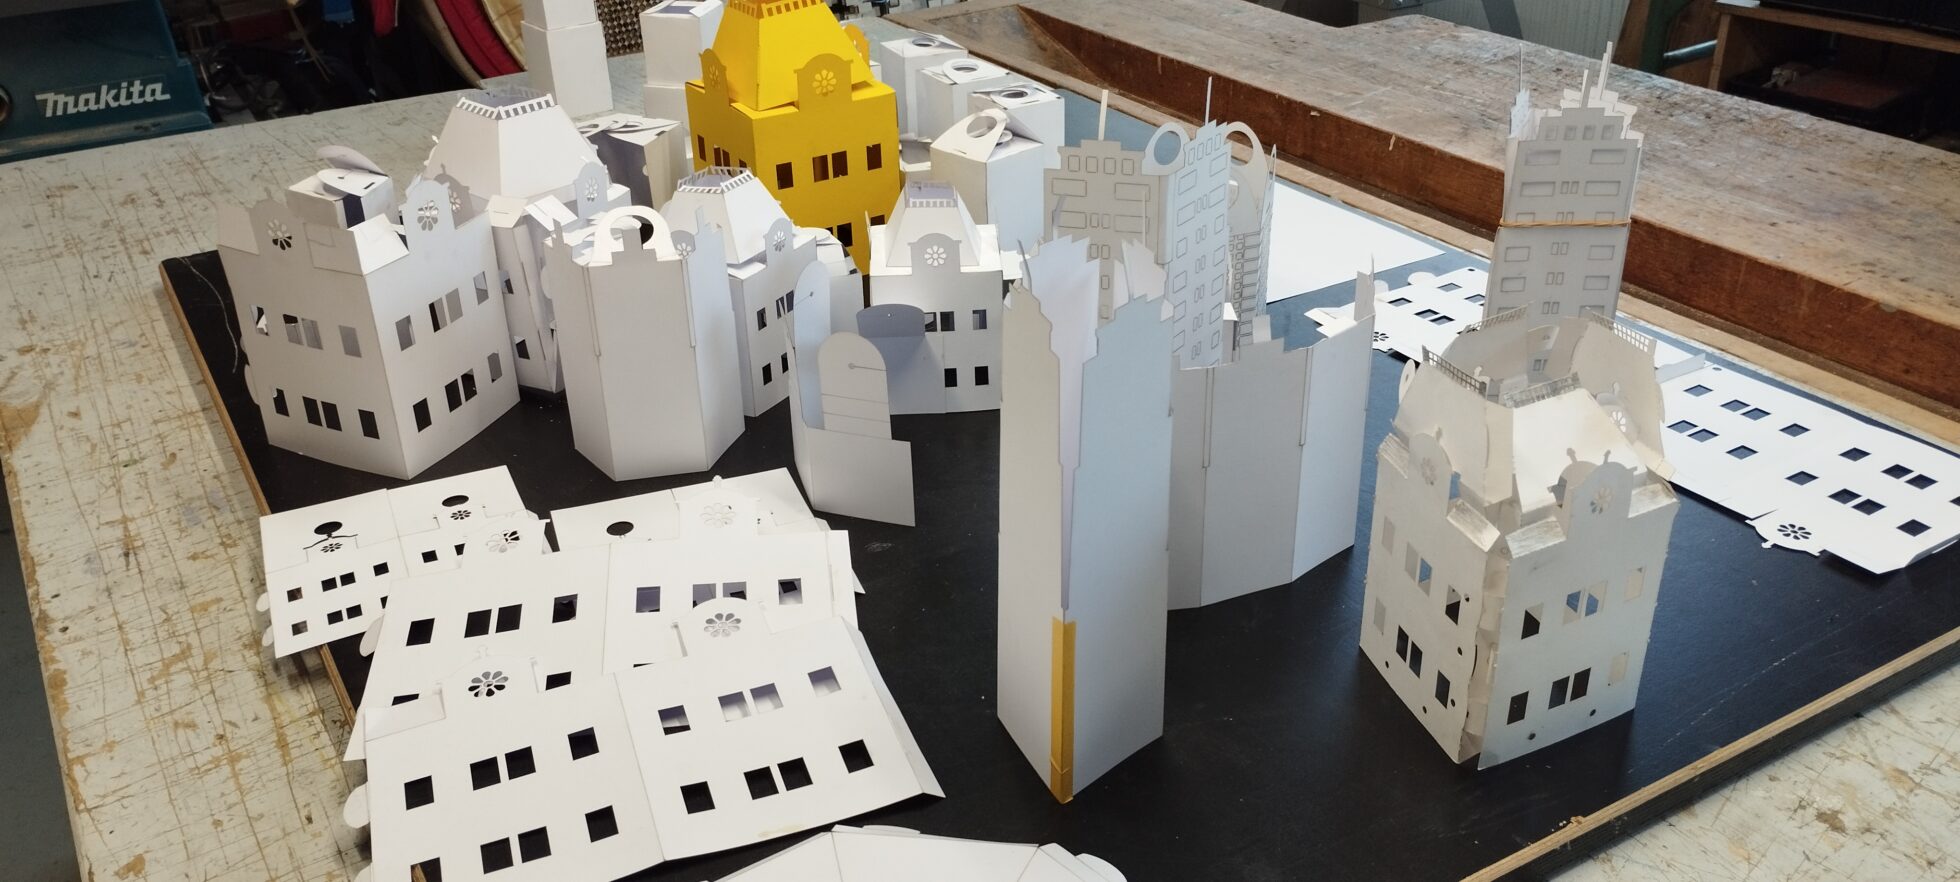
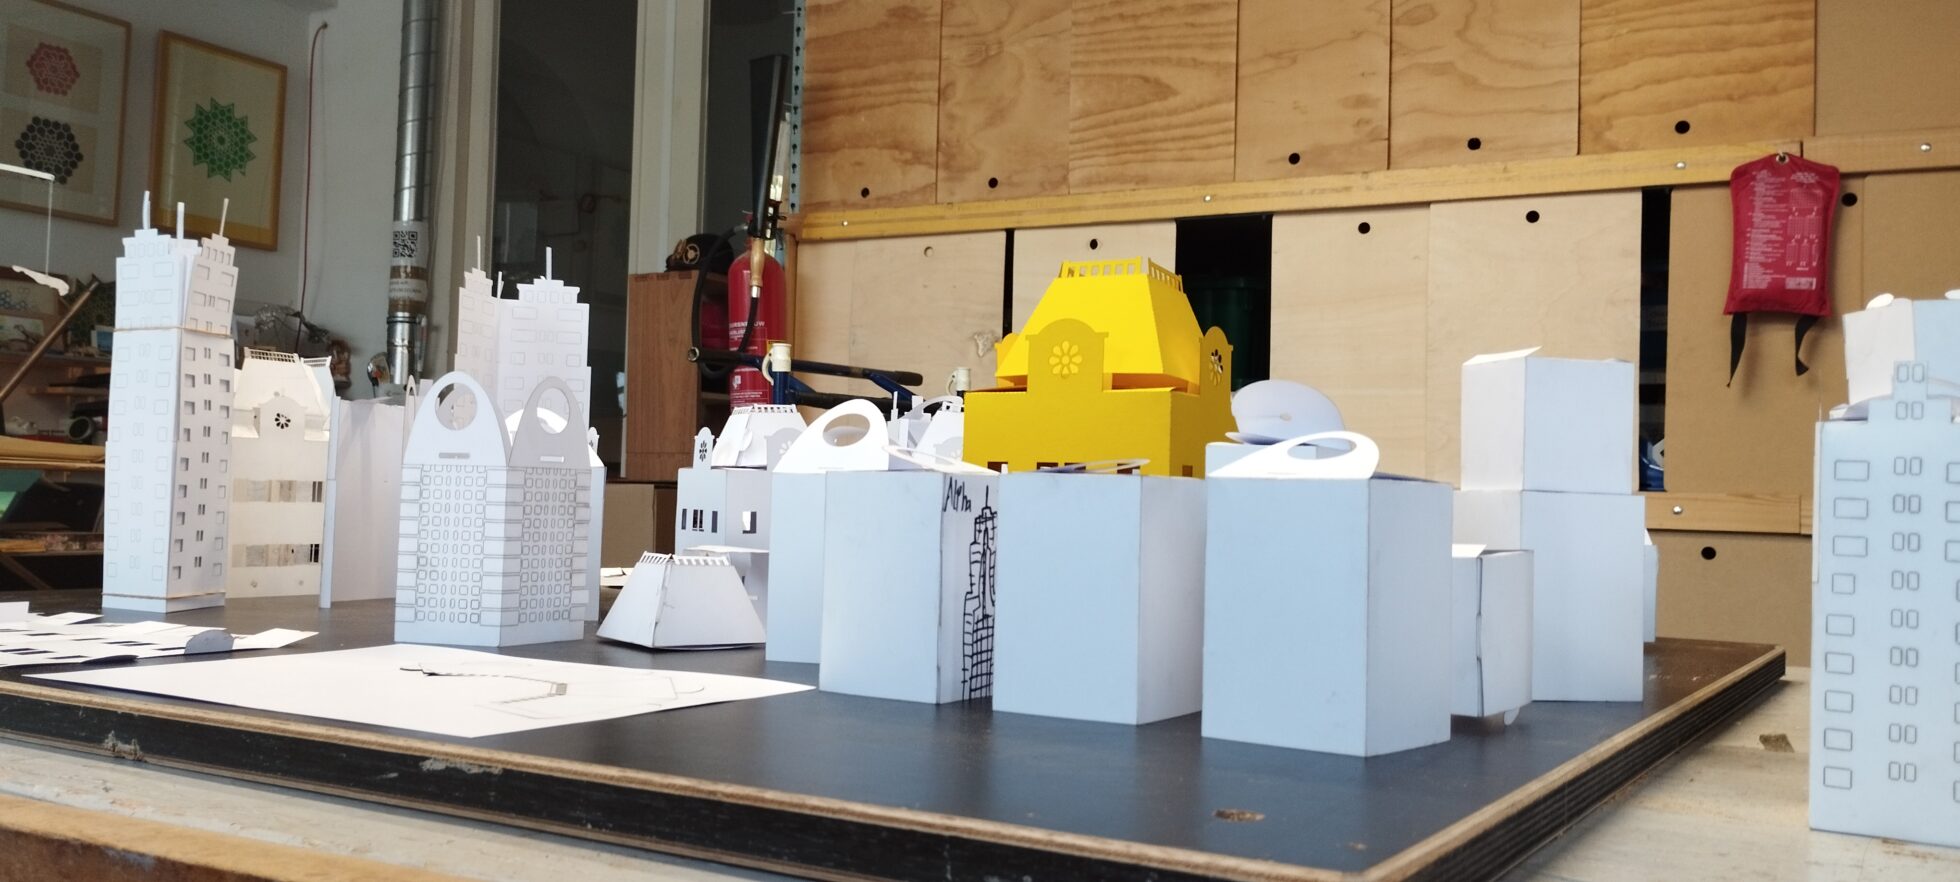
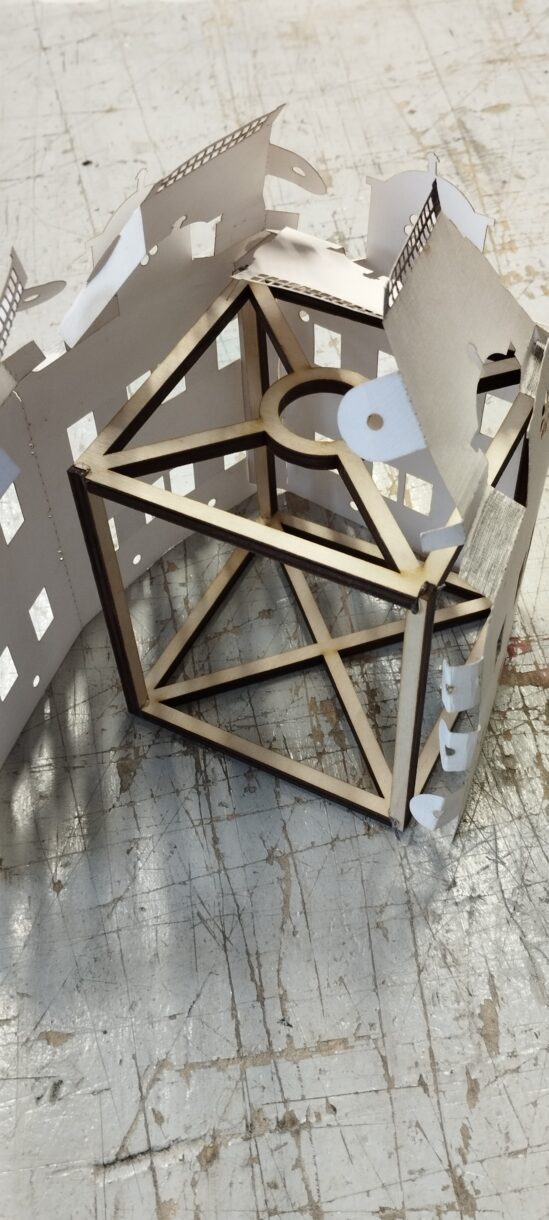
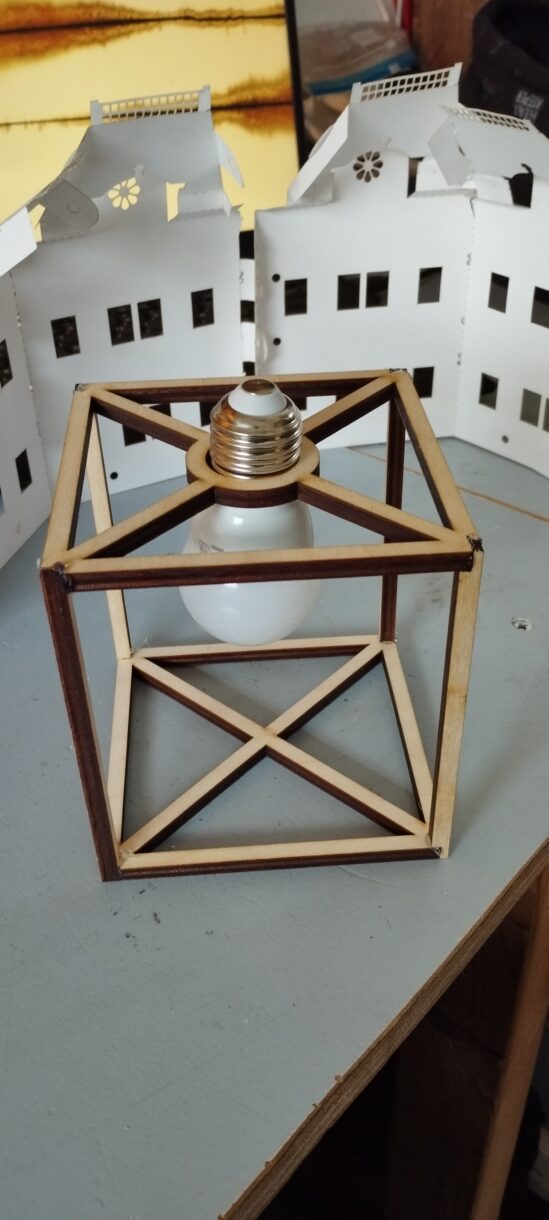
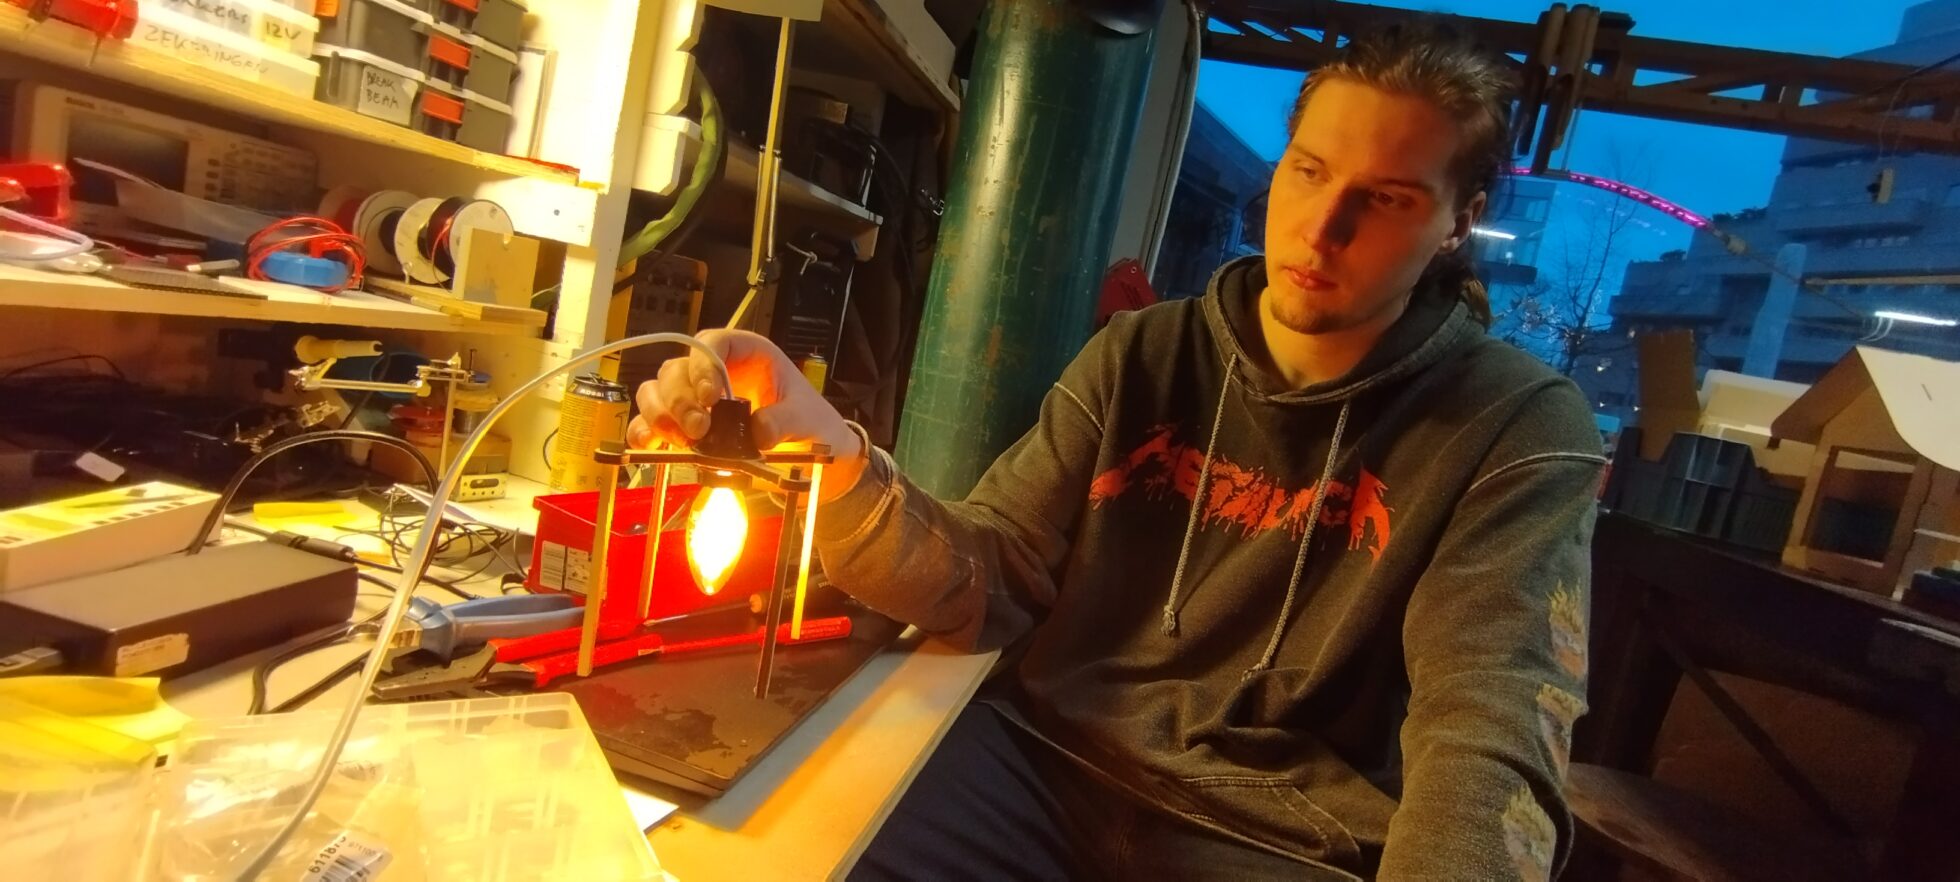
Mijn stagiair heeft vandaag zijn 5 mnd stageperiode afgesloten. Hij was deze week nog aan het werk met de Alpha toren, om daar een lamp van te maken. Het is de bedoeling om met een paar papieren lampjes te komen, gebaseerd op de opbouw van de gele Janninkstoren. De Janninkstoren-lamp is zo goed als af,an de Alpha toren heb ik nog wat werk.