Voor het WEEF project 2025 bordjes gelaserd. Hierin worden 7 draden gevlochten tot strengen. Een soort weven. Het is een project wat tijdens Enschede 700 wordt gebruikt op scholen in Enschede.
de oorspronkelijke rozet had wat te brede inkepingen, bedoeld voor een ander soort draad.
Het werkt. Er zijn er ruim 4000 nodig, zorg dus dat het echt goed werkt en dan aan de slag, productie draaien.
cutting the first batch. The final cutting could make better use of the material (by using hexagonal patterns instead it was possible to use about 10% more of the material)the trash stacks high up, building interesting patterns3400 ready, 1000 more to cutFinal Product
Lumi will be at an exhibition at the Vrijhof but the door is not wide enough. So Lumi, or it’s trailer, had to be tipped on the side. How to do so? Well, safely and carefully. But how?
This is how you tip your trailer:
Build a supporting frame with wheelsStrip all set parts that are easily removed Attach framesLift it with two cranesTilt itAnd lower it on the wheelsReady for the driving testTest at uneven terrain
And after the test: a few adjustments to make:
1: Better attachment to the crane. The book now stands out a bit, the lifting chain has now more space and will not bene the sides of the steel profile. (you can still see the dent in the side)
2: Paint job. Looks better, and it is more comfortabele to handle, especially after a while when everything gets rusty. Not nice for your hands.
3: rubber plugs to protect your hands. One size (50×50) was not available for the thickness (3mm ) so i printed them . PLA was to brittle, TPA does the job fine.
TPU stop ready to push into the profile.
The same trick, now at the Vrijhof
Building the set (Lumi) again
Almost ready
To low for the complete roof. Well, the triangular shape already suggests a roof
ready
And a red cloth finishes the illusion. Is it a house? Is it a face?
De oorspronkelijke tegel. Iets scheef gelegd om licht (van boven rechts) goed over het relief te laten vallen. Voor het kaartje de kleur warmer gemaakt.
Mijn buurman Dario Scapitta had strakke standaards nodig voor zijn sieraden. Frezen dus. De steuntjes kunnen uit elkaar worden genomen en als flat pack mee naar beurzen.
Janninks tower, part of an old industrial building in Enschede. A couple of years ago i made a lantern from it with the little candle LED’s. And now it is also working with 220V lamps. It took a while to rebuild it, the thin paper design has evolved into two lamps: a thick cardboard design with a pucklight on batteries and a 160 gr paper design with 220V lamps. I’m particularly happy with the shade inside that guides the light very well.
Safety is always a concern with 220V applications. I use LED lamps (E14 fitting) that do not turn hot. But you never know. So I experimented with flame proving the paper and found a good solution that makes the paper flame retardant, this works well. For the children I also made a variation that uses a battery lamp. Much effort was spent to make it easy to build. It is safe and the lamp can be constructed without folding or gluing.
It works fine now, Nicole found the proper way to make tiles that stay flat in the kiln and i found the proper settings of the laser. We’re going to sell these.
I’m building a frame to turn the trailer on it’s site and move it through a narrow corridor. It is for an exhibition in the Vrijhof at the Twente University.
it’s constructed with the original edge posts of the trailer and it will slide in position. A “key” will lock it in place. It is a crazy idea, flipping the trailer. Why don’t people just walk out to have a look at it.
After the maker residency where I worked successfully with a Prusa Mk 3 and Mk4 printer, printing TPU for stamps, I decided to buy a new, modern printer. The one I already had dates from around 10 years ago and is gathering dust on the shelve now since around 2 years. I left 3D printing for what it was, focused on the laser and the router and if i had to print at all, i went to Fablab Enschede with it’s farm of Ultimakers. Even though it was not a bad printer, I never managed to get the multimaterial working properly (dual head, always leaking material from the head not in use and it had to be aligned very carefully) . Printing took just too long, and it had to print slowly to get a decent quality. Besides, the slicing software and the display were not user friendly to use. I mastered the levelling of the printing plate by hand (lots of trial and error), but it took too much time. I also wanted to get rid of the Peek connections in the printing head, they caused to much leakage and jams. Too much trouble to keep tinkering with it….
But now i enjoy printing again. The new machine, a Bambu A1 combo with multimaterial device, prints pretty good, straight from the box. And it prints fast. There was a flaw however, the Z axis was not exactly perpendicular to the building platform but with a small script in Grasshopper / Rhino3D I corrected that quite effectively and it prints at a 90 degree angle now. Which is very useful for architectonical maquettes (models).
Sure, i could have purchased a Mk4 as well, but i have there is such a huge difference in price… and the multimaterial option is also important. So i gave in and choose for the closed source Bambu with doubts about client helpdesks and so on. Still, i do not regret it.
TPU (rubber) printing works fine and the material is surprisingly strong, it just does not tear apart. I use it for stamps.
And last but not least I can print landscapes with it, which is useful for my work. Next test will be with multicolor, such as blue for below sea level, white for the 0-meter line and other colors for the dry land. It will be a nice addition to the lasercut, stacked models i made up to now.
Het bloed kruipt waar het niet gaan kan. Toch weer een theaterdecor bouwen. Er moest een bewegend huisje gebouwd worden.
Edwin Dertien had er al een idee voor hoe het gemaakt zou moeten worden en er een maquette voor gemaakt. Dus het werk was in feite al gedaan , alleen nog maar bouwen 🙂
Eerst een repetitie gedaan in het theater van Sonnevanck om voor de acteurs praktische maten te bepalen.
Dit verder uitgewerkt. Mijn rol was bij deze productie dus vooral bouwen, kijken hoe het gerealiseerd zou kunnen worden, zorgen dat het op de theatervloer ook bruikbaar zou zijn. Hieronder de eerste werktekening.
Het huisje moet omlaag en omhoog kunnen, het onderstel (trailer) moet kunnen rijden. Daarvoor waren een aanhanger en een daarop gebouwde schaarlift in gedachten. Gelukkig hoefde het huisje niet al te hoog te komen, bleek uit de theaterrepetitie. Een enkele schaarlift was al hoog genoeg.
In de loop van de tijd werd de tekening eenvoudiger, details uitgewerkt en verdwenen onderdelen die niet echt nodig of praktisch waren. De boel ook doorgerekend, het moet natuurlijk niet instorten of omvallen. Bij zo’n hoge, wiebelige constructie geen sinecure.
De bouw is met herbruikbare aluminium profielen , platen Polyetheen ( herbruikbaar, eventueel recyclebaar) en (ook herbruikbare) platen betonplex (lekker ruw) gemaakt. Heel belangrijk zijn de verbindingen, alles in hanteerbare delen op knippen en zorgen dat het stevig blijft en vlot te bouwen is. En het in de aanhanger past.
met de profielen is ook een opklapbare constructie te maken, wat bij de opbouw handig is.
Uiteindelijk zijn de witte panelen beplakt met een structuur en kon het geheel uitgeprobeerd worden. En het moest natuurlijk ook in de aanhanger passen.
Dit is er uit gekomen. Nu verder eraan werken, repeteren, en uiteraard zal er een en ander moeten worden aangepast.
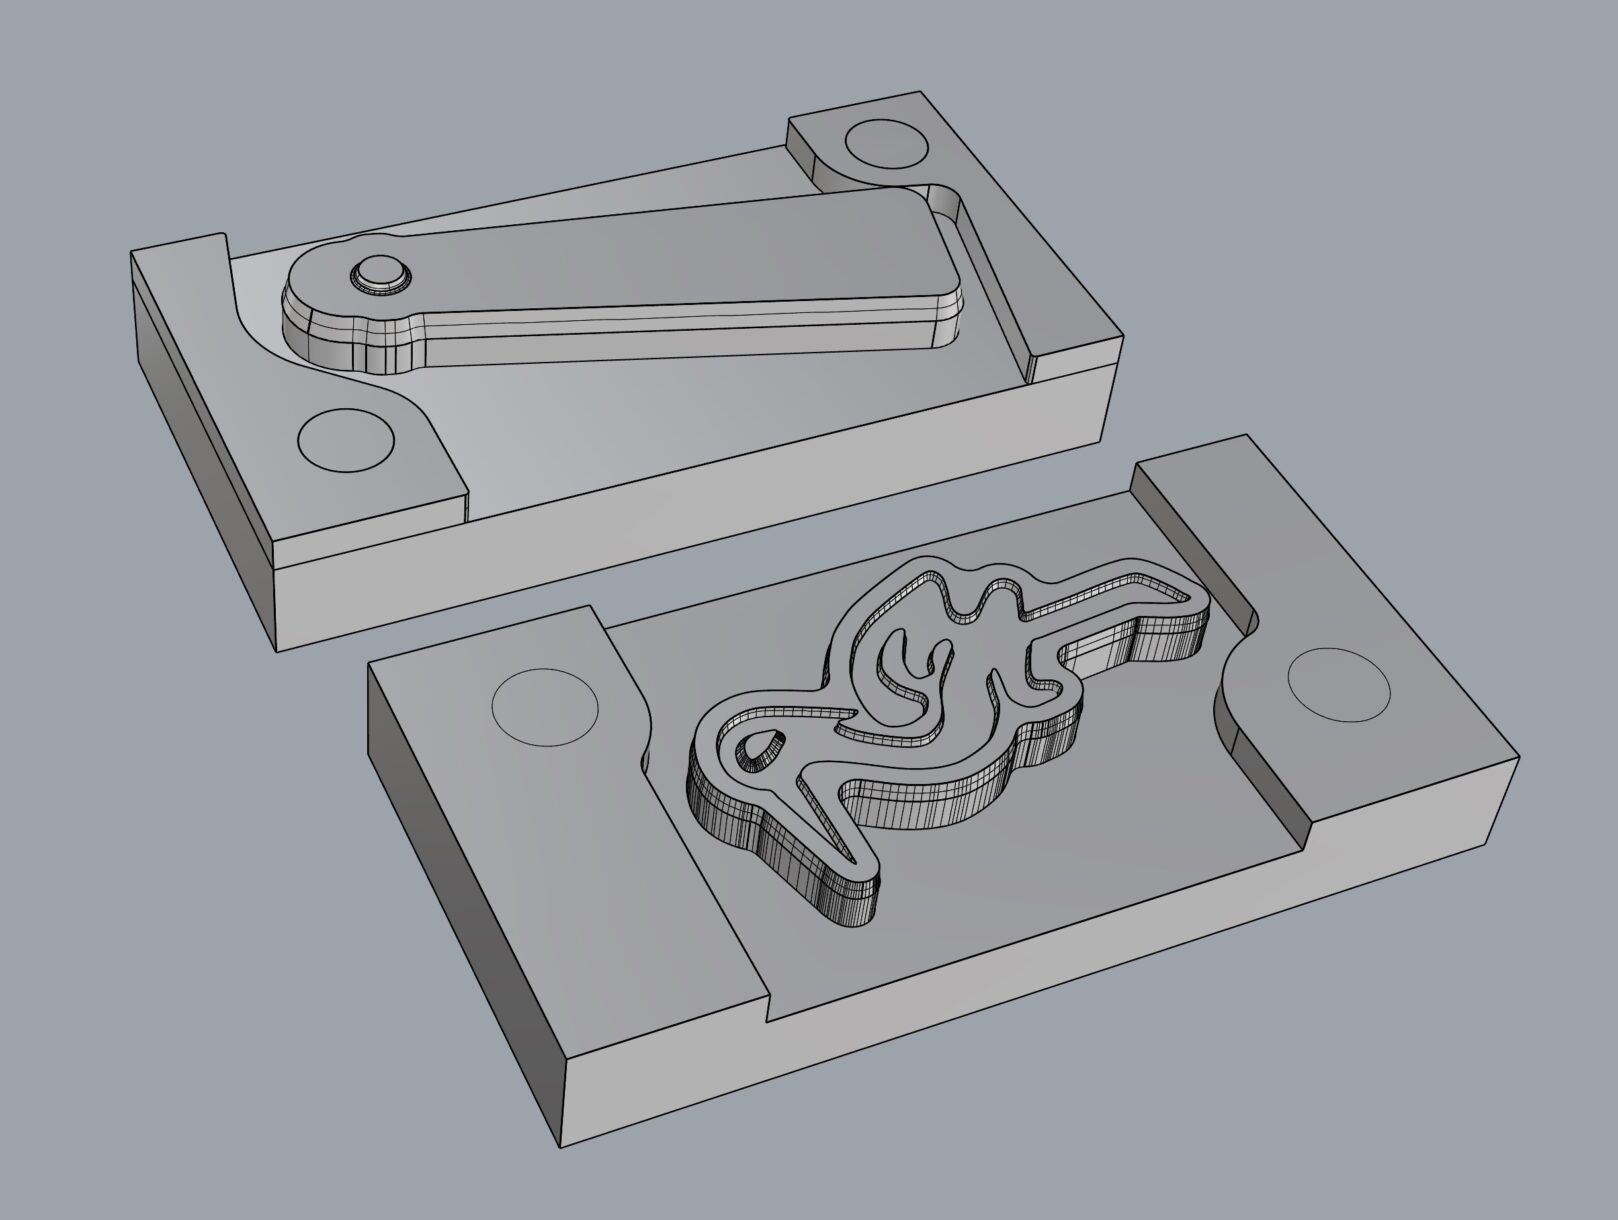
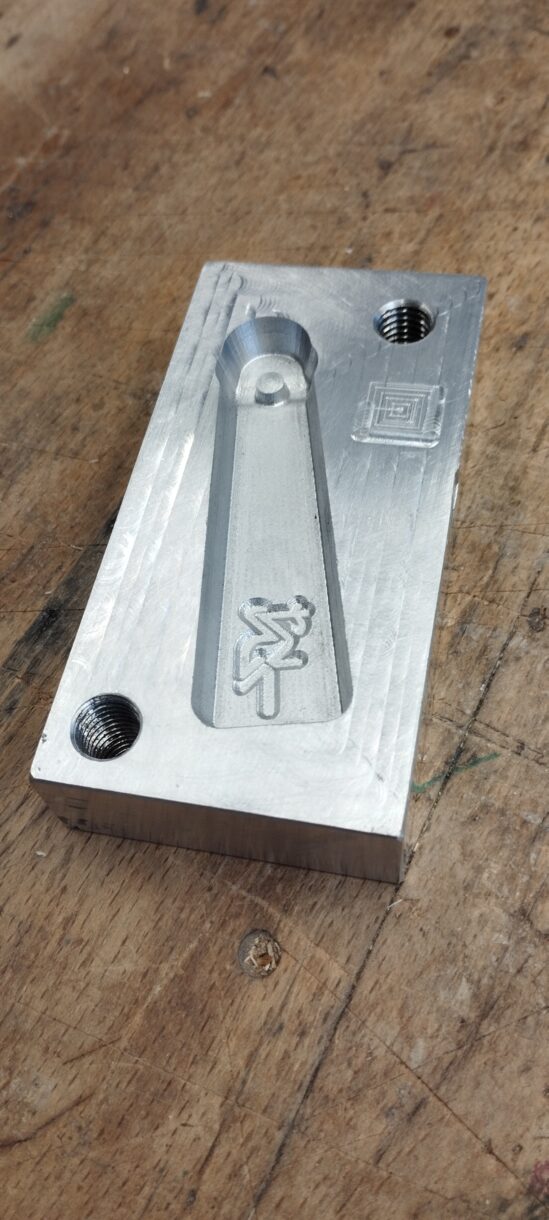
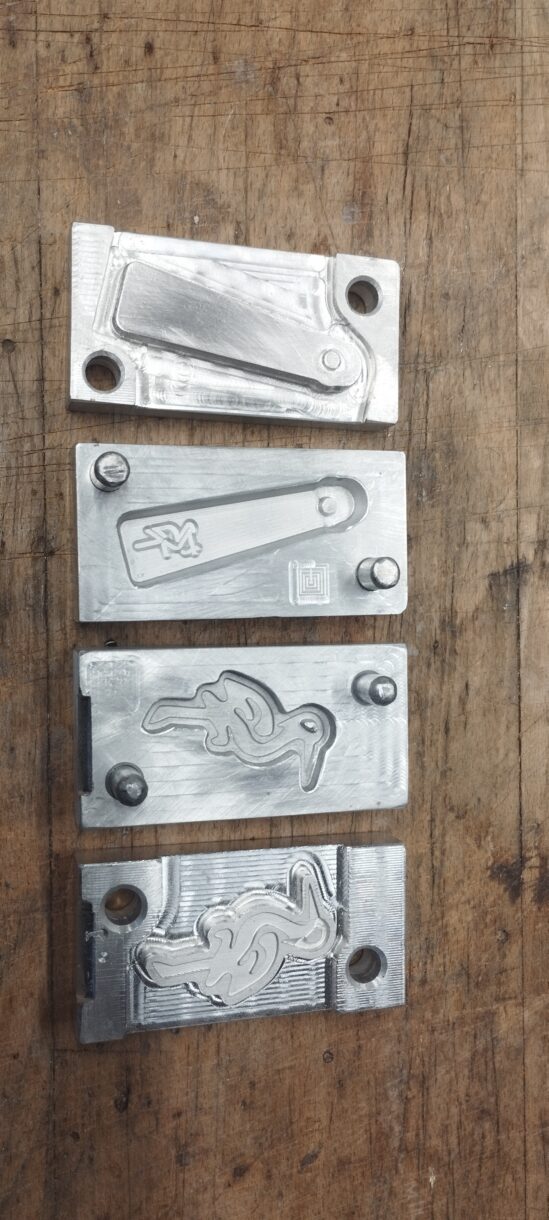
Voor de gemeente Den Haag een malletje aan het maken, een herneming van een eerdere mal, maar nu met wat verbeteringen erin zoals betere afvoer van de overmaat materiaal en met minder kracht te sluiten. Het wordt gebruikt om kinderen met gerecycled plastic een sleutelhanger te laten maken. Waarom deze vorm? Kijk maar even naar het wapen van Den Haag. Een ooievaar met een slangetje in z’n snavel.
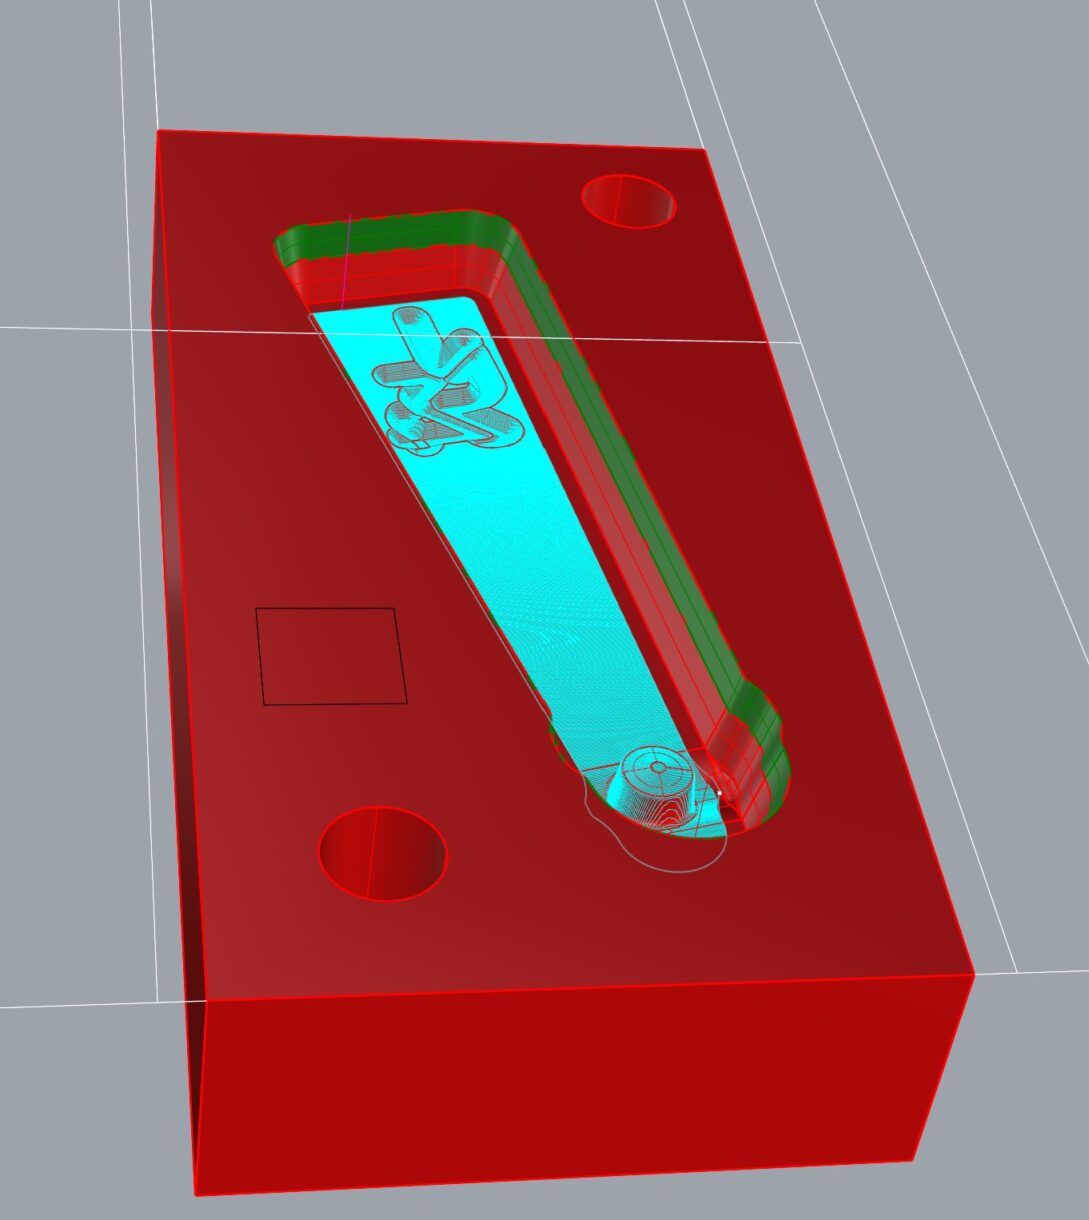
Het logo in een sleutelhanger
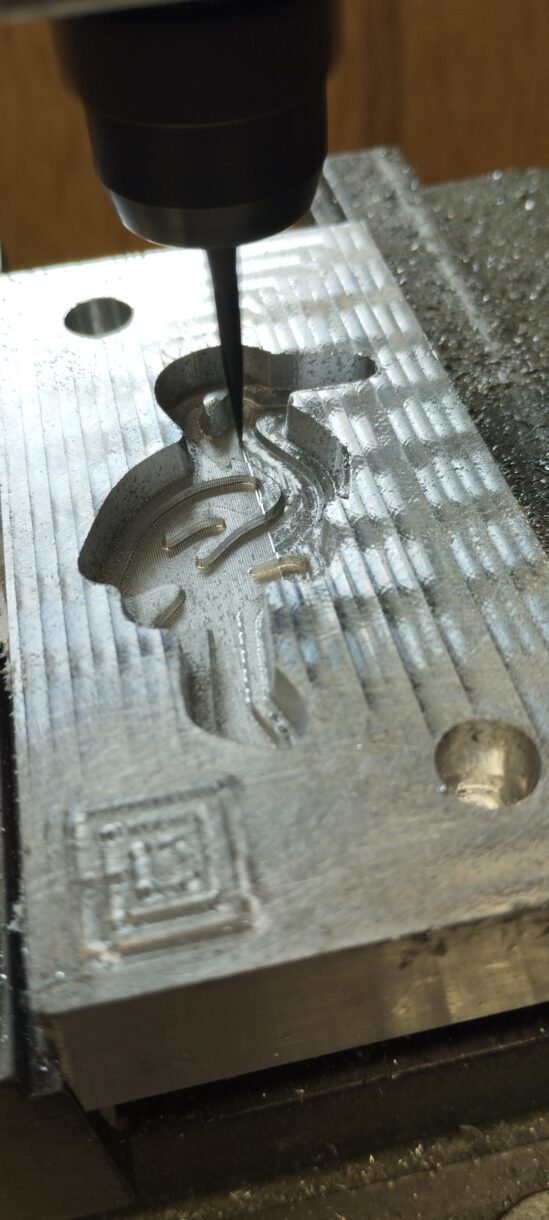
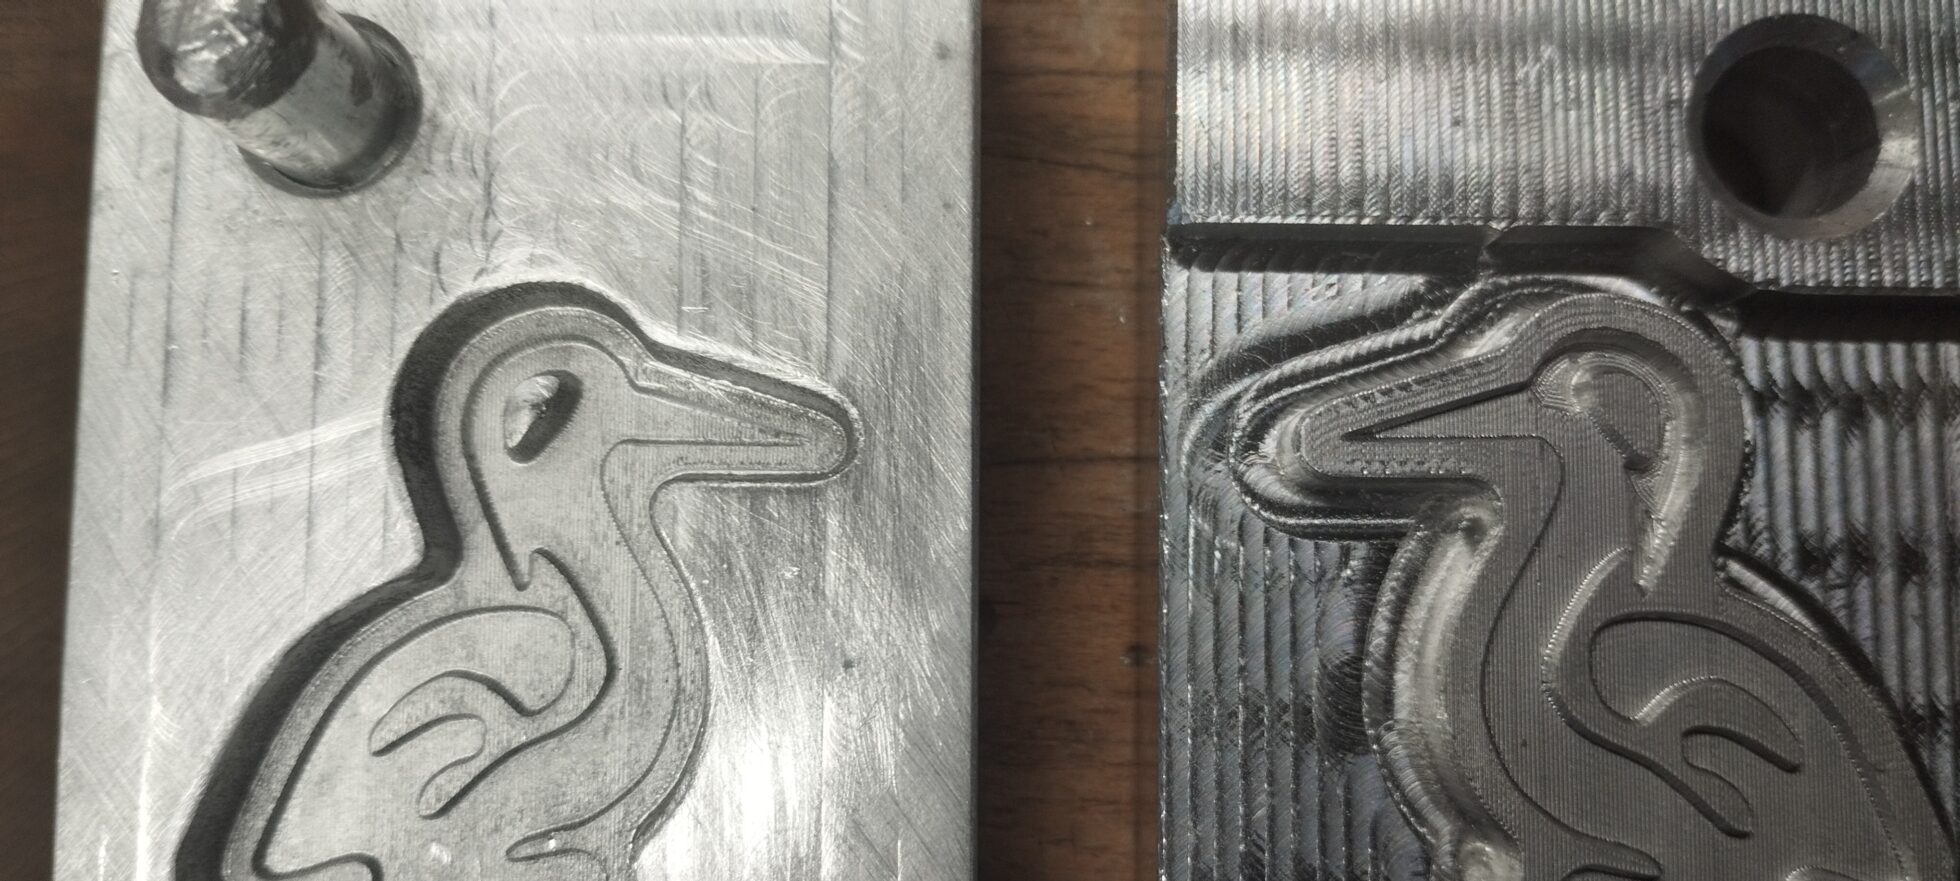
De ooievaar in de laatste fase van het frezen. De fijne details komen er nu in
Voor de fijne details gebruik ik een V vormige frees met een bolkop, een ideale tool voor dit werk: sterk, kan lekker diep steken zonder te breken. De grote gaten hoeven er niet helemaal doorheen te worden gefreesd. Diepe gaten maken gaat vlugger met de kolomboor, zolang de positie maar is aangegeven met een ondiep gat. En het is veiliger voor de frezen die in diepe gaten hun spanen slecht kwijt kunnen.
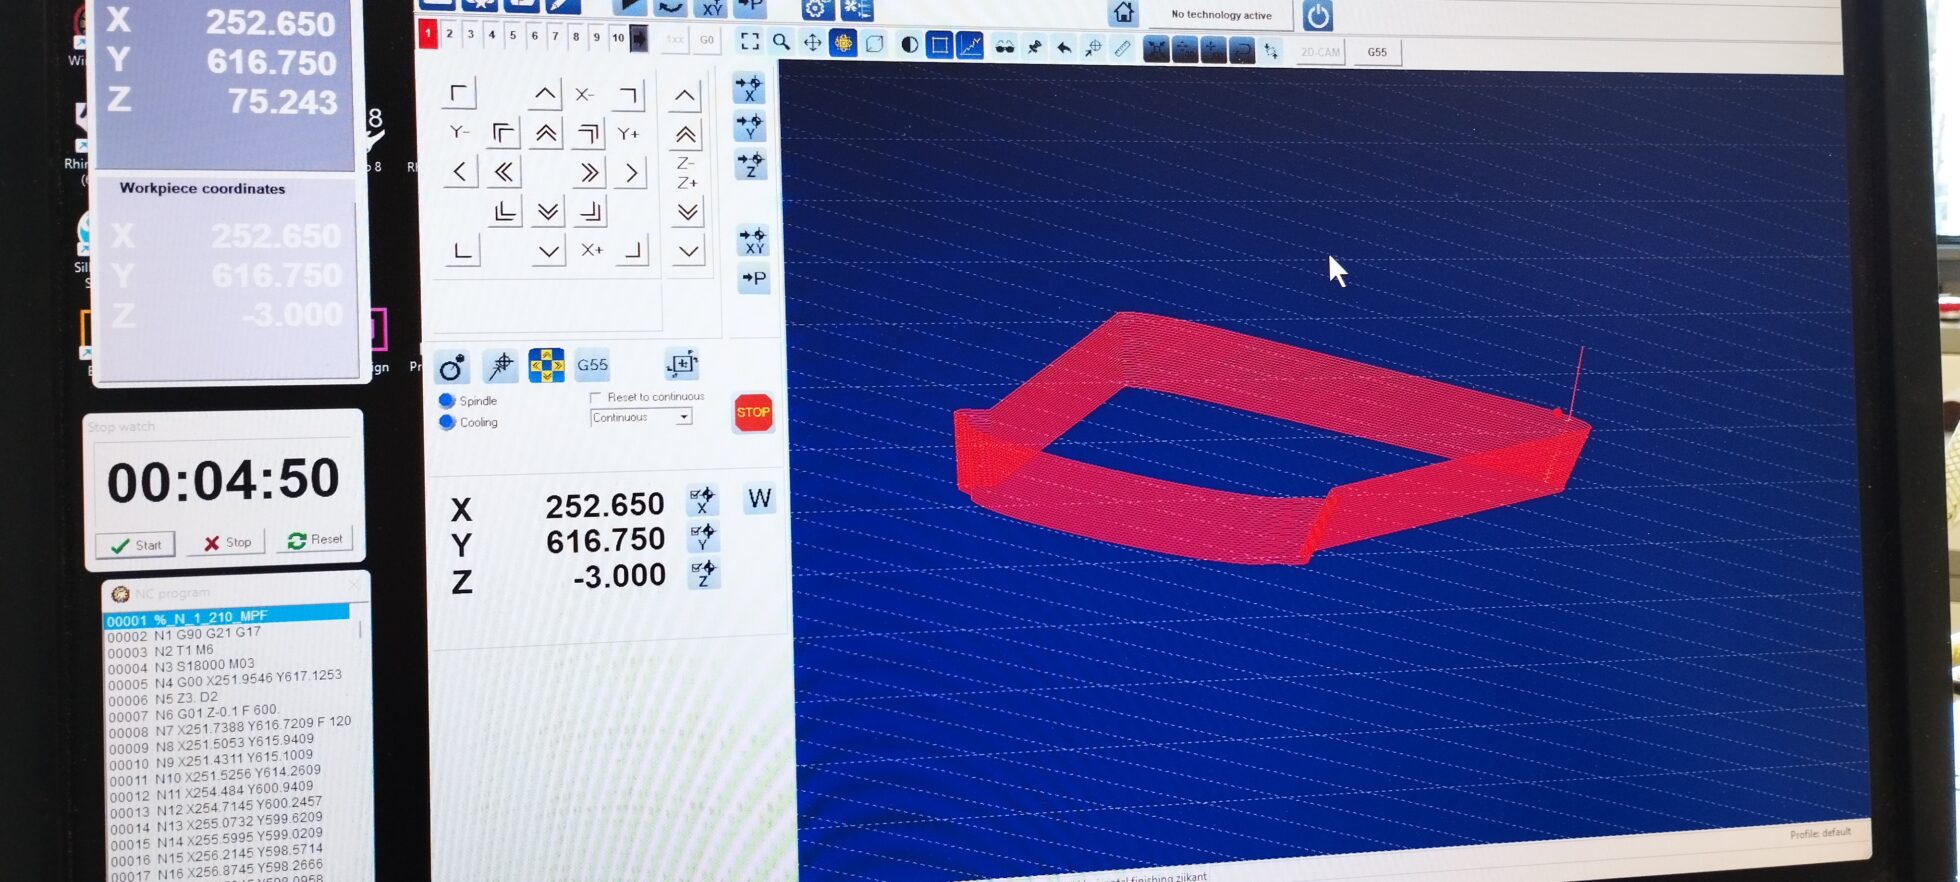
Zo ziet het er uit in de tekensoftware. Het blauwe vlak (lijnen eigenlijk) zijn de freesbanen, die aangeven waar de frees langs beweegt. In dit geval een eindafwerking, om een mooi afgewerkt oppervlak te krijgen. Dit gaat naar de freessoftware als NC code, een lang tekstbestand met coordinaten en snelheden (soort G-Code)
De freessoftware. Hier moet je liever geen fouten maken . Hier bestaat geen control-Z. Check, doublecheck en nog een check. En dan frezen en op blijven letten.
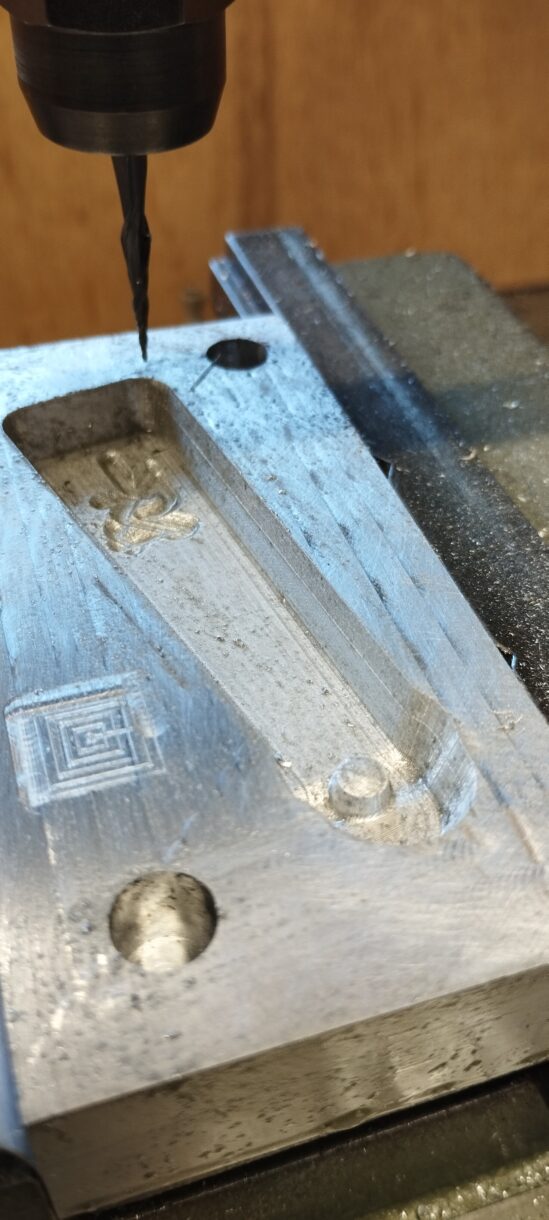
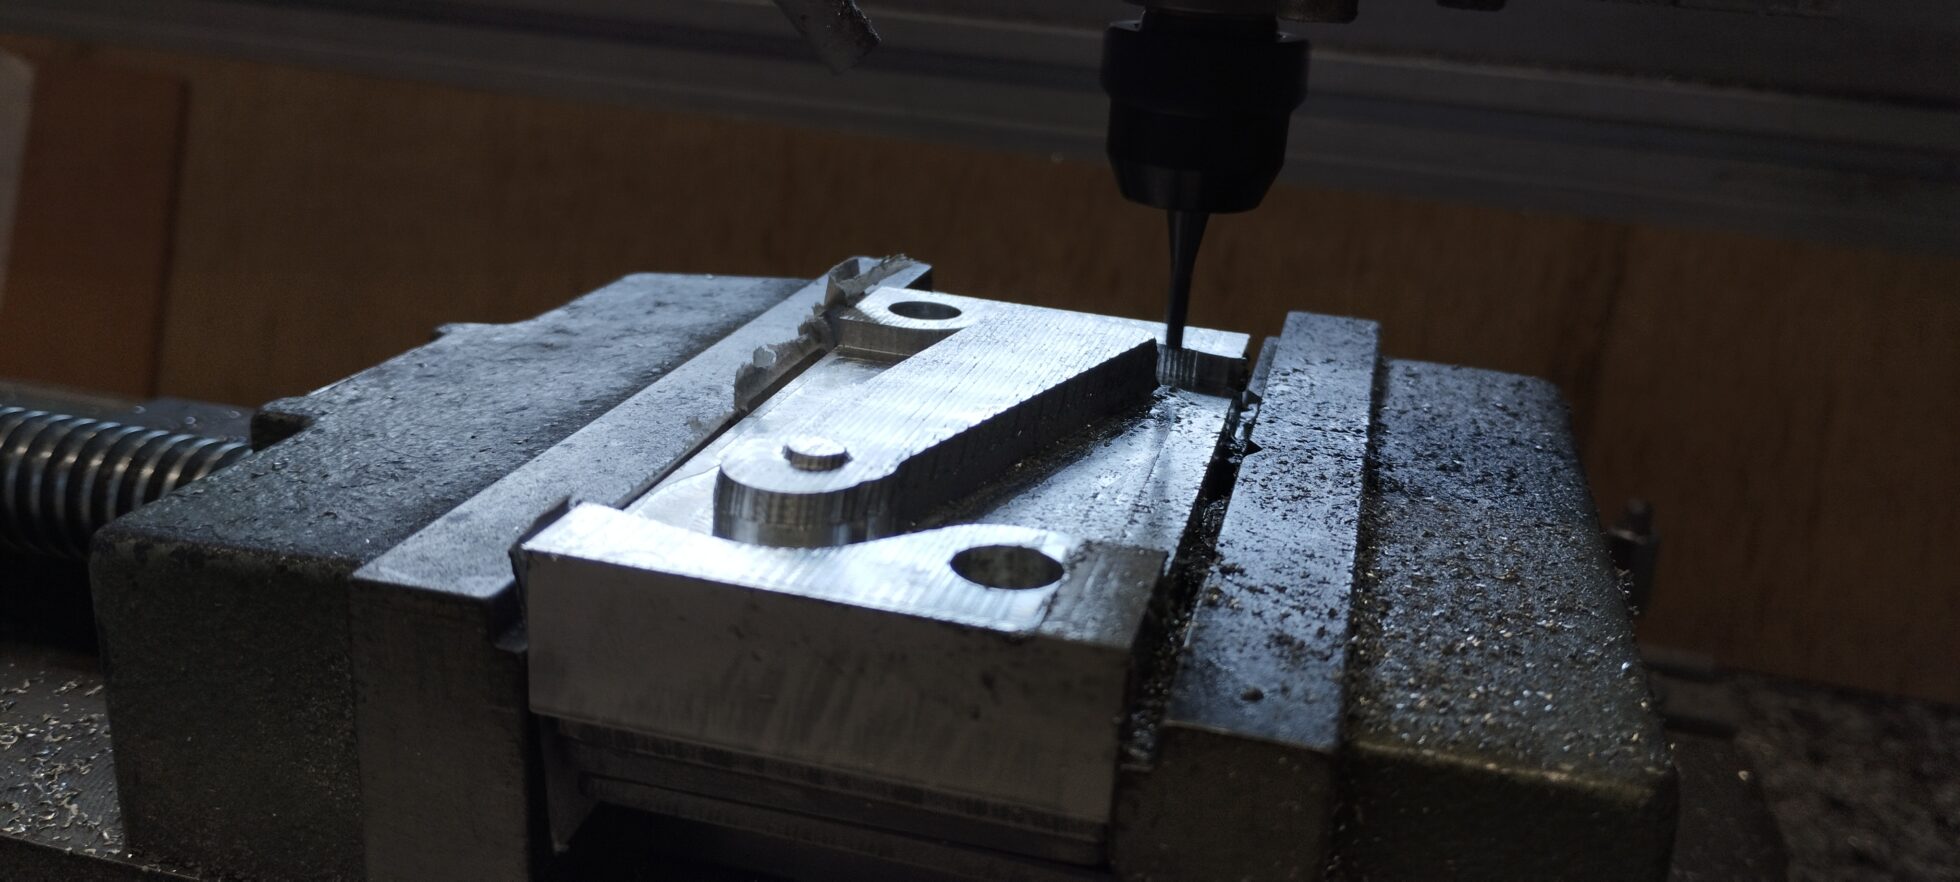
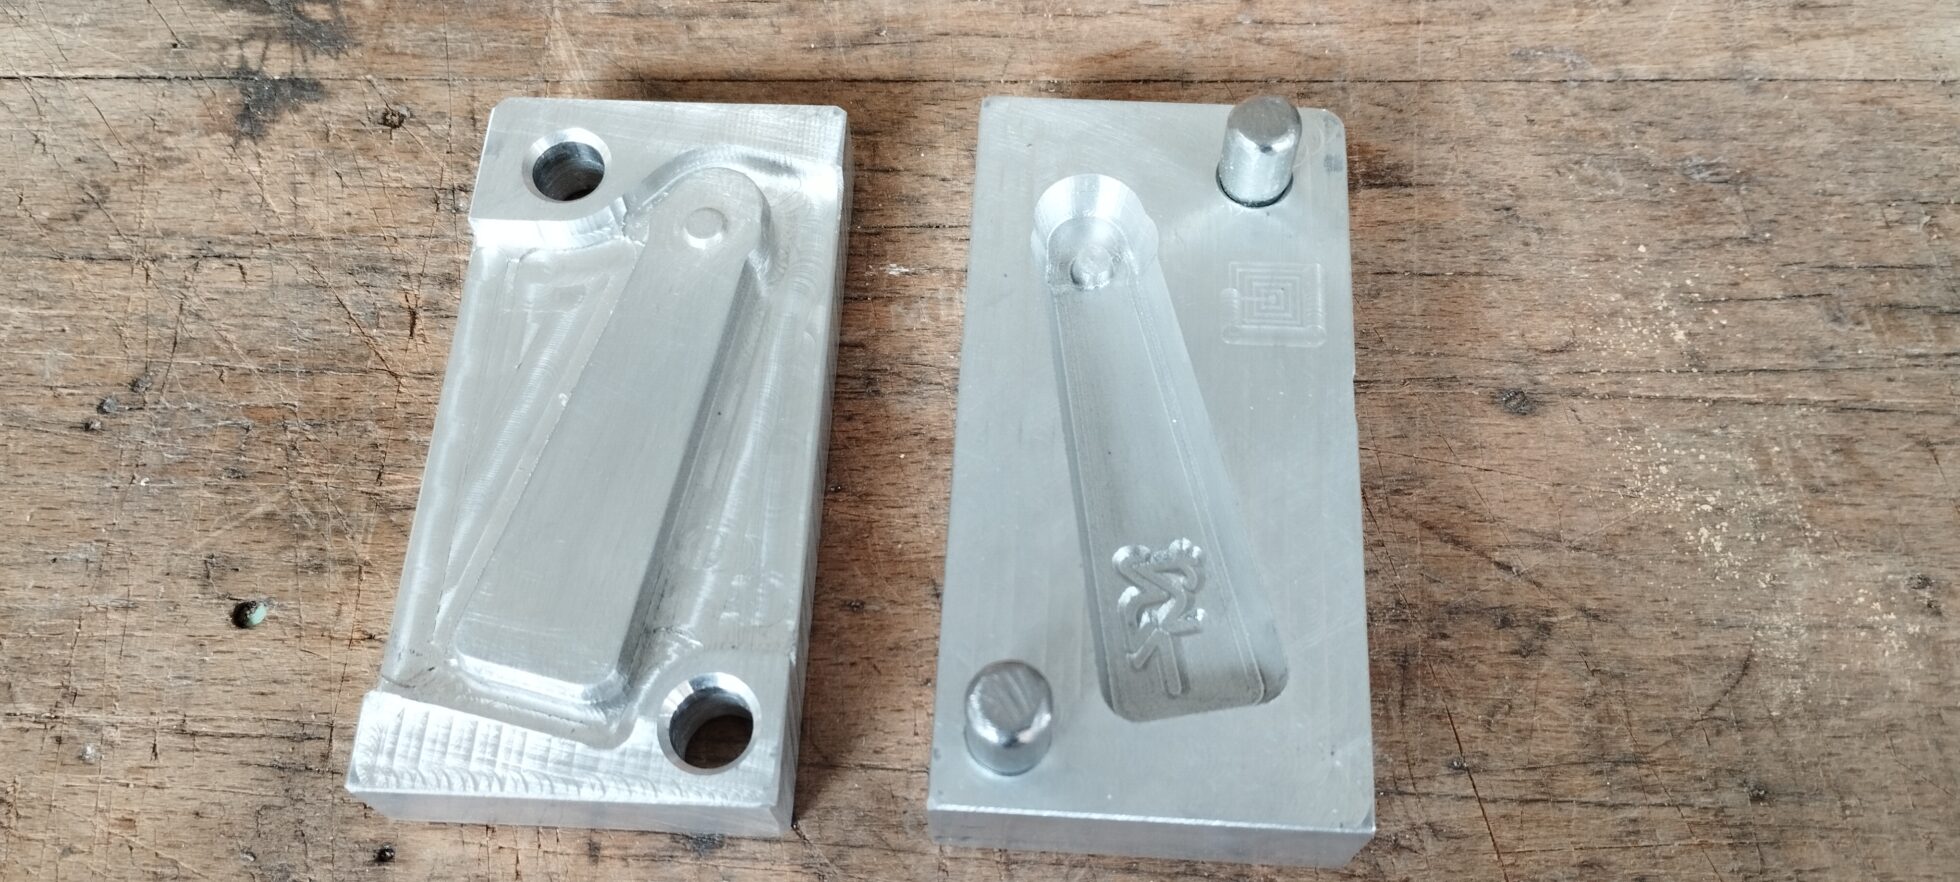
De tegenplaat in de frees
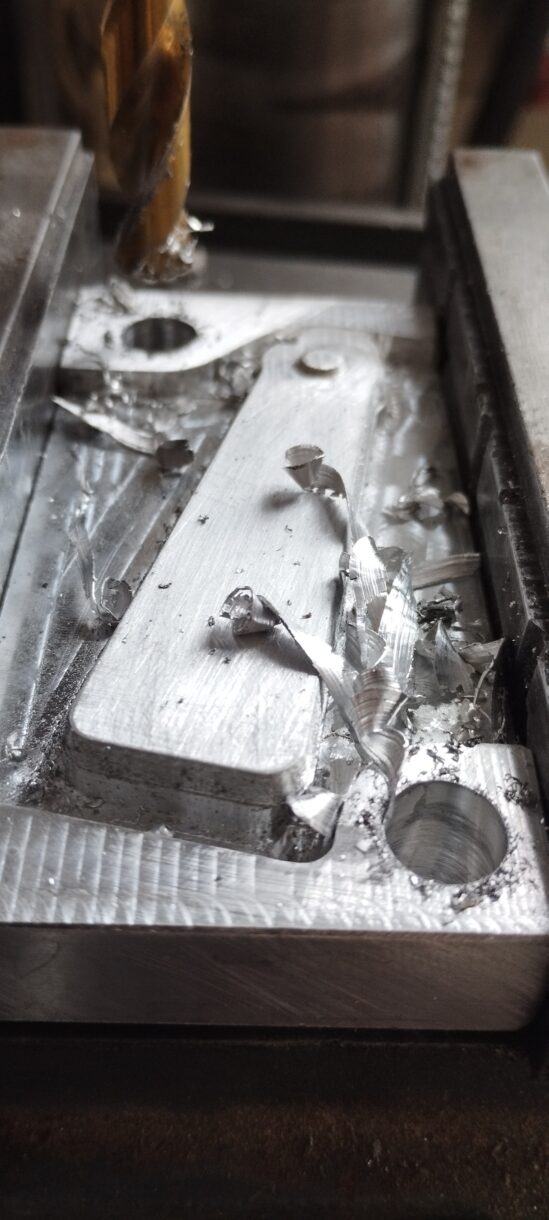
Gaten boren met de kolomboor. Het ziet er wel gelijk een stuk ruiger uit zo.
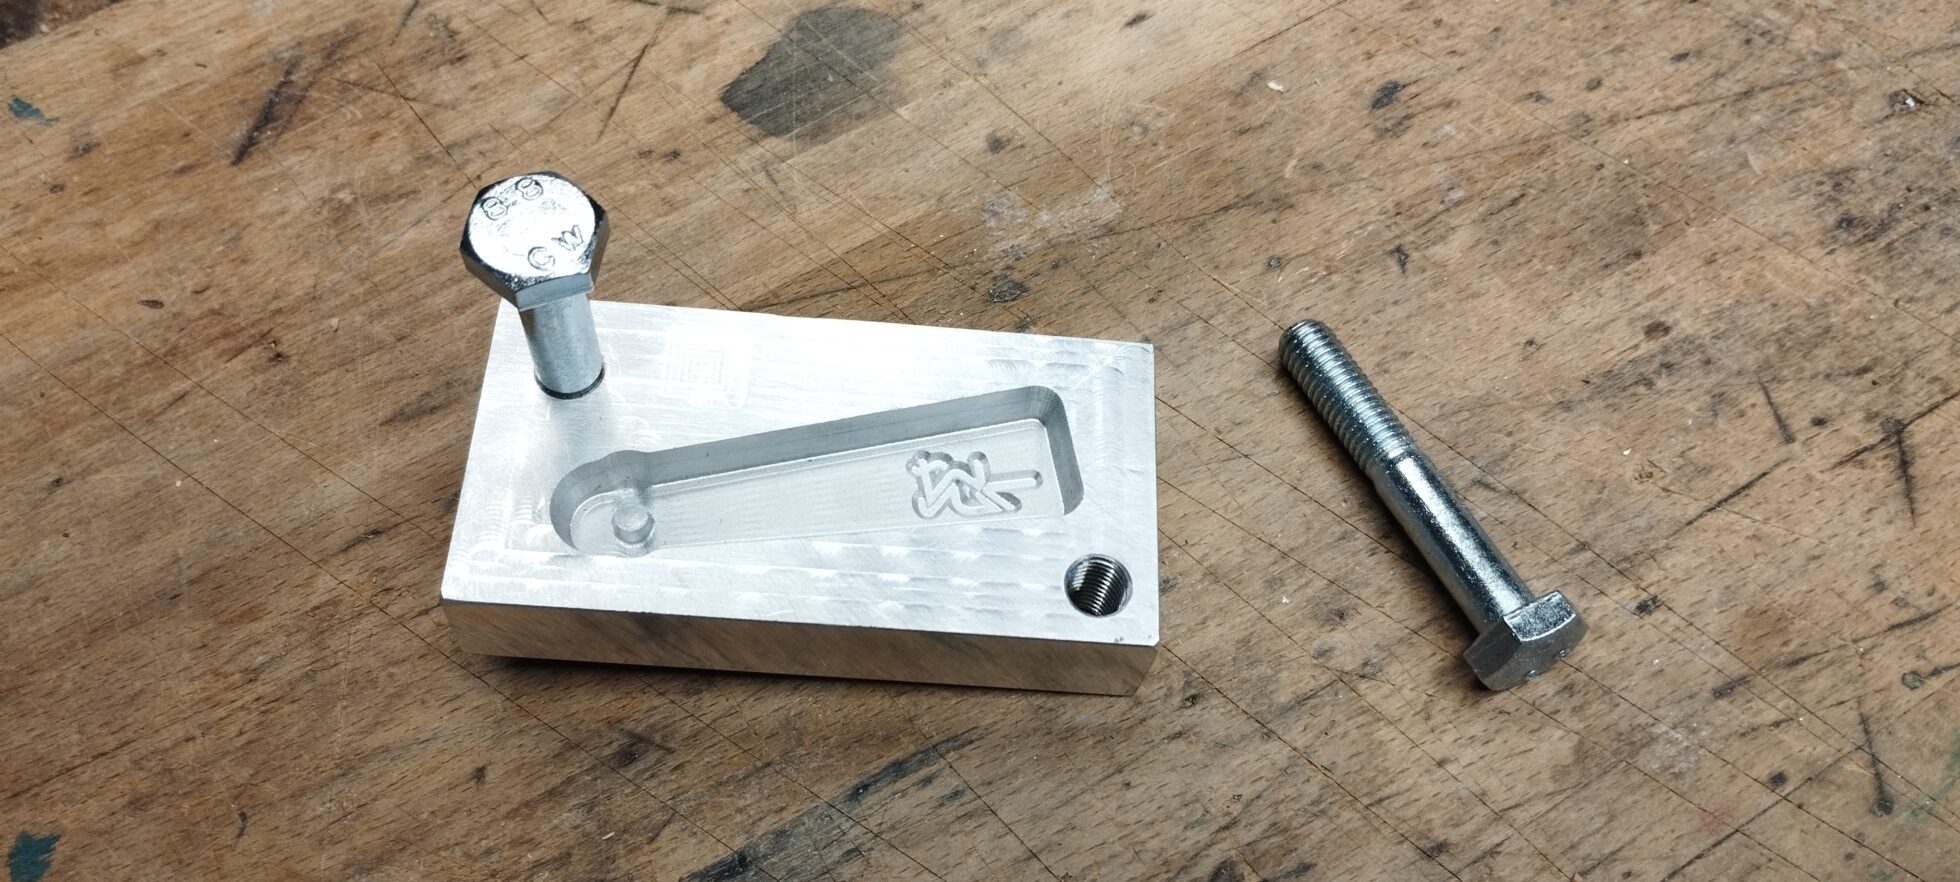
Bouten worden afgewerkt tot paspennen waarmee de mal gemakkelijk en exact kan worden uitgelijnd op de tegenvorm
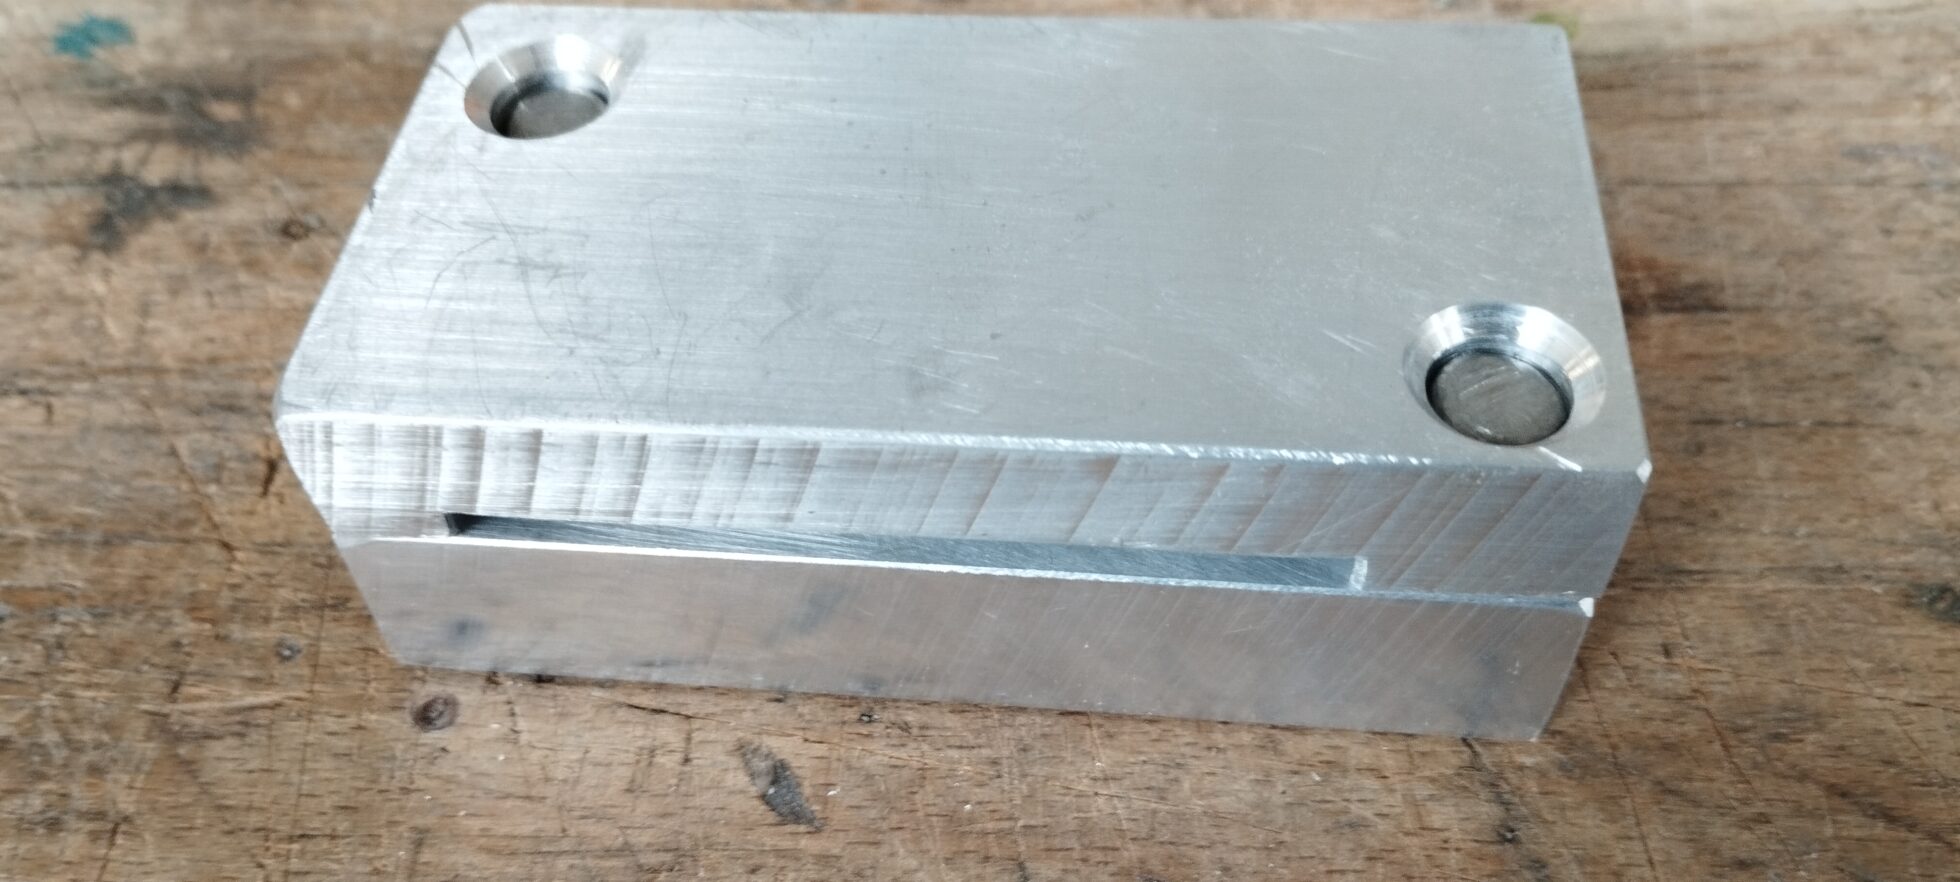
Paspennen erinEn klaar. De opening tussen de delen is de “spuiruimte” waar overmaat plastic heen kan.
De onderkant van de mal wordt gevuld met een rolletje warme en nog zachte geextrudeerde gerecyclede kunststof, deksel er op, in de bankschroef en aandraaien maar. Omdat dat met de hand wordt gedaan is er variatie, de ene keer gaat er meer in dan de andere. Een beetje overmaat is overigens wel aan te bevelen, om de mal goed gevuld te krijgen zonder holtes erin.